Alphanumeric naming buttons
Some of the menu sub-options enable the renaming of items. The
following buttons select characters when renaming -
Press the • or buttons to step through all characters available
for renaming.
Press the 2 - 0 buttons on the numeric keypad repeatedly to select •
one of the characters printed on the button.
Press the •
button to change the keypad alphabetic character
set between upper and lower case.
Press the 1 button repeatedly to select 1 or a selection of •
punctuation marks.
Press the • button to insert a space.
Press the • button to delete a character.
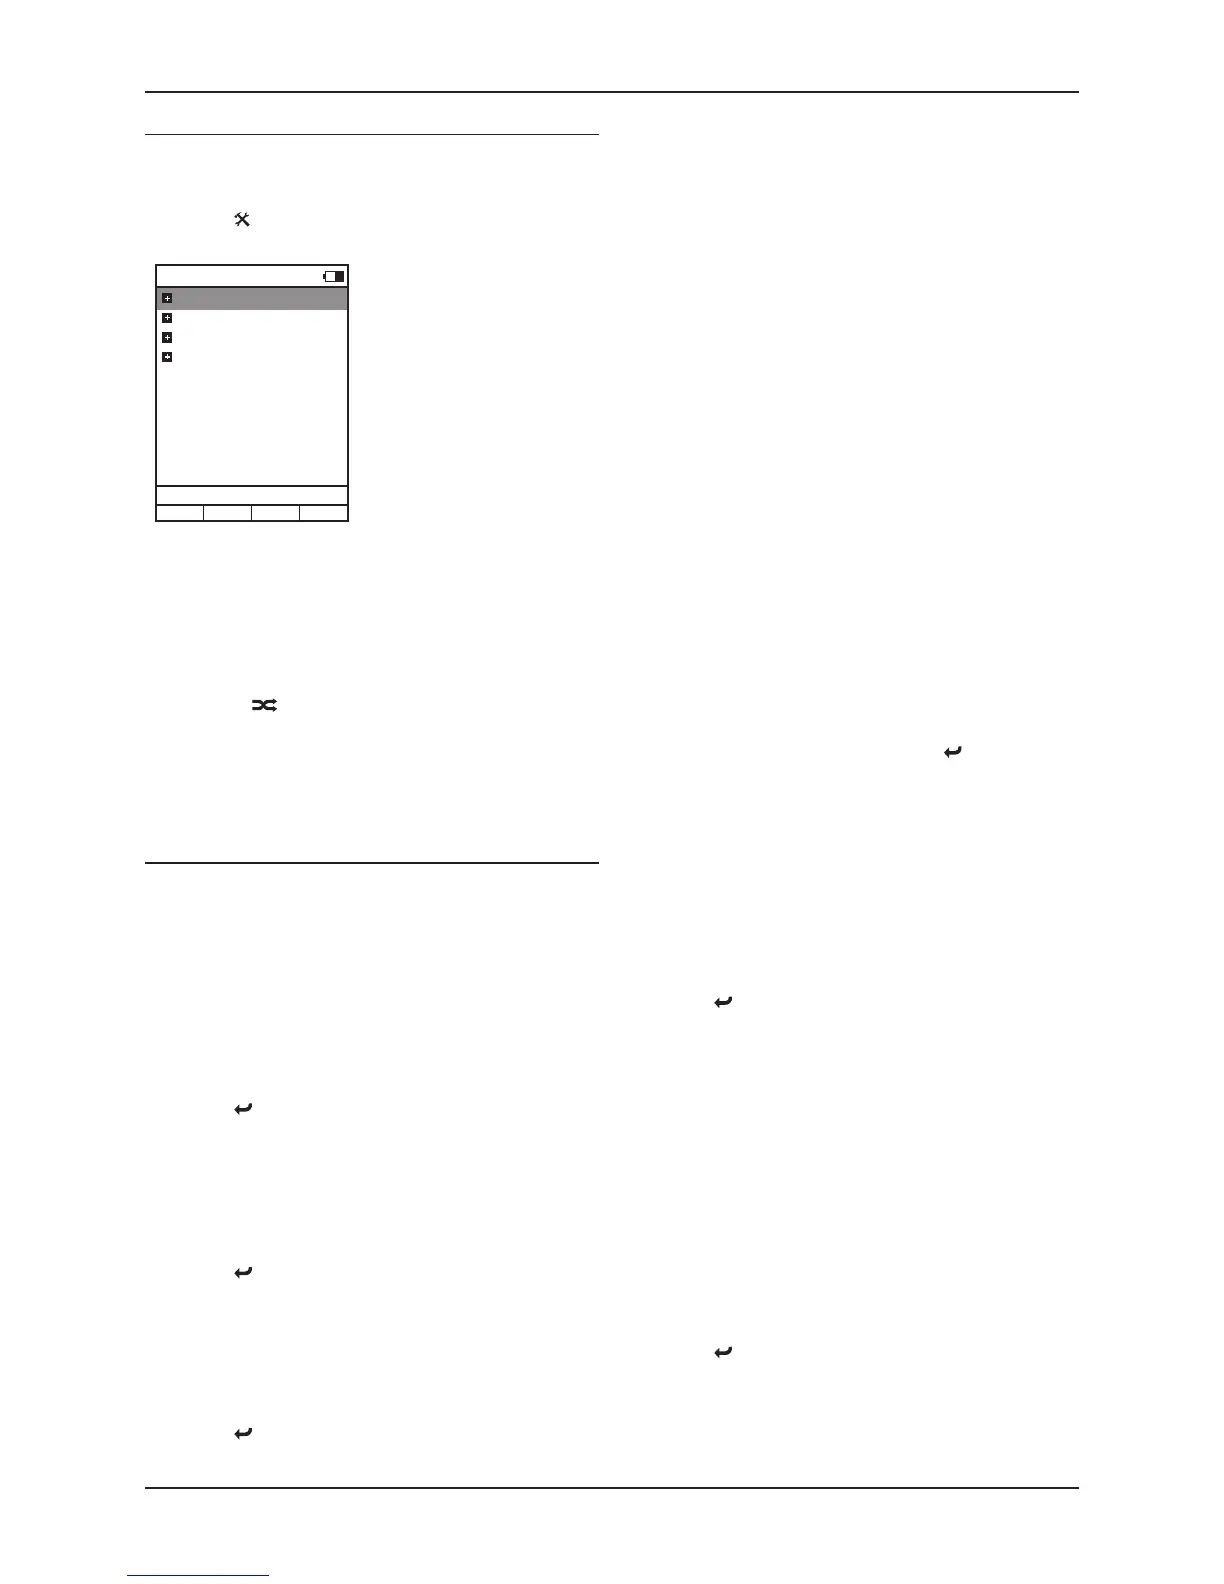
The User-Settings menu
To open the User-Settings menu
Select the User-Settings option from the System-Settings Menu•
The User-Settings menu will open and the sub-options will be displayed.
User-Settings - Name
Highlight and select the Name option to change the name of the •
n-remote.
The last character of the name is highlighted.
Edit the name with the Alphanumeric Naming Buttons. The maximum •
name length is 19 characters.
Press ENTER when you have finished renaming.•
Press the •
button at any time to exit without changing the setting.
User-Settings - Time
The time stored in the n-remote can be changed with this option.
Highlight the Time: Hours or Time: Minutes option.•
Press ENTER to open the time setting for editing.•
Edit the time.•
Press the ENTER button when the time is set correctly.•
Press the •
button at any time to exit without changing the setting.
User-Settings - Stand-by
This setting sets the backlight delay when a button is pressed. Enter a
time in the range 10 - 90 seconds.
Highlight and select the Standby option.•
Edit the time.•
Press the ENTER button when the time is set correctly.•
Press the •
button at any time to exit without changing the setting.
User-Settings - Brightness
You can change the brightness of the display with this setting.
Highlight and select the Brightness option.•
Select a setting between ‘fixed 1’ (darkest) and ‘fixed 3’ (brightest), •
or choose ‘automatic’ and the light sensor will set the brightness
according to the light in your room.
User-Settings - Change language
You can change the language setting for the menus of the n-remote with
this setting.
Highlight and select the Change Language option.•
Choose from the languages available.•
Press ENTER.•
The display language will change.
NOTE: This setting will change the language for n-remote displays, but not
for the Streamline
2
front panel display or for Streamline
2
displays shown
on the n-remote. To change the language of the Streamline
2
display, refer
to the ‘Setup - language’ option of the Streamline
2
Setup Menu.
User-Settings - HKEY (Hot-keys) configuration
You can assign remote controllable devices to the four Hot-Keys using
this option.
Highlight and select the HKEY configuration option.•
A list of Hot-Keys will be displayed.
Highlight the Hot-Key you want to change.•
Press ENTER.•
The device options for this Hot-Key are listed.
Highlight the device you want to assign to this Hot-Key.•
Press ENTER.•
The Hot-Key will be renamed and the list of Hot-Keys displayed.
Select another Hot-Key to rename or press the •
button to return to
the User-Settings menu.
User-Settings - Rename device
Select this menu to rename devices in the device list.
Highlight and select the Rename device option.•
A list of devices will be displayed.
Highlight and select the device you want to rename.•
The last character of the device name is highlighted.
Edit the name with the Alphanumeric Naming Buttons. The maximum •
name length is 19 characters.
Press ENTER when you have finished renaming.•
Press the •
button at any time to exit without changing the setting.
User-Settings - Delete device
Select this option to delete a device from the device list.
NOTE: This operation cannot be undone.
Highlight and select the Delete Device option.•
Choose from the devices available.•
Press ENTER.•
The device will be deleted.
User Settings - Add zone
Select this option to add a new zone.
Highlight and select the Add zone option.•
You will now be prompted to name the new zone.
Edit the name with the Alphanumeric Naming Buttons.•
Press ENTER when you have finished renaming.•
The new zone will be added.
Press the •
button at any time to exit without changing the setting.
 Loading...