PRODUCT SETUP
SetUP
SELECT YOUR METHOD
You may set up the DAP-1720 using WI-FI Protected Setup (WPS) (recommended),
the QRS Mobile App, or a web browser.
SETTING UP THE DAP-1720 USING WI-FI PROTECTED SETUP (WPS)
NOTE:
Your source router or AP must feature a WPS button to use WPS.
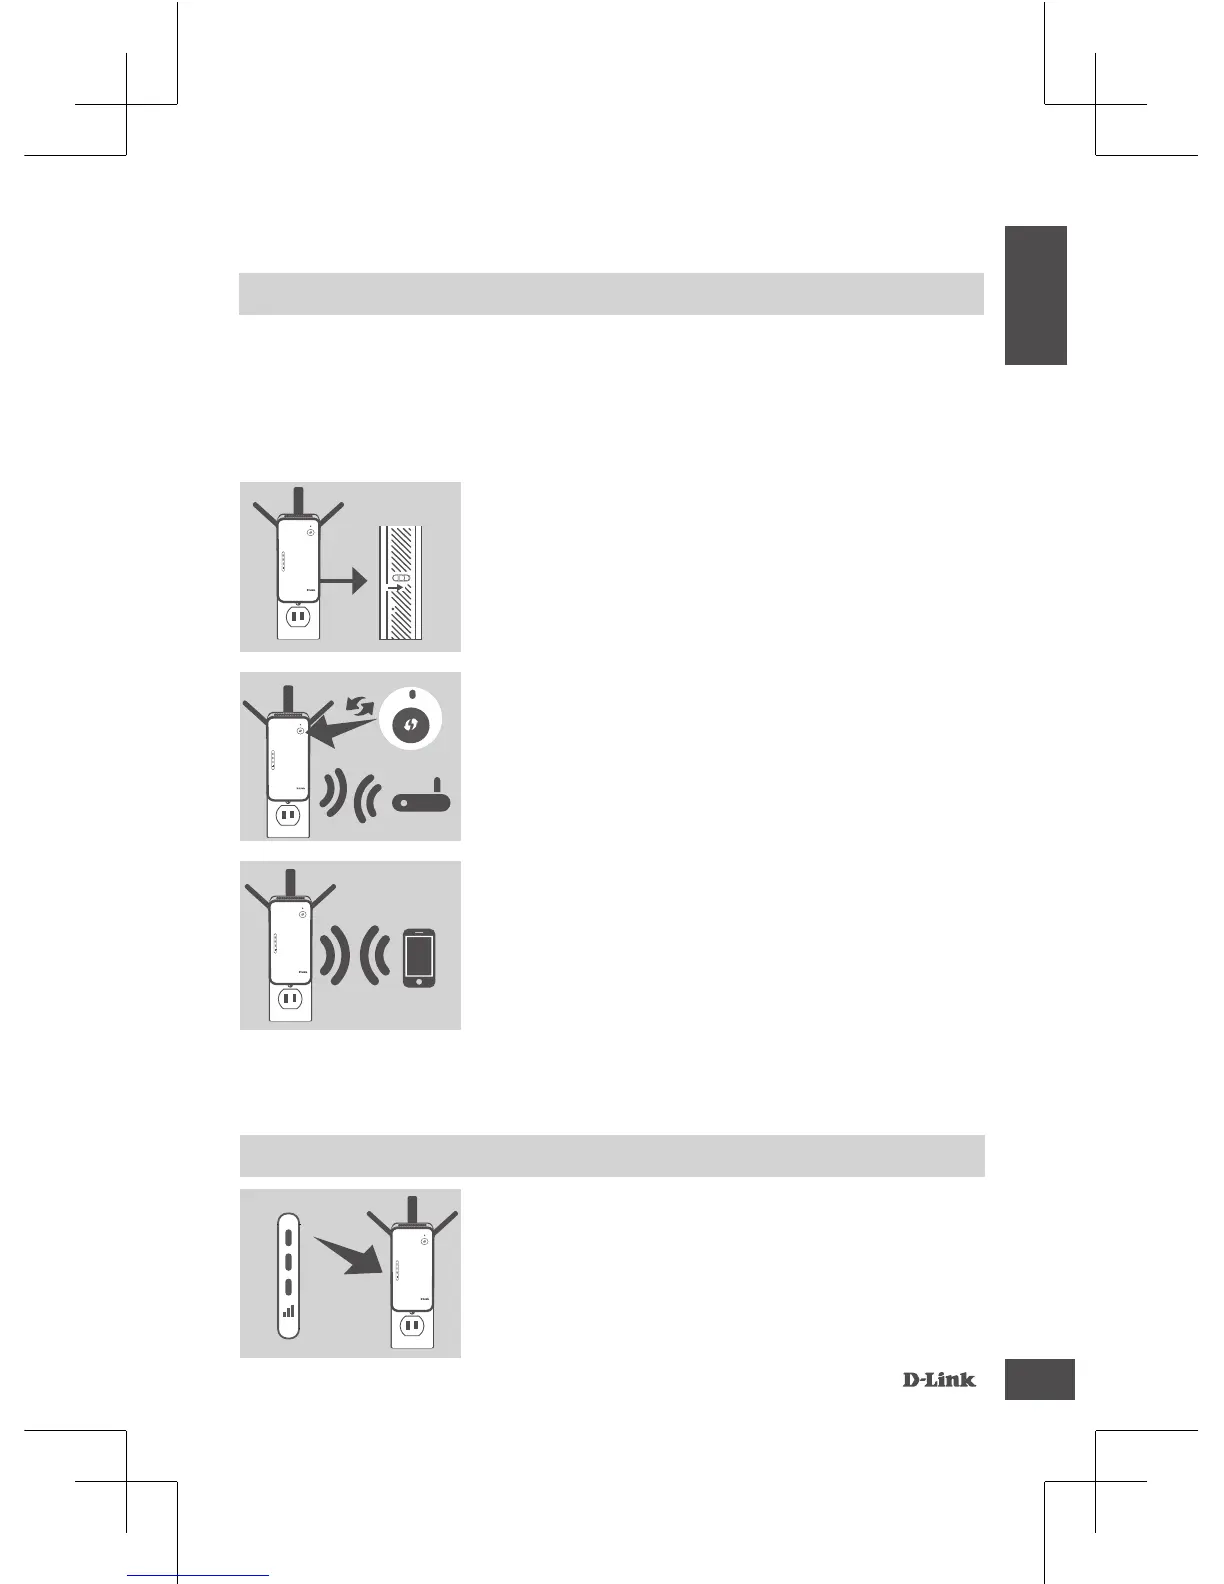
If the Smart Signal LED has a single amber bar after
the connection process has nished, the DAP-1720 has
established a poor quality connection. To improve the
connection quality, the DAP-1720 should be relocated
to a wall outlet closer to the source wireless router or
AP. The more lit bars on the Signal LED, the better the
wireless signal.
SMART SIGNAL LEDS
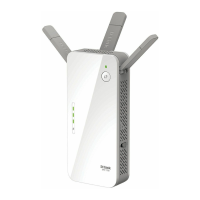
OPtiMiZe extendeR LOCAtiOn
Step 2
Push the WPS button on your source wireless router
or AP, then push the WPS button on the DAP-1720.
The Status/WPS LED will start flashing green. Allow
up to two minutes for the process to nish. The Status/
WPS LED will turn solid green when the DAP-1720 has
connected successfully.
Step 3
Connect your clients to an extension network created by
the DAP-1720:
2.4 GHz:
(Your router’s SSID)-EXT
5 GHz:
(Your router’s SSID)-EXT5G
After WPS, the password of
(Your router’s SSID)-EXT
will be the same as the source wireless network's.
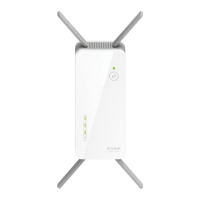
Step 1
Fully extend the antennas to provide optimal wireless
coverage. Ensure the power switch on the side of the
DAP-1720 is in the
ON
position, plug the DAP-1720
into a wall outlet, and wait until the Status/WPS LED is
blinking amber.
RESET
OFF
ON
 Loading...