3
ENGLISH
Link/Act/Speed
10/100 Mbps Ports
(Ports 1 to 16)
Green
Solid
light
When there
is a secure
connection
(or link) to
10/100Mbps
Ethernet device
at any of the
ports.
Blinking
When there is
reception or
transmission of
data occurring
at 10/100Mbps.
Off Off No link
PoE
(Ports1 to 8)
Green
Solid
light
The port is
successfully
connected to a
PoE device and
is powering the
device properly.
Red
Solid
light
The PoE port
has failed,
possibly due to:
1. PoE total
power budget
shortage
2. Over current:
Exceeds the
power current
of powered
device's
classication.
3. Short circuit:
An intentional
short circuit has
been performed
on a powered
device.
Off Off
No connection
to a PoE device
Installation and Connection
This section describes how to install a
DES-1018P in a standard 19-inch equipment
rack and how to connect cables and power to
the device.
Before You Begin
Observe the following precautions to help
prevent shutdowns, equipment failures, and
injuries:
• Install the DES-1018P in a cool and dry
place. Refer to the Technical Specications
for the acceptable operating temperature
and humidity ranges.
• Install the Switch in a site free from strong
electromagnetic source, vibration, dust,
and direct sunlight.
• Leave at least 10 cm of space at the
left and right-hand side of the Switch for
ventilation.
• Visually inspect the power jack and make
sure that it is fully secured to the power
cord.
• Do not stack any device on top of the
Switch.
Step 1 – Unpacking
Open the shipping carton and carefully unpack
its contents. Please consult the following
packing list to make sure that all items are
present and undamaged. If any item is missing
or damaged, please contact your local D-Link
reseller for a replacement.
Package Contents
DES-1018P Switch 1
Power Cord 1
Power Cord Retainer 1
Rack Mount Kit and Rubber Feet 1
Quick Installation Guide 1
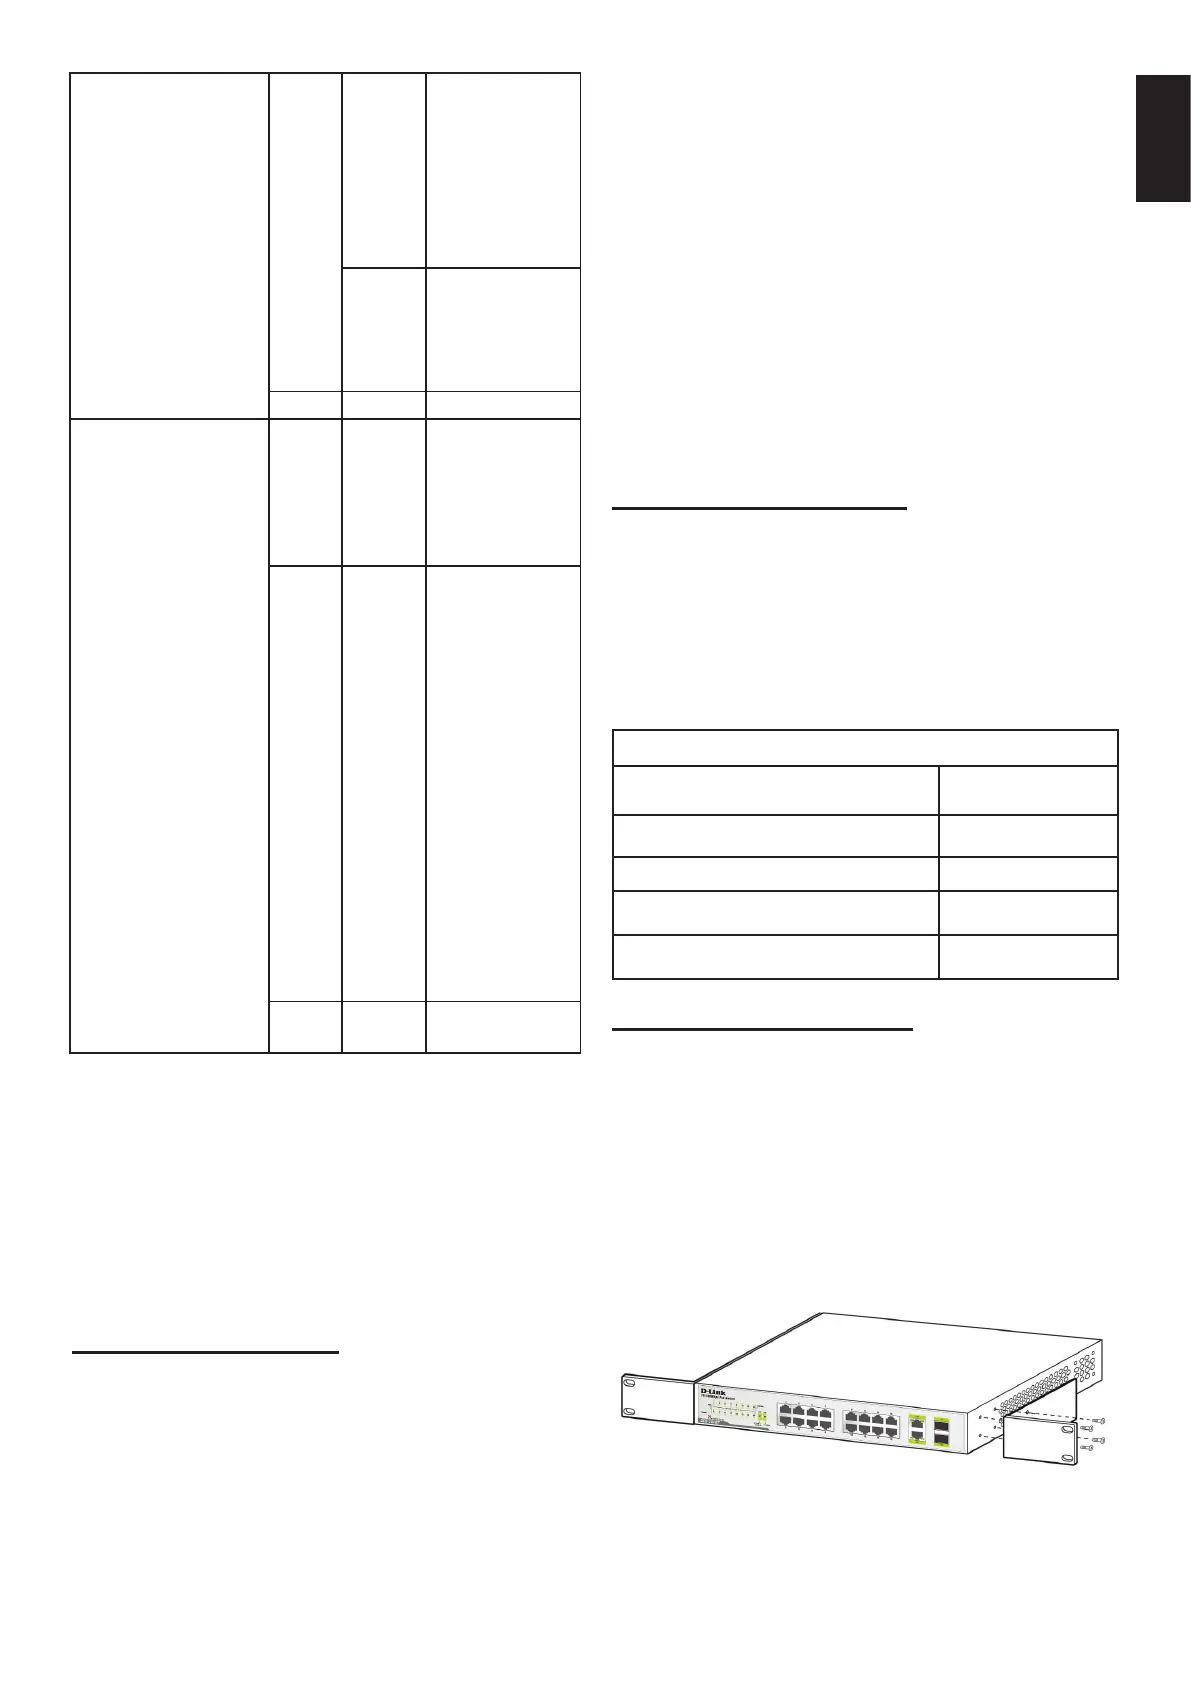
Step 2 – Installation
You can mount the DES-1018P into a
standard 19-inch equipment rack. To install the
DES-1018P into a rack:
1. Attach the mounting brackets to each side
of the chassis as shown in Figure 3 and
secure them with the screws provided.
Figure 3. Mounting Brackets
 Loading...