Trim Kit Installation Instructions
Page 3
Range End Cap Replacement
STEP 8: Locate the right end cap screw access
hole under the right side of the front
panel overhang. Remove the 4-40 X
1/2 phillips head screw.
STEP 9: Pull the end cap out of the side of the
range to remove it. Insert the new end
cap in its place.
STEP 10: Thread the end cap screw and tighten
by hand. Do not over-tighten.
STEP 11: Repeat sets 8 - 10 for the left end cap.
Door End Cap Replacement
STEP 12: Open the oven door to the horizontal
position.
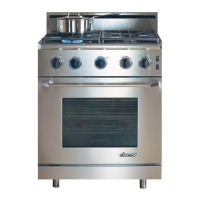
STEP 13: On model ER30D and ER48D, to prevent damage to the
door glass and door: Firmly tape or clamp both sides of the
door three (3) inches from the top to prevent it from coming
apart when the handle screws are removed. CAUTION: Do not
overtighten. Damage may occur. If clamps are used, pad both
sides of the clamp to prevent damage to the door surfaces.
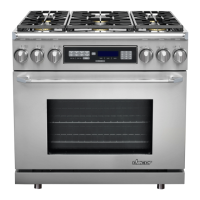
STEP 14: On model ER36D: Remove the two (2) door screw
covers.
STEP 15: Grasp the handle with one hand and remove the two (2) torx
screws that hold it in place.
Screw
End Cap
Access Hole
Handle
Screw cover
2 places
Screw,
2 places
Clamp
Handle
Pads
Clamp
Pad
ER36D
ER30D and ER48D
 Loading...