3. VCR DECK ADJUSTMENTS
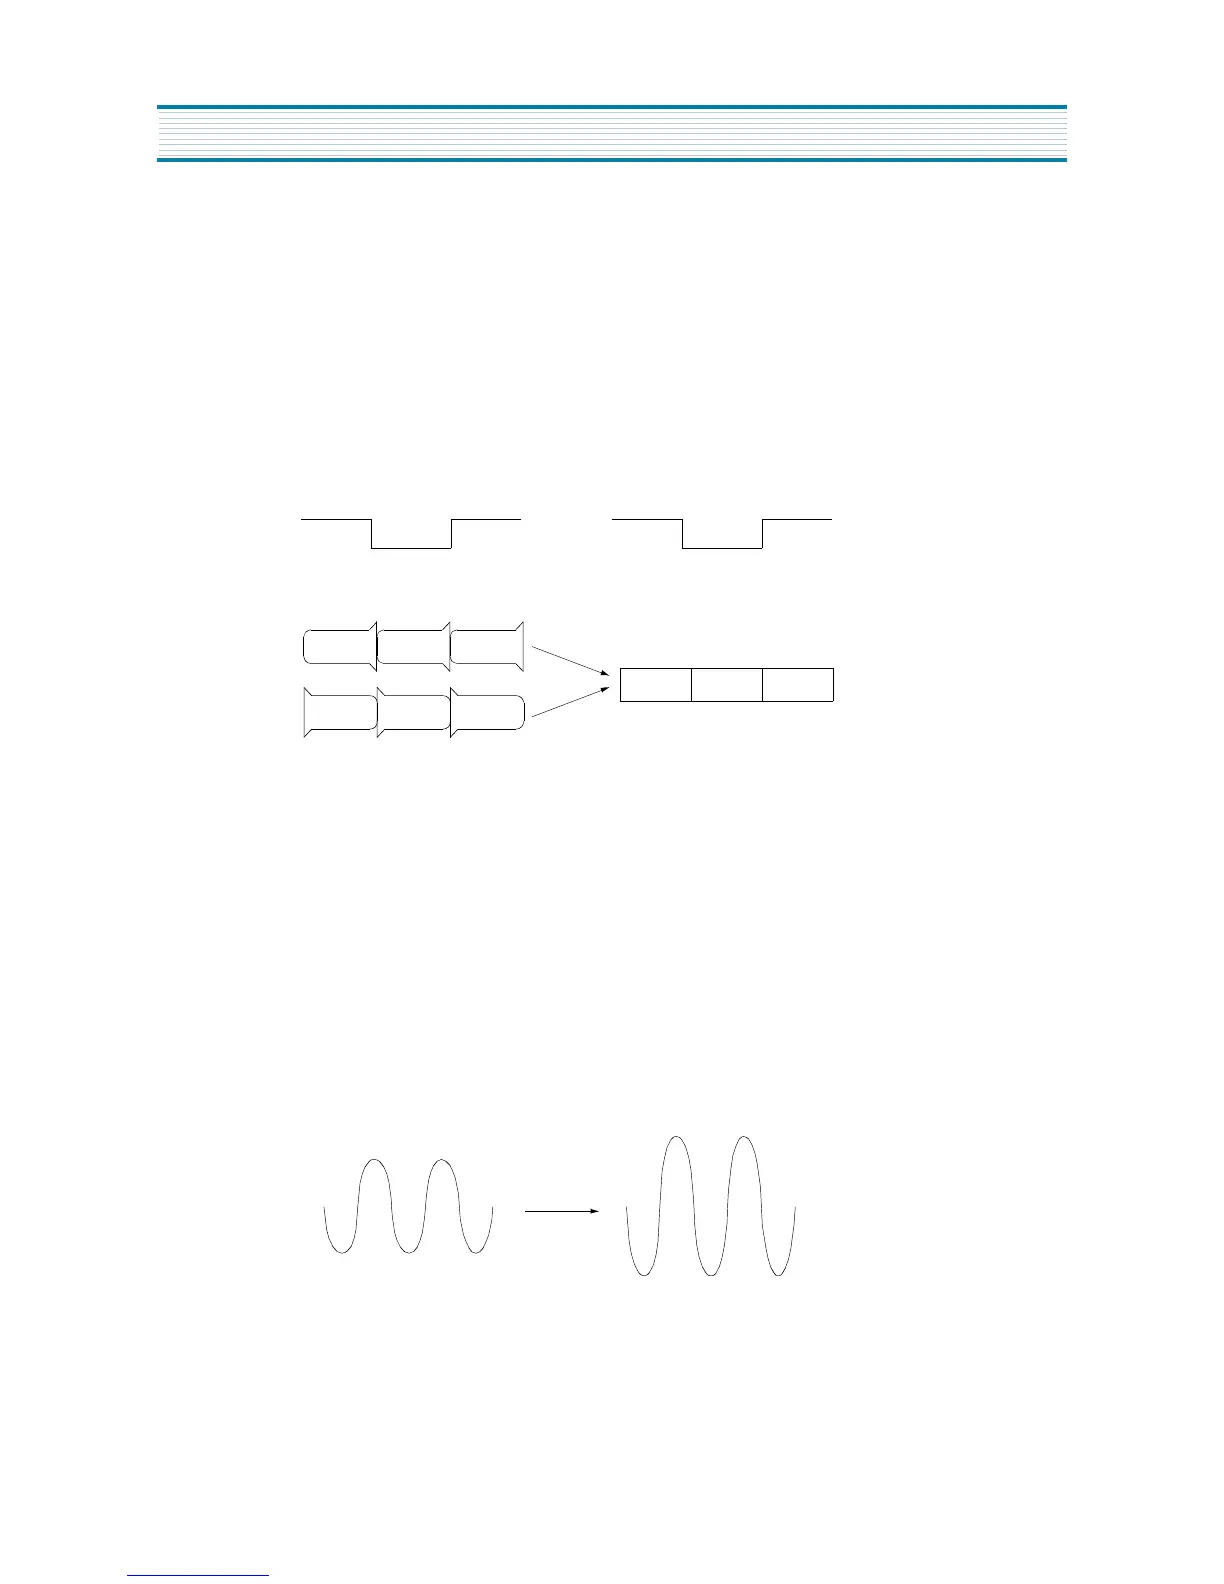
1) X-DISTANCE & P2,P3 ADJUSTMENT(S10)
w
Connect Path JIG to connector PS04, Playback the test tape (DN-2,7KHz)
w
Connect oscilloscope CH1 to V.SW(PS04 #2),CH2 to PB RF(PS04 #1) and trigger on CH1.
w
Enter the service mode and select service adjustment S10
w
Use the VOL up(
U
) button to set ATK Off CEN.
w
Turn the X-distance screw to maximum of PB-RF.
w
Use the VOL up(
U
) button to set ATK Off MIN and MAX.
w
If PB-RF is not smooth, adjust P2,P3.
a
P2, P3
VH SW
RF
2) P.G ADJUSTMENT(S11)
w
Playback the test tape (DN-2,7KHz)
w
Enter the service mode and select service adjustment S11
w
Push the "REC" KEY once, P.G Adjustment is Automatically.
w
Connect oscilloscope CH1 to V/SW(PS04 #2),CH2 to CVS(PS04 #5) and trigger on CH1,
Confirm The P.G is 6.5H(412msec).
3) AUDIO AZIMUTH ADJUSTMENT
w
Playback the test tape (DN-2,7KHz)
w
Connect oscilloscope and level meter to Aout(PS04 #4).
w
Turn the azimuth screw to maximum 7KHz level.
4) FACTORY OUTGOING MODE(S12)
w
If you select the S12, then the set becomes factory outgoing status.
w
You can see the channel to "02" or if the set playback you can see the OSD "AUTO TRACKING"
ALIGNMENT INSTRUCTIONS
12
 Loading...