7 Installation
Installer reference guide
31
ERHQ+ERLQ011~016 + EHBH/X11+16CB
Daikin Altherma – Low temperature split
4P384974-1 – 2015.01
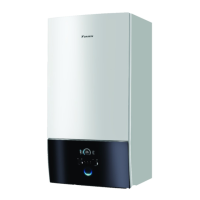
▪ If you install the unit on a frame, install a waterproof plate within
150 mm of the bottom side of the unit in order to prevent the
invasion of water in the unit and to avoid the drain water dripping
(see the following illustration).
INFORMATION
You can use the optional drain plug kit (EKDK04) (only for
ERHQ).
NOTICE
If drain holes of the outdoor unit are covered by a mounting
base or by floor surface, raise the unit to provide a free
space of more than 150mm under the outdoor unit.
Drain holes
Model Bottom view (mm)
ERHQ_V3
58
16
16
71
11710270
45 376 191
a b
c
d (4×)
ERHQ_W1
45
43 378
10 60
58 16
71 16
191
117102
a b
c
d (4×)
ERLQ
a Discharge side
b Drain holes
c Knockout hole (piping intake - downwards route)
d Anchor points
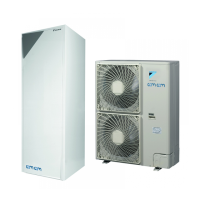
7.3.6 To prevent the outdoor unit from falling
over
In case the unit is installed in places where strong wind can tilt the
unit, take following measure:
Connect cables (field supply) as shown.
7.4 Mounting the indoor unit
7.4.1 About mounting the indoor unit
When
You have to mount the outdoor and indoor unit before you can
connect the refrigerant and water piping.
Typical workflow
Mounting the indoor unit typically consists of the following stages:
1 Installing the indoor unit.
2 Installing the drain pan kit (optional).
7.4.2 Precautions when mounting the indoor
unit
INFORMATION
Also read the precautions and requirements in the
following chapters:
▪ General safety precautions
▪ Preparation
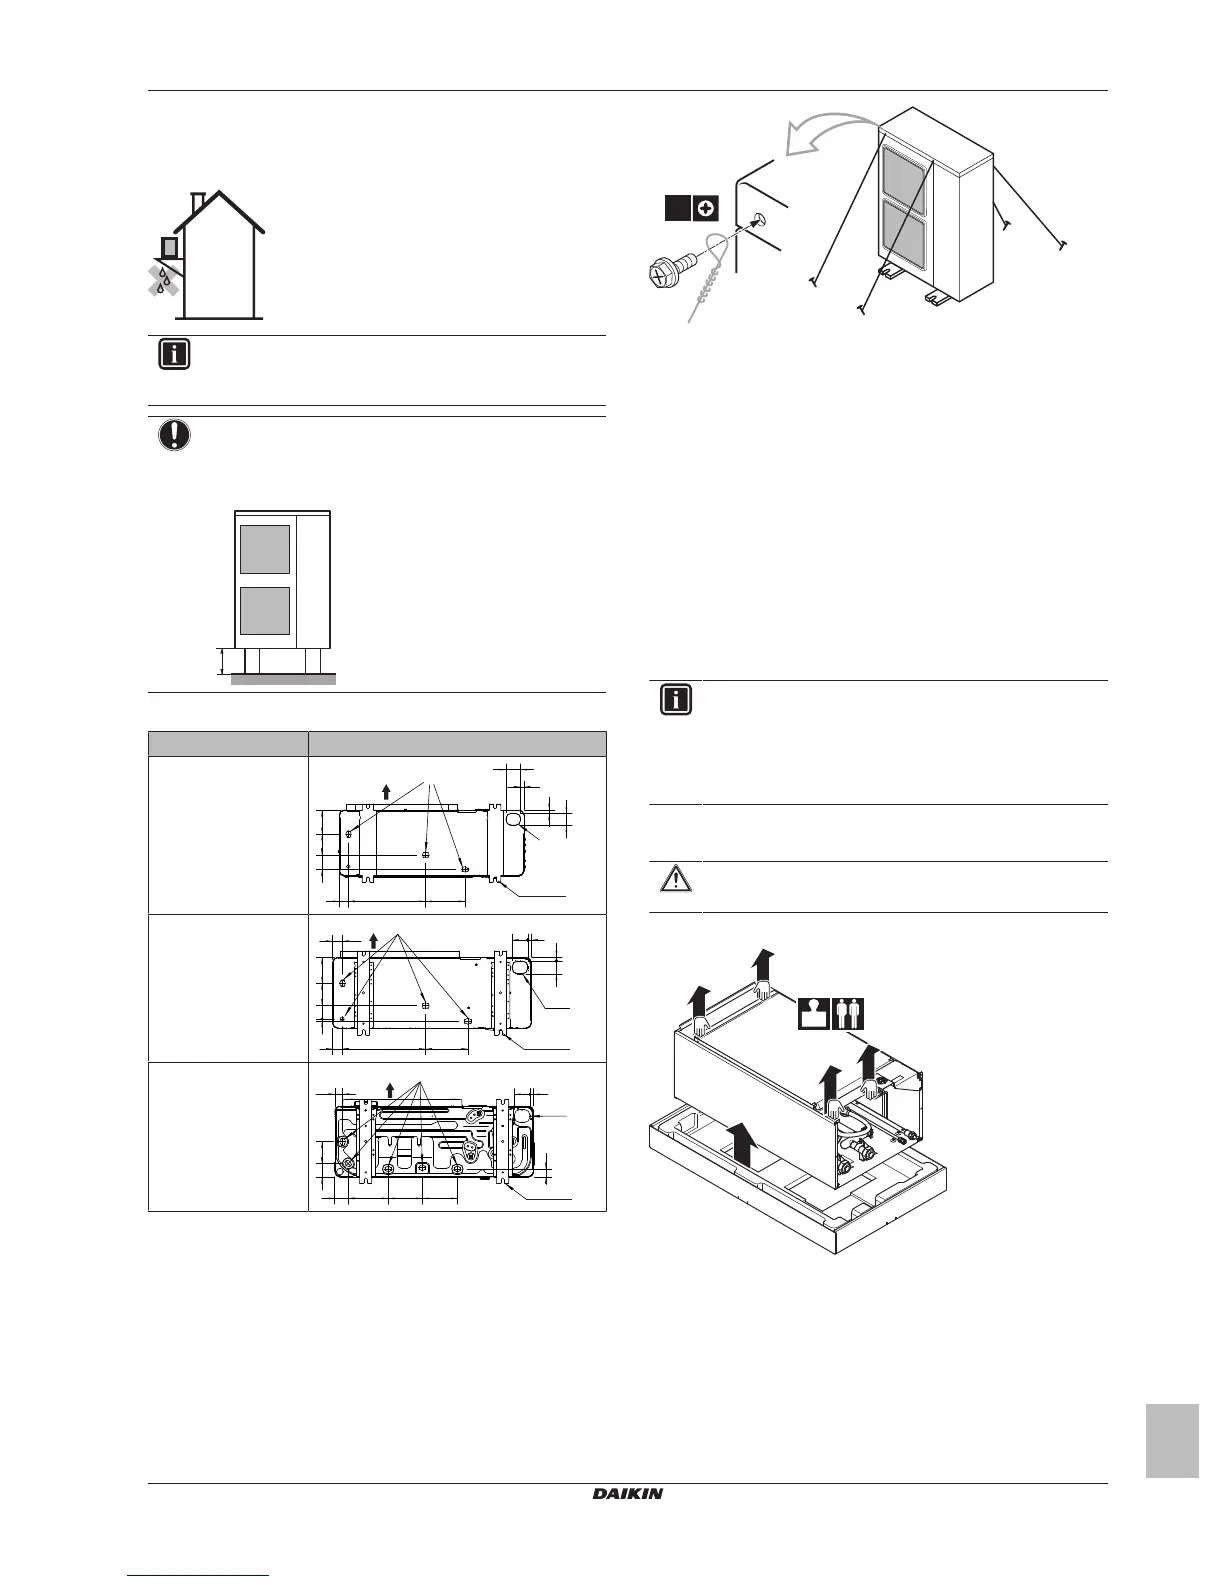
7.4.3 To install the indoor unit
CAUTION
Do NOT grasp the piping to lift the indoor unit.
1 Lift the unit from the package.
2 Remove the 4 screws from the bottom of the unit. Unhook and
remove the side plates.

 Loading...