Installation and operation manual
9
BRC073A1
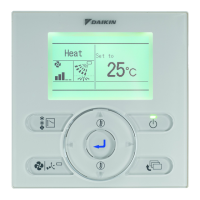
Wired user interface
4P392190-1 – 2014.11
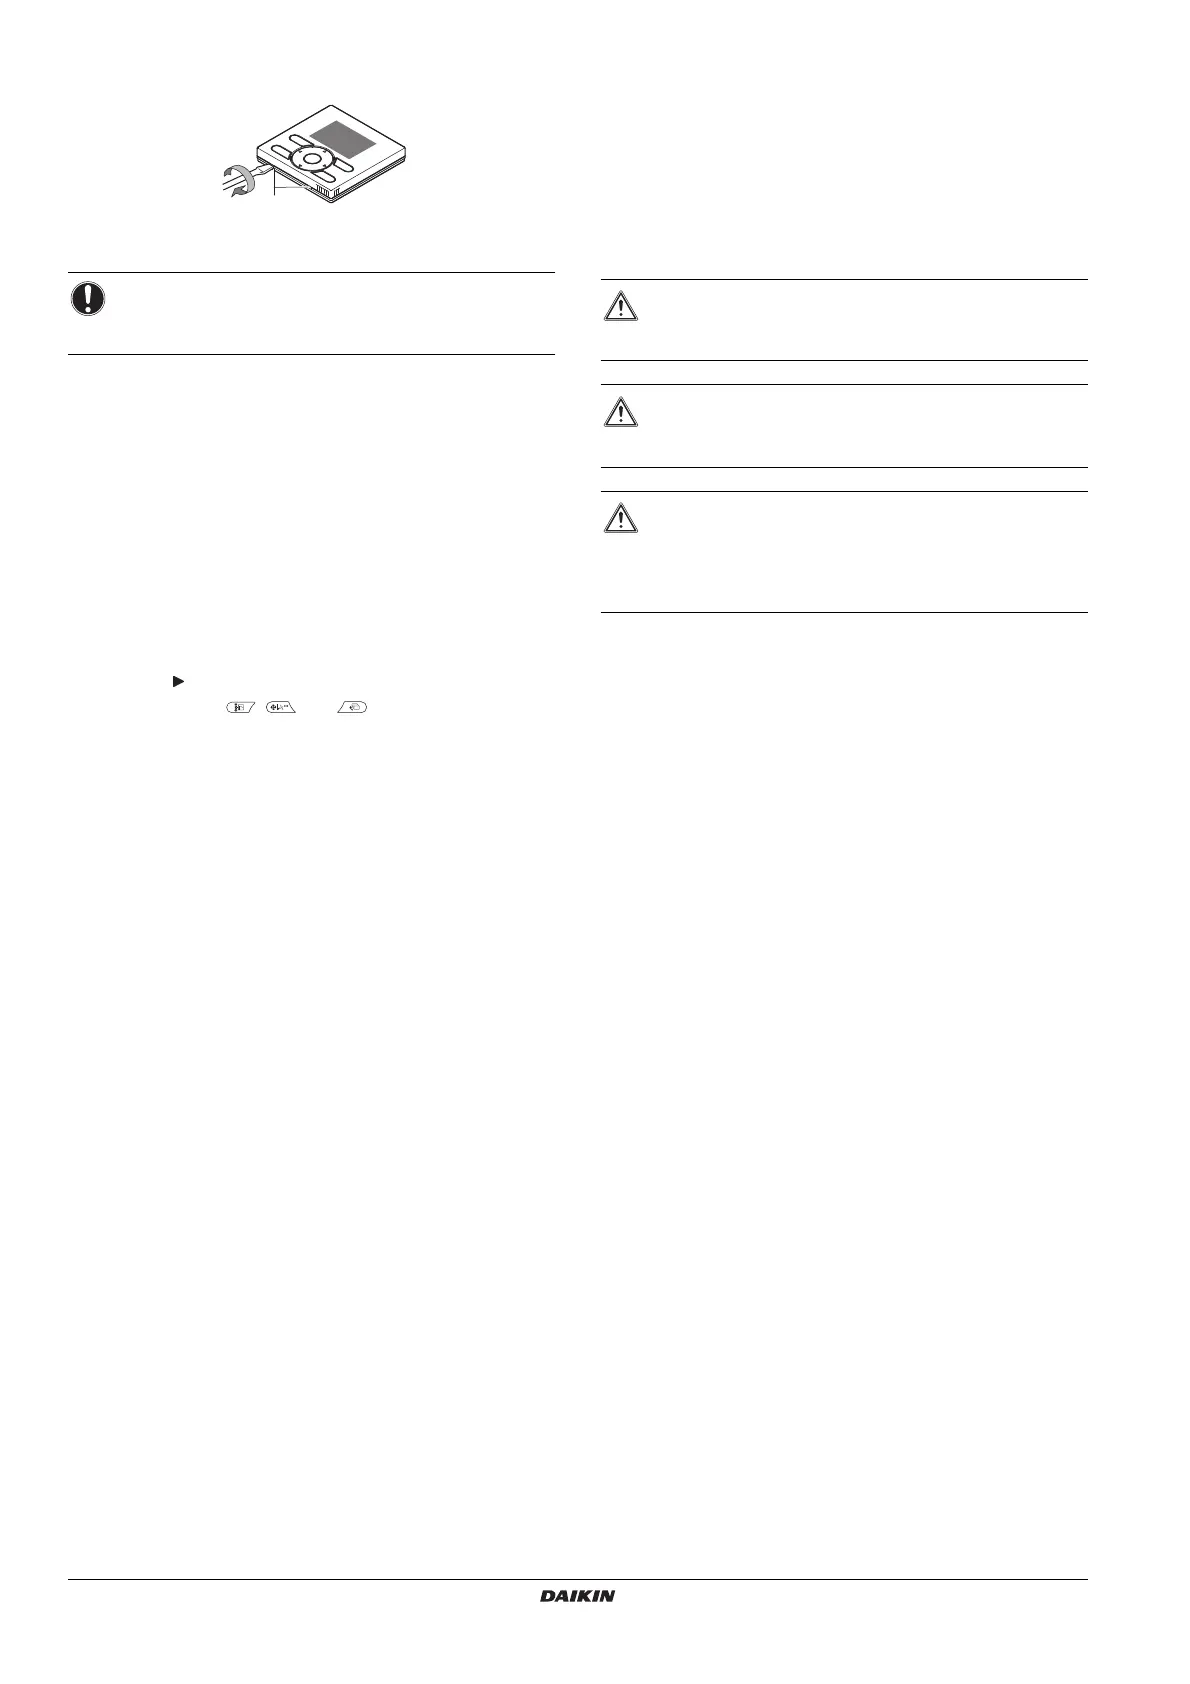
8. Remove the upper case
Insert a slot screwdriver into the slots in the lower case (2 places), to
remove the upper case.
9. Power on
1 Turn on the power.
2
Checking the connection
.
Please stand by
. is displayed.
3 After a few seconds, the basic screen is displayed.
10. Enable/disable the menu/enter and cancel
button
By default, the menu/enter and cancel buttons are enabled.
To enable/disable the menu/enter and cancel button in the basic
screen, proceed as follows:
1 Keep the button pressed.
2 Press the 3 keys , , and simultaneously.
3 Press the buttons for a second, then release them.
Refer to the detailed installer reference guide for more detailed
installation instructions concerning:
User interface installation procedure,
Functions and menu items of the user interface buttons,
Field settings,
Test operation method,
Checking procedure of Error History,
Registration method of the Maintenance Contact,
Clock & Calendar (see also
"14. Clock & Calendar" on page 5),
Language (see also
"15. Language" on page 6),
Prohibit buttons,
Prohibition Function,
Prohibit Mode,
Software update with Updater.
Maintenance
1. General safety precautions
Wipe the LCD display and the rest of the surface of the user interface
with a dry cloth when they become dirty.
If the dirt on the surface cannot be removed, soak the cloth in neutral
detergent diluted with water, squeeze the cloth tightly, and clean the
surface. Wipe the surface with a dry cloth afterwards.
NOTICE
The user interface PCB is mounted on the upper case. Be
careful not to damage the PCB with the slot screwdriver.
1
WARNING
Do not use any paint thinner, organic solvent, or strong
acid.
WARNING
Do not wash the user interface. Doing so may cause
electric leakage and result in electric shocks or fire.
WARNING
Be sure to stop the operation of the air conditioner and turn
OFF the power supply breaker when performing
maintenance. Failure to do so may result in electric shocks
or injury.