13
Configuration
Configuration
Wireless Connection
Setting Section
1
1
2
2
3
3
4
4
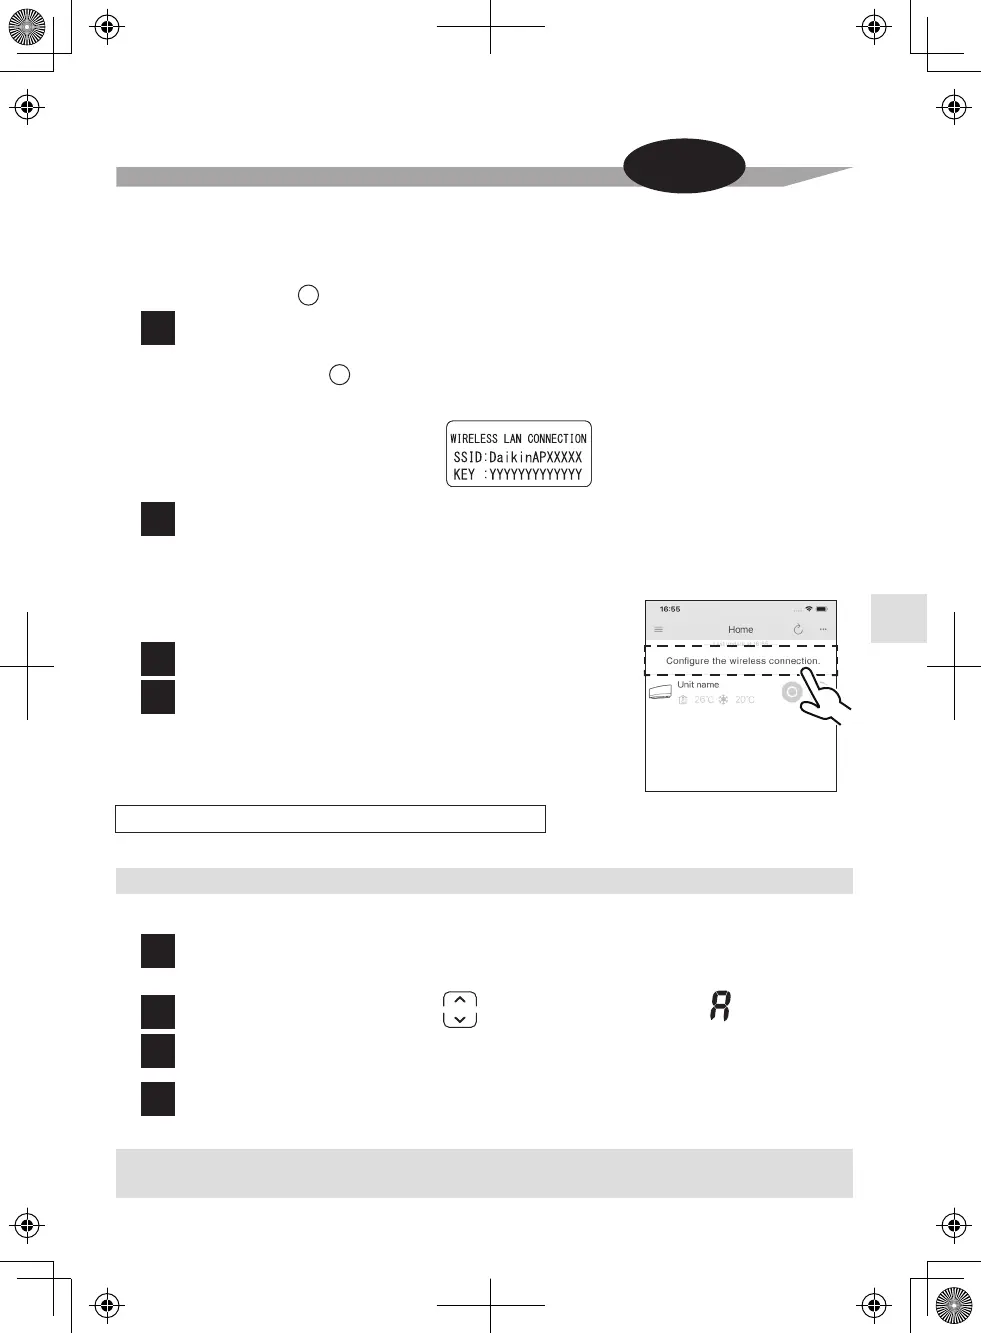
Connect the wireless LAN connecting adapter to a smart phone or tablet.
View available Wi-Fi networks on your smart phone or tablet and connect to the SSID (DaikinAP*****) printed
out on the sticker. The SSID & KEY stickers are included in your package, as shown in the image below.
Open the DAIKIN Mobile Controller application and select
“Configure the wireless connection” (Fig. 5) and connect to
your home network as per the on-screen instructions.
•
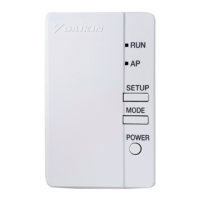
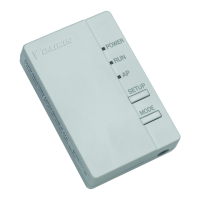
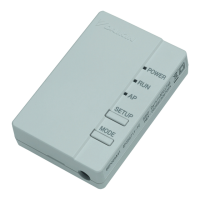
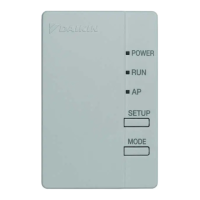
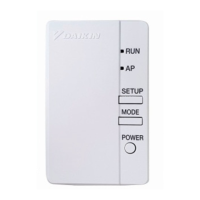
The wireless LAN connecting adapter lamp (orange) stays lit.
If you fail to connect, refer to NOTE.
Connect your smart phone to your home network.
Open the Home screen of the DAIKIN
Mobile Controller application.
The air conditioner will be listed there.
Reset connection setting to factory defaults.
When the device is reset, out-of-home user account and wireless LAN connection setting will be changed back to the factory defaults.
Fig. 5
SSID & KEY sticker
Please note
If your home Wi-Fi router does not have a WPS button, you can connect your smart phone directly to the
wireless LAN connecting adapter in order to set up a connection to your home network by following these steps.
− This step requires the SSID & KEY stickers (included in your package).
Access point connection (AP connection).
Note on access point connection (AP connection)
•
If you fail to connect (the wireless LAN connecting adapter lamp (orange) continues to blink), repeat steps 1-2.
While operation is stopped, press the POWERFUL button
and hold the button for 5 seconds.
Press the TEMP button and select SP menu .
Press and hold the POWERFUL button for 2 seconds to confirm the selected setting.
• The wireless LAN connecting adapter lamp (orange) blinks for one second.
Press the CANCEL button to return to the default screen.
To reset
NOTE
C
C
 Loading...