12 English
Product
2) Attach the i
nsulation tube.
(accessory(3))
(3)-1 Liquid pipe
(3)-2 Gas pipes
1) Attach the
insulation material.
(Field supply)
3) Use the clamps
(accessory(2)) to
hold both ends.
Insulation tube installation instructions
(indoor unit side) (gas and liquid pipes)
Adhere.
Product
2) Attach the i
nsulation tube.
(accessory(3))
(3)-1 Liquid pipe
(3)-2 Gas pipes
3) Use the clamps
(accessory(2)) to hold both
ends.
Insulation tube installation instructions for unused branch ports
(indoor unit side) (gas and liquid pipes)
Adhere.
Stopper pipes (accessory(7))
(7)-1 Liquid pipe
(7)-2 Gas pipes
1) Attach the
insulation tube
for stopper pipes.
(accessory(8))
(8)-1 Liquid pipe
(8)-2 Gas pipes
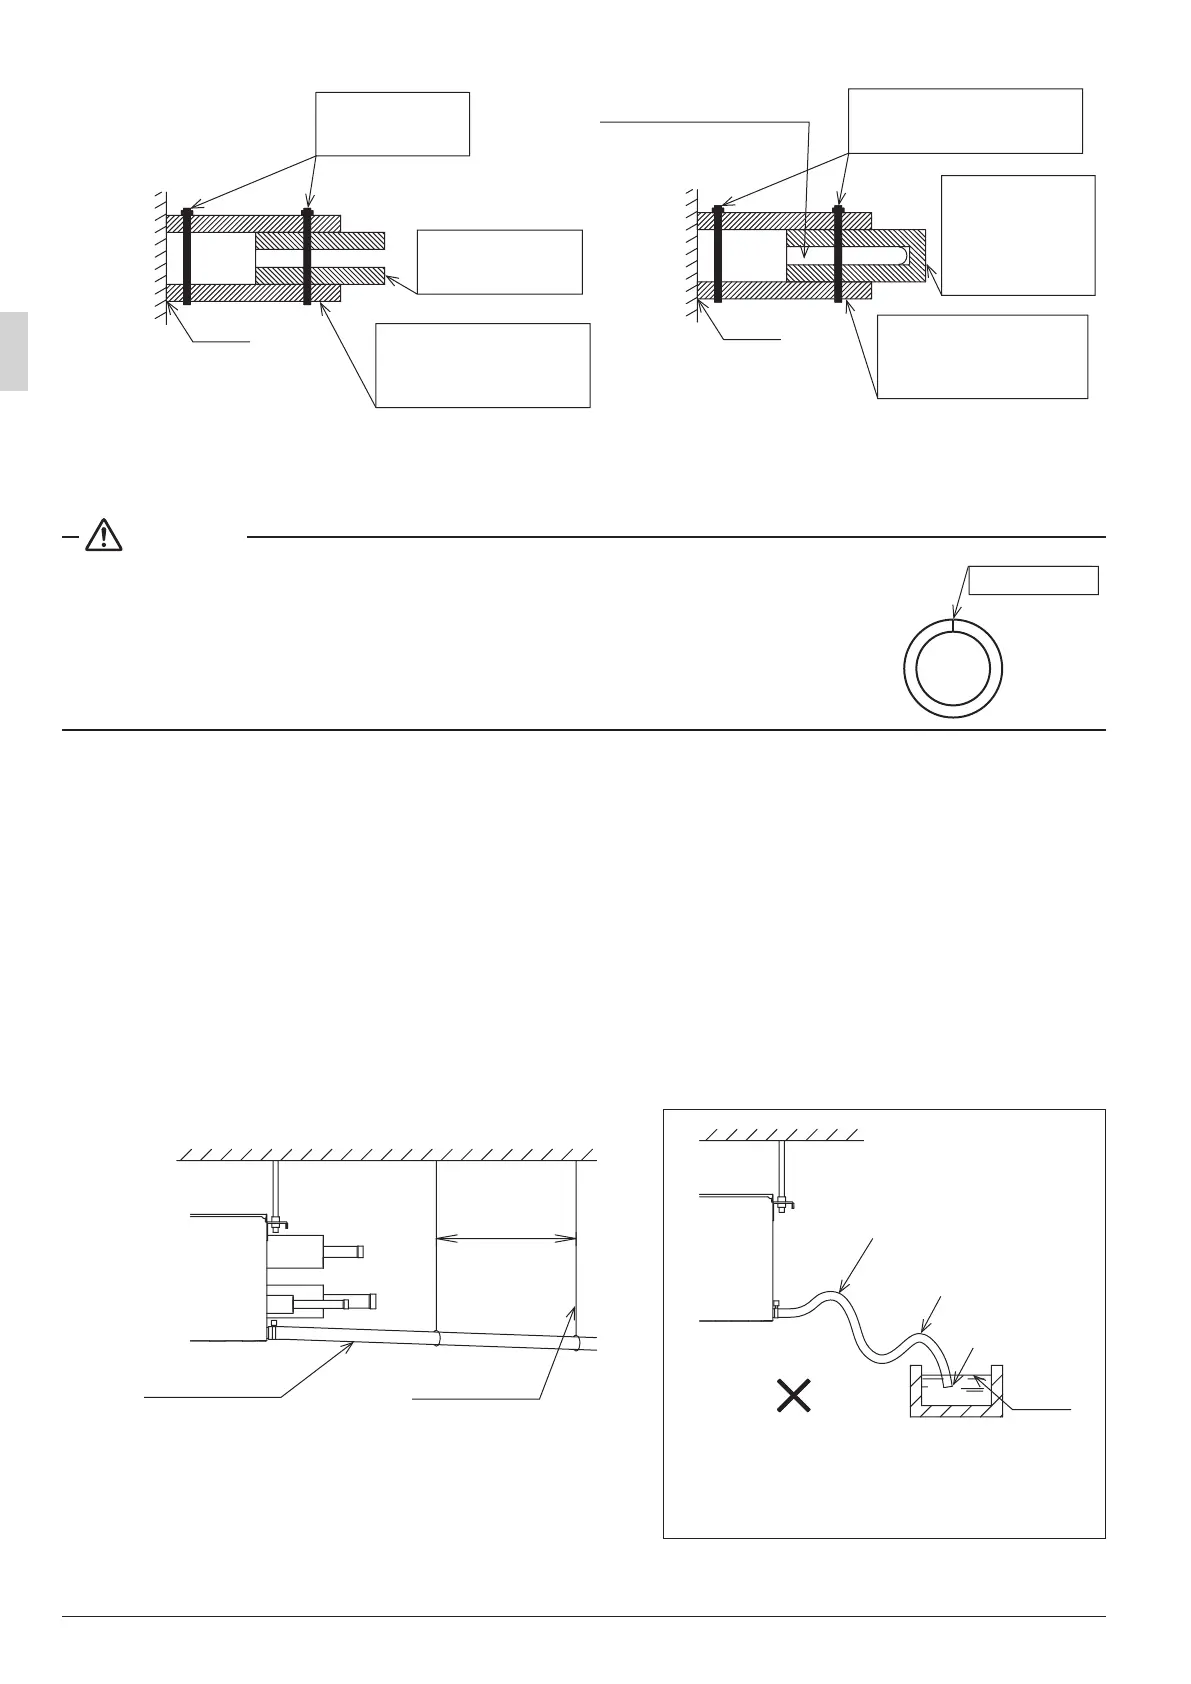
CAUTION
• Wrap insulation material with the seam facing up. (Refer to Fig. 3)
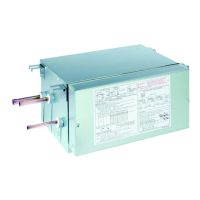
7. DRAIN PIPING WORK
(1) Drain piping work
Install drain piping so that wastewater drains reliably.
• Use a pipe diameter that is the same as or greater than the connection pipe (PVC pipe, nominal diam-
eter of 20 mm, outside diameter of 26 mm).
• Use a short length of pipe and route it at a downward slope of 1/100 or greater such that air does not
collect in the pipe. (Refer to Fig. 4 and 5.)
• If unable to provide an adequate slope for the drain, use the drain up kit (sold separately).
<Example problem>
If water accumulates in the drain pipe, it may cause the drain to become clogged.
1 - 1.5m
Downward slope of
1/100 or greater
Support bracket
No rise
No accumulation
Water
surface
End not
underwater
Wrong
Fig. 4 Example of problems with
drain piping work
Fig. 5
Seam
Seam facing up
Fig. 3
01_EN_3P194121-8U.indd 12 2/21/2014 3:31:10 PM