SERVICING
29
TROUBLESHOOTING
THE FOLLOWING INFORMATION IS FOR USE BY QUALI-
FIED SERVICE AGENCY ONLY: OTHERS SHOULD NOT
ATTEMPT TO SERVICE THIS EQUIPMENT.
Common Causes of Unsatisfactory Operation of Heat Pump
on the Heating Cycle.
INADEQUATE AIR VOLUME THROUGH INDOOR COIL
When a heat pump is in the heating cycle, the indoor coil is
functioning as a condenser. The return air filter must always
be clean, and sufficient air volume must pass through the
indoor coil to prevent excessive discharge pressure, and high
pressure cut out.
OUTSIDE AIR INTO RETURN DUCT
Do not introduce cold outside air into the return duct of a heat
pump installation. For units with 2-speed motors, do not
allow air entering the indoor coil to drop below 65° F. Air below
this temperature will cause low discharge pressure, thus low
suction pressure, and excessive defrost cycling resulting in
low heating output. It may also cause false defrosting.
UNDERCHARGE
An undercharged heat pump on the heating cycle will cause
low discharge pressure resulting in low suction pressure and
frost accumulation on the outdoor coil.
POOR “TERMINATING” SENSOR CONTACT
The unit’s defrost terminating sensor must make good
thermal contact with the outdoor coil tubing. Poor contact
may not terminate the unit’s defrost cycle quickly enough to
prevent the unit from cutting out on high discharge pressure.
MALFUNCTIONING REVERSING VALVE - THIS MAY BE DUE TO:
1. Solenoid not energized - In order to determine if the
solenoid is energized, touch the nut that holds the
solenoid cover in place with a screwdriver. If the nut
magnetically holds the screwdriver, the solenoid is ener-
gized and the unit is in the cooling cycle.
2. No voltage at unit’s solenoid - Check unit voltage. If no
voltage, check wiring circuit.
3. Valve will not shift:
a. Undercharged - check for leaks;
b. Valve Body Damaged - Replace valve;
c. Unit Properly Charged - If it is on the heating cycle,
raise the discharge pressure by restricting airflow
through the indoor coil. If the valve does not shift, tap
it lightly on both ends with a screwdriver handle. DO
NOT TAP THE VALVE BODY. If the unit is on the
cooling cycle, raise the discharge pressure by restrict-
ing airflow through the outdoor coil. If the valve does not
shift after the above attempts, cut the unit off and wait
until the discharge and suction pressure equalize, and
repeat above steps. If the valve does not shift, replace
it.
S-50 CHECKING HEATER LIMIT CONTROL(S)
(OPTIONAL ELECTRIC HEATERS)
Each individual heater element is protected with an automatic
rest limit control connected in series with each element to
prevent overheating of components in case of low airflow. This
limit control will open its circuit at approximately 150°F. to
160°F and close at approximately 110°F.
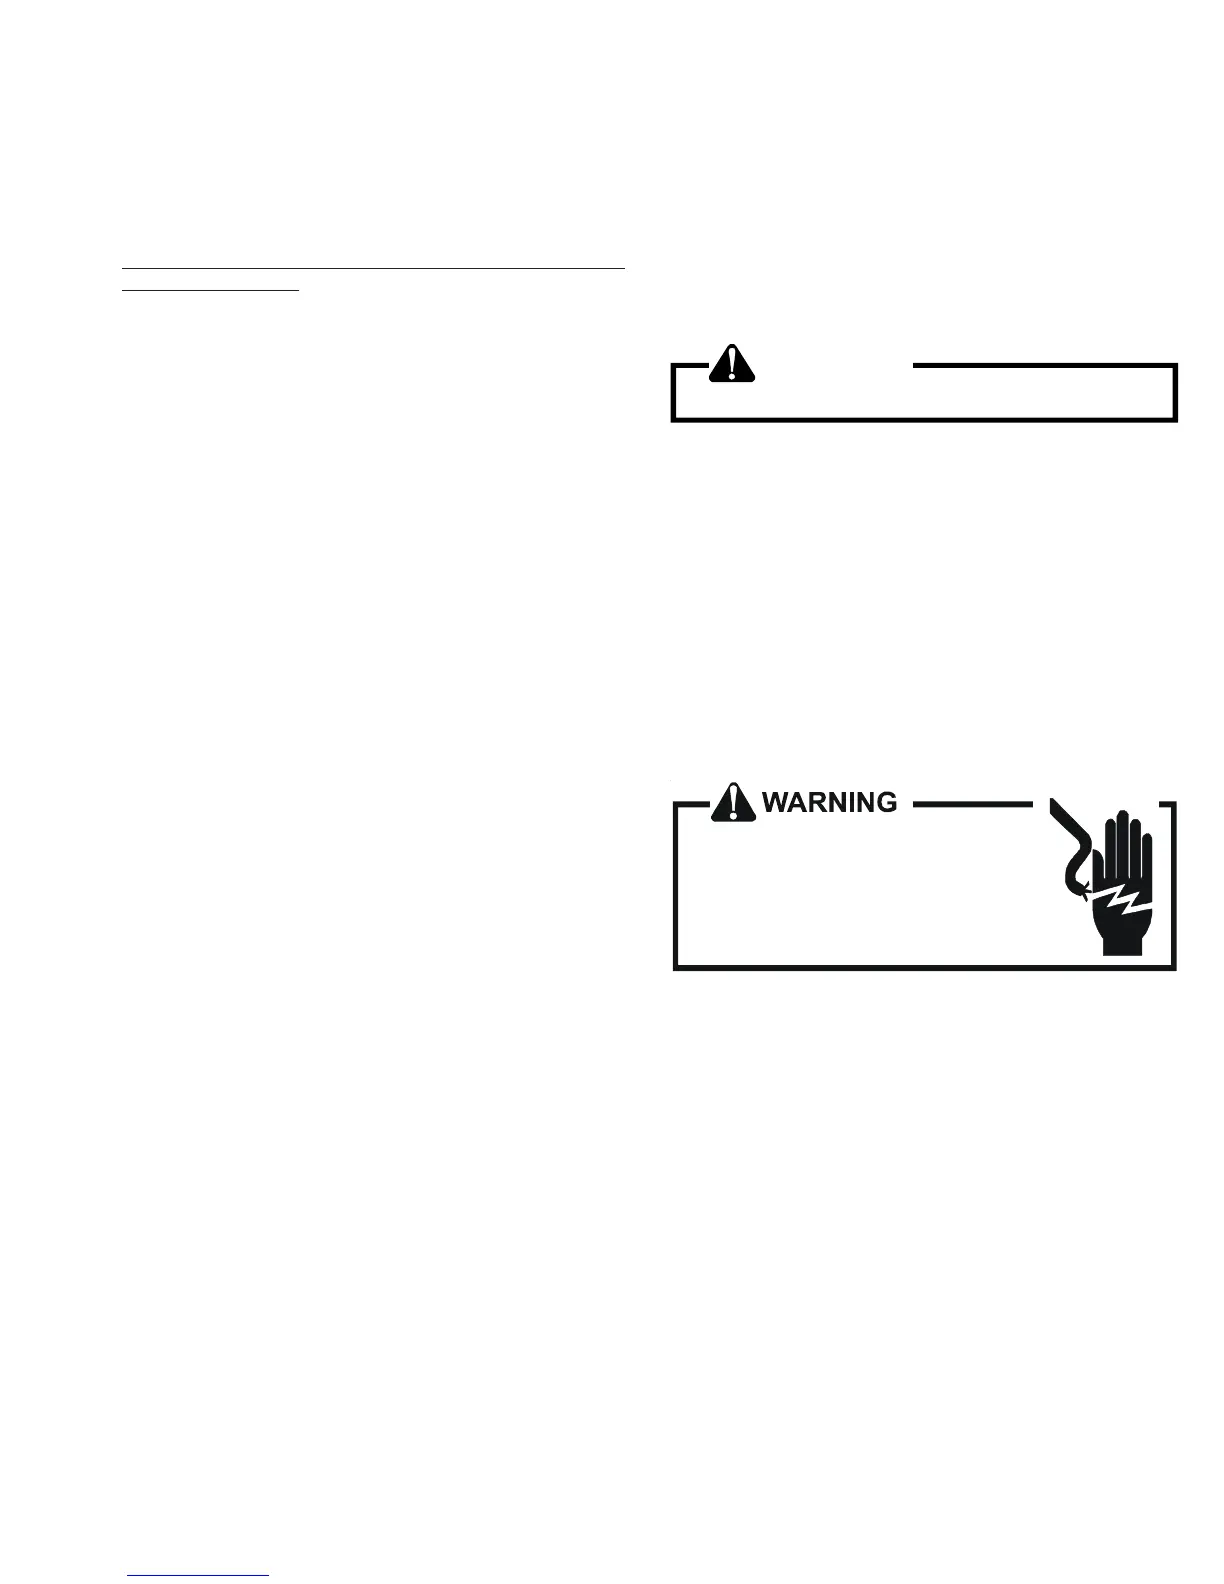
WARNING
Disconnect ALL power before servicing.
1. Remove the wiring from the control terminals.
2. Using an ohmmeter test for continuity across the nor-
mally closed contacts. No reading indicates the control
is open - replace if necessary. Make sure the limits are
cool before testing.
IF FOUND OPEN - REPLACE - DO NOT WIRE AROUND.
S-52 CHECKING HEATER ELEMENTS
Optional electric heaters may be added, in the quantities
shown in the spec sheet for each model unit, to provide
electric resistance heating. Under no condition shall more
heaters than the quantity shown be installed.
HIGH VOLTAGE!
Disconnect ALL power before servicing
or installing this unit. Multiple power
sources may be present. Failure to do so
may cause property damage, personal injury
or death.
1. Disassemble and remove the heating element(s).
2. Visually inspect the heater assembly for any breaks in
the wire or broken insulators.
3. Using an ohmmeter, test the element for continuity - no
reading indicates the element is open. Replace as
necessary.
To obtain the amount of subcooling subtract 109°F from
120°F.
The difference is 11° subcooling. See the specification sheet
for the design subcooling range for your unit.
 Loading...