3 | Components
Service manual
170
EBLA09~16DA + EDLA09~16DA
Daikin Altherma 3 M
ESIE20-06A – 2021.03
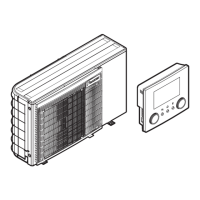
a Low pressure switch
b Low pressure switch pipe
CAUTION
Overheating the pressure switch will damage or destroy it.
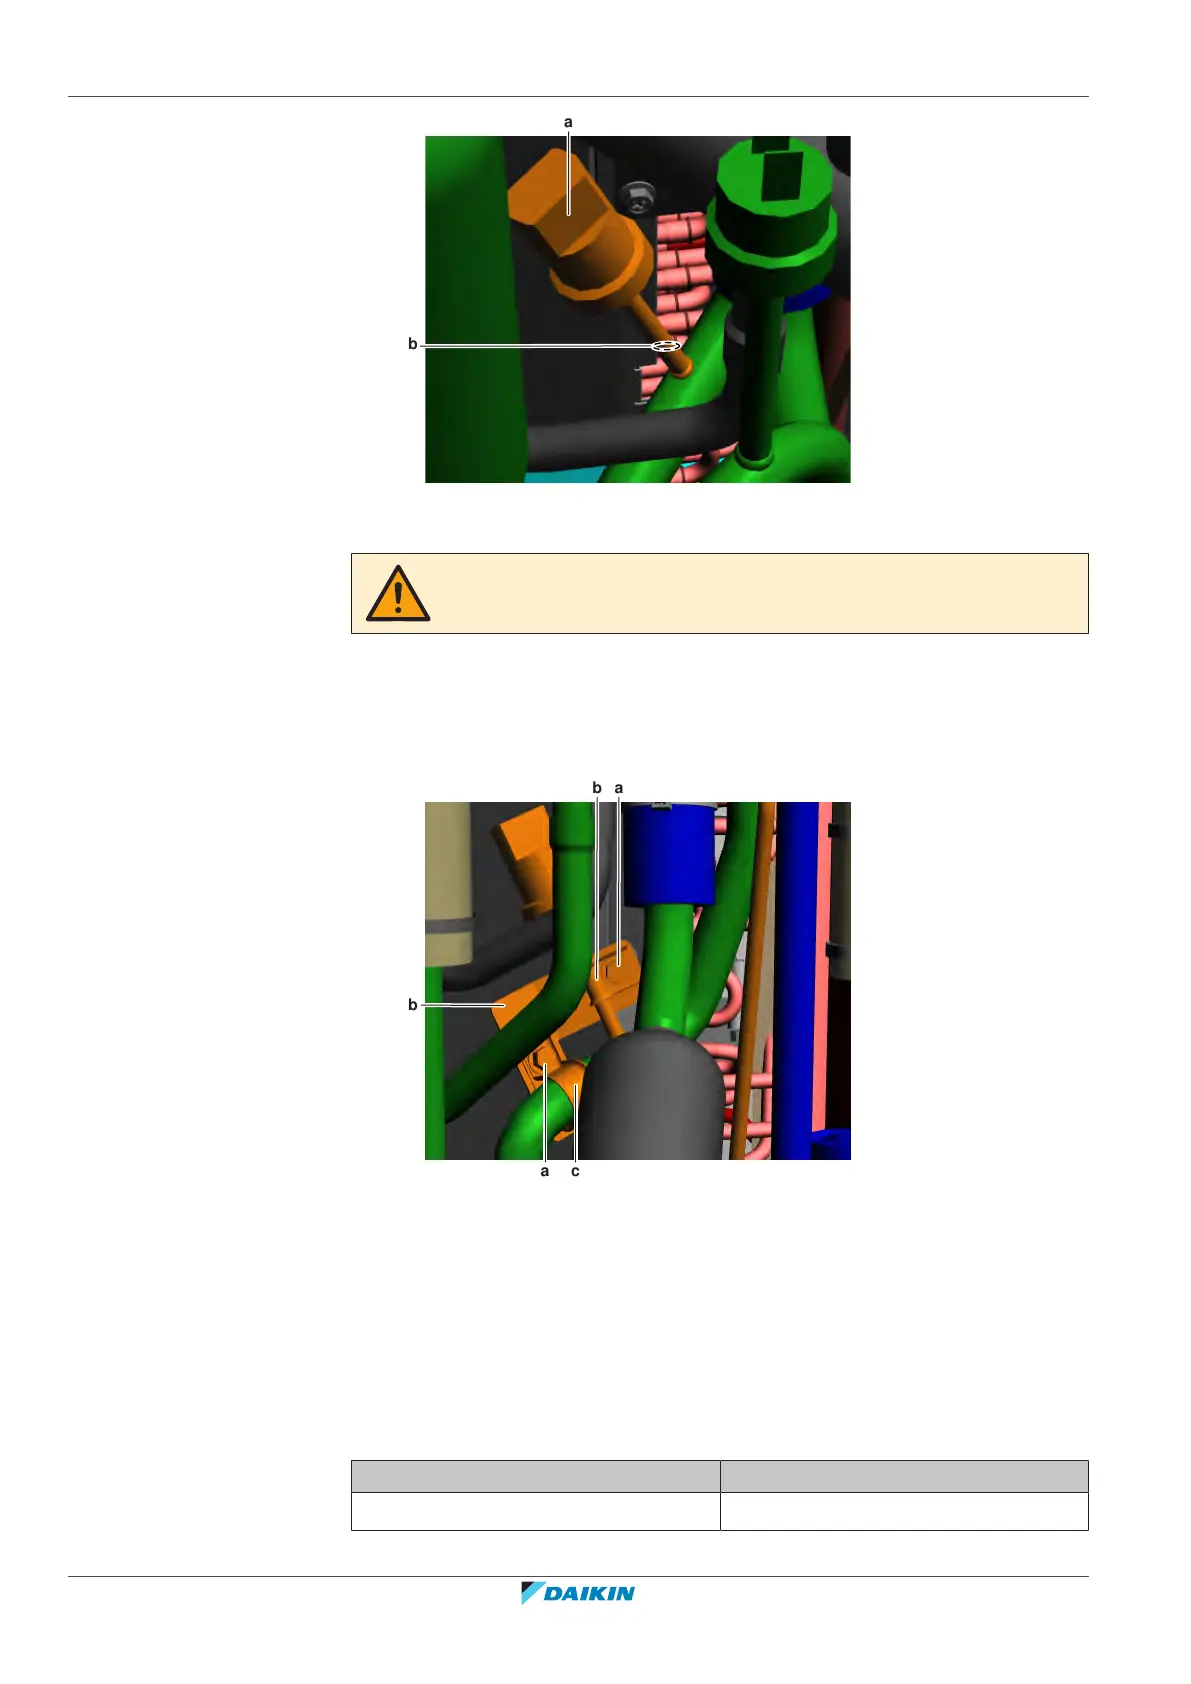
5 After soldering is done, stop the nitrogen supply after the component has
cooled‑down.
6 Install the brackets and clip on the low pressure switch and pipe.
7 Install and tighten the screws.
a Screw
b Bracket
c Clip
8 Route the low pressure switch harness towards the appropriate PCB.
9 Fix the harness using new tie straps.
10 Connect the low pressure switch connector to the appropriate PCB.
11 Perform a pressure test, see "4.2.1Checking procedures"[4286].
12 Add refrigerant to the refrigerant circuit, see "4.2.2 Repair
procedures"[4291].
Is the problem solved? Action
Yes No further actions required.
 Loading...