4-23
4.8.15 Check Valve
●Replacement method
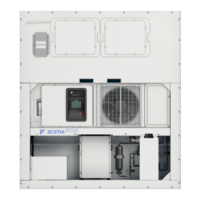
1. Refer location of check valves to below picture.
2. Do not make any mistake about the installation
direction (arrow direction) of the check valve
3. While brazing, keep valve cool below 120℃
(248
F
) with wet cloth.
4. Check if there is no gas leakage after completion
of brazing.
4.8.16 Filter and Strainer
●Replacement method
1. Refer location of check valves to below picture.
2. Install the new check valve in the direction which
an arrow shows.
3. Check if there is no gas leakage after completion
of brazing.
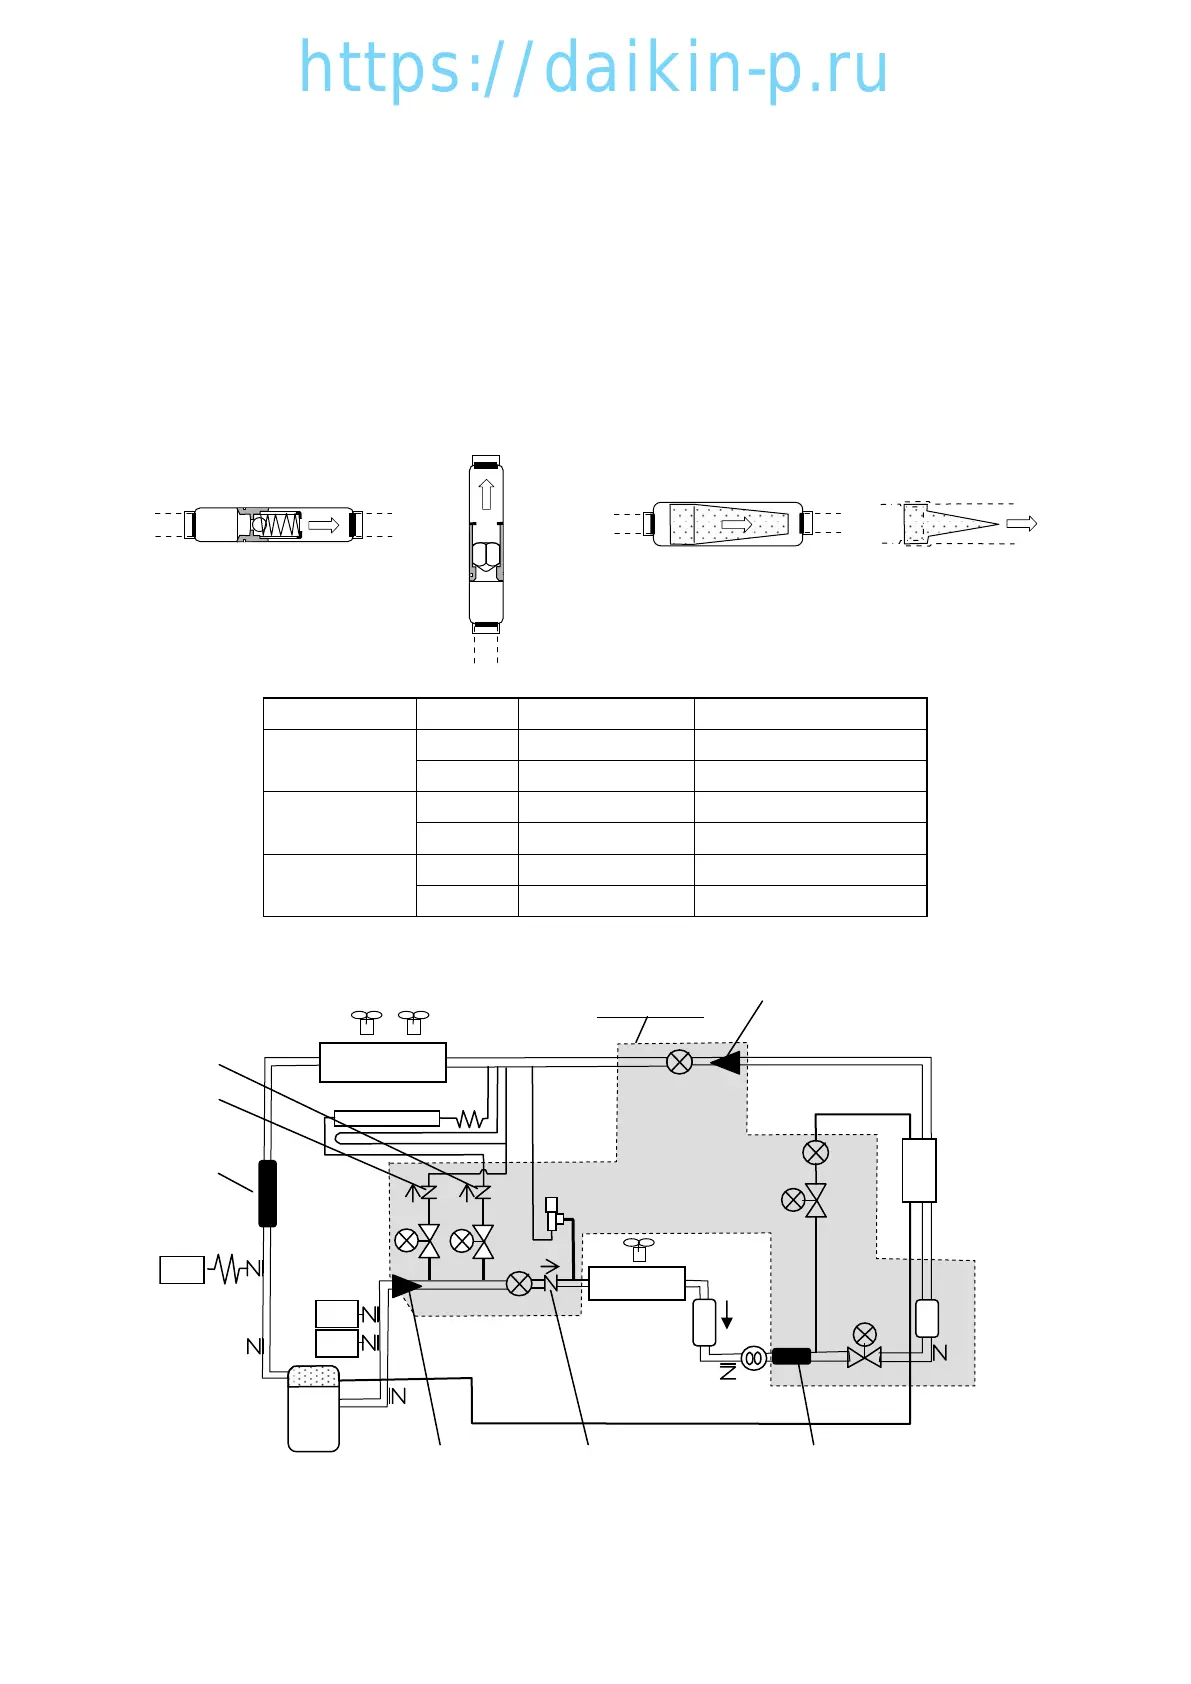
⑥⑦Strainer④⑤Filter①Check valve (Spring type)
②③Check valve (No spring type)
Valve chamber
Economizer
Reheat coil (option)
Receiver
Compressor
HPT
HPS
EMV
ESV
LSV
Dryer
EEV
LPT
Sight glass
CFM
EFM
RSVHSV
PRV
DMV
⑦
①⑤⑥
Evaporator
Condenser
③
②
④
Name No. Size Application
Check valve
① 5/8, φ15.9 DMV outlet
②③ 3/8, φ9.5 HSV, RSV outlet
Filter
④ 1-1/4, 31.8φ Compressor inlet
⑤ 1/2, 12.7φ LSV, ESV inlet
Strainer
⑥ 5/8, 15.9φ DMV, HSV, RSV inlet
⑦ 1/2, 12.7φ EEV inlet
0401-26LX10F11BEn.indd4-230401-26LX10F11BEn.indd4-23 2014/11/1916:42:292014/11/1916:42:29
 Loading...