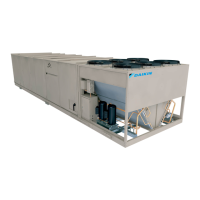
Do you have a question about the Daikin R60BV1 and is the answer not in the manual?
Procedure to remove the top panel by unscrewing 4 screws (A).
Procedure to remove the front panel by unscrewing 6 screws (B).
Procedure to remove the service cover by unscrewing 2 screws.
Procedure to remove the side panel by unscrewing 6 screws (C).
Disconnect the relay connector for the fan motor as the first step.
Detach the outdoor air thermistor and the outdoor heat exchanger.
Remove the sound blanket (top) and the terminal cover.
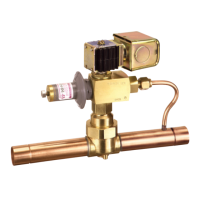
Remove overload protector and 3 lead wires with mounting plate.
Lift up and remove the entire electrical components ASSY.
Ensure refrigerant is empty, apply nitrogen, and remove sound blankets.
Disconnect the suction and discharge pipes at the brazed sections.
Remove the 3 nuts securing the compressor and lift it out.
| Brand | Daikin |
|---|---|
| Model | R60BV1 |
| Category | Air Conditioner |
| Language | English |