2
9
230
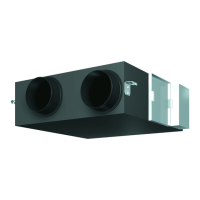
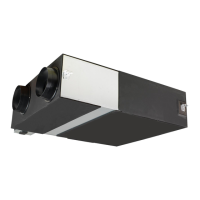
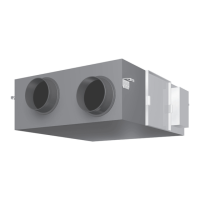
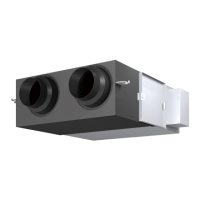
•HRV• VKM-GA(M)V1
•HRV• Heat Reclaim Ventilation
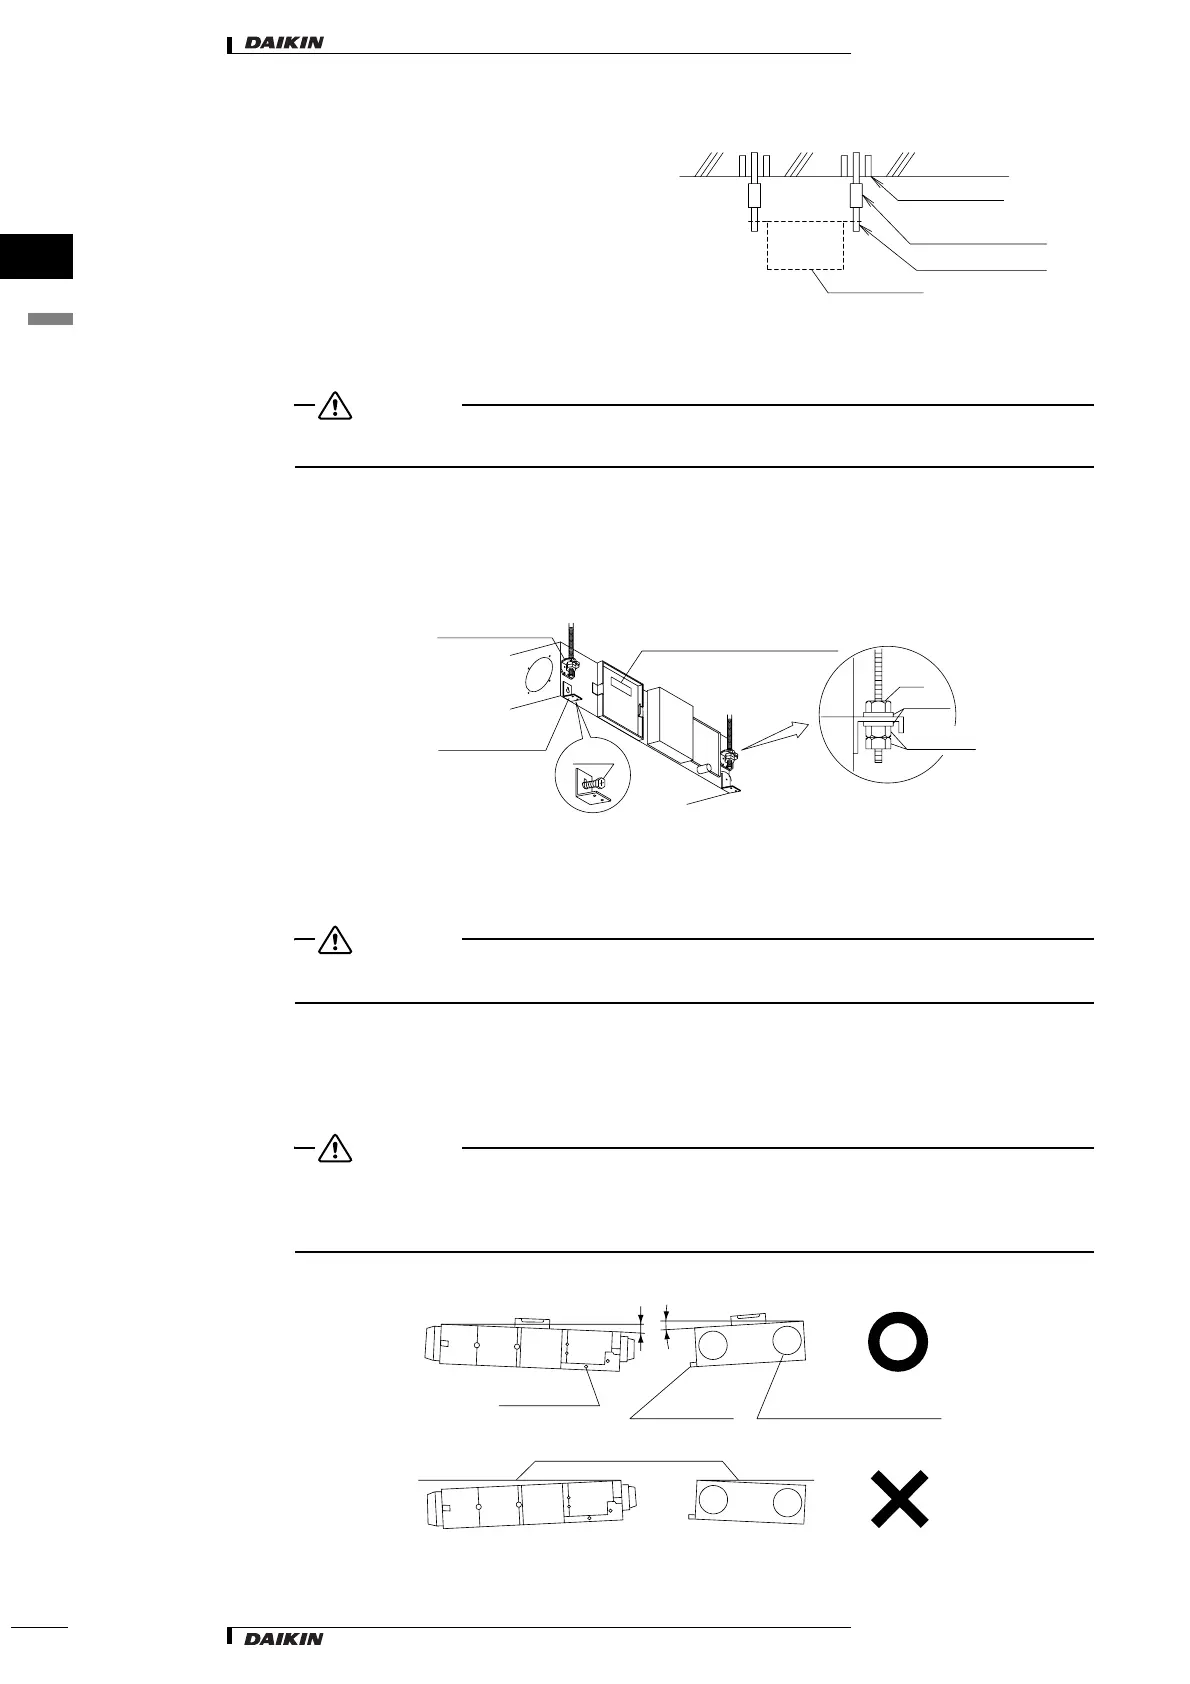
4. Install the suspension bolts.
(Use M10 to M12 suspension bolts.)
Use a hole-in-anchor, sunken insert,
sunken anchor for existing ceilings, or
other part to be procured in the field to
reinforce the ceiling to bearing the
weight of the unit. (Refer to Fig. 3)
9.4 The Method of Installation
CAUTION
〈〈Hold underside of the unit or hanger bracket without putting force on other parts when unpacking
or moving the unit.〉〉
〈〈As for the parts to be used for installation work, be sure to use the provided accessories and
specified parts designated by our company.〉〉
(1) Install the unit temporarily.
•
Attach the hanger bracket to the suspension bolt. Be sure to fix it securely by using nuts (M10, M12) and
washers (M10 with external dia. 30 to 34 mm, M12 with external dia. 36 to 38 mm) (locally procured)
from the upper and lower sides of the hanger bracket.
(Refer to Fig. 4)
(2) If unnecessary, remove the four transportation anchors.
• Loosen the screws.
• Slide upward and remove the transportation anchors.
• Securely tighten the screws as before.
CAUTION
• The screws shouldn’t be removed from the unit and should be tightened in order to prevent air from escaping.
• Check that foreign objects such as plastic or paper are not contained in the unit when installing.
• Install the unit after checking the indoor (SA/RA) and outdoor (EA/OA) in accordance with the figure
duct layout precaution label.
• Do not turn the unit upside down.
(3) Adjust the height of the unit. (Tighten the double nuts securely.)
(4) Check the unit is horizontally level.
CAUTION
Use a level to make sure that the unit is level and that the tilt (downward slope) to the drain piping
connection is within 1°. (Refer to Fig. 5)
(One thing to watch out for in particular is if it is installed so that the slope is not in the direction of the drain
piping, as this might cause leaking.)
(5) Tighten the upper nut.
Note: All the above parts are locally procured.
Suspension bolt
Antivibration lifting
lug or turn buckle
Anchor bolt
Indoor unit
Ceiling slab
Fig. 3
Fig. 4
Hanger bracket
Duct layout precaution label
Washer
Nut
Transportation
anchors
Screw
Double nut
Level
Level
Drain hole
Horizontal line
Drain hole
Duct connecting flange
1º or less 1º or less
Fig. 5
 Loading...