EasyManuals Logo

Dakota Digital VHX-69C-CAM User Manual

Dakota Digital VHX-69C-CAM
40 pages
To Next Page IconTo Next Page
Page #1 background imageLoading...
Page #1 background image
Manual # 650318
VHX-69C-CAM
Dakota Digital VHX Instrument Installation
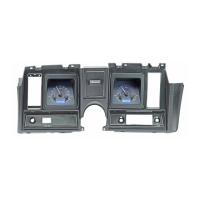
For ‘69 Chevy Camaro systems
Your new VHX-69C-CAM kit will include:
Installation
1. You may be able to access all of the fasteners with the dash carrier installed, removing the entire
assembly may not be necessary. First, remove the clear lenses from the front. Next, remove the
original gauge internals; they are held into the housing with nuts from the backside. The
discarded pieces should match the photo below:
Control Box
Foam Tape
10
-
32x1” Mounting Screws w/
nylon washers
10-32x1.5” Mounting Screws
w/ nylon shoulder washers
Two CAT5 Cables
(To connect Displays to
Control Box)
Universal Sensor
Pack
VHX Displays
(shown with protective film)

Questions and Answers:

Question and Answer IconNeed help?

Do you have a question about the Dakota Digital VHX-69C-CAM and is the answer not in the manual?

Dakota Digital VHX-69C-CAM Specifications

General IconGeneral
Display TypeLCD
CompatibilityUniversal
Oil Pressure Range0-100 PSI
Temperature Range100-300°F
Product LineVHX Series
Input Voltage12 V
Communication ProtocolCAN
FeaturesProgrammable, Backlit
Voltage Range8-18V

Related product manuals