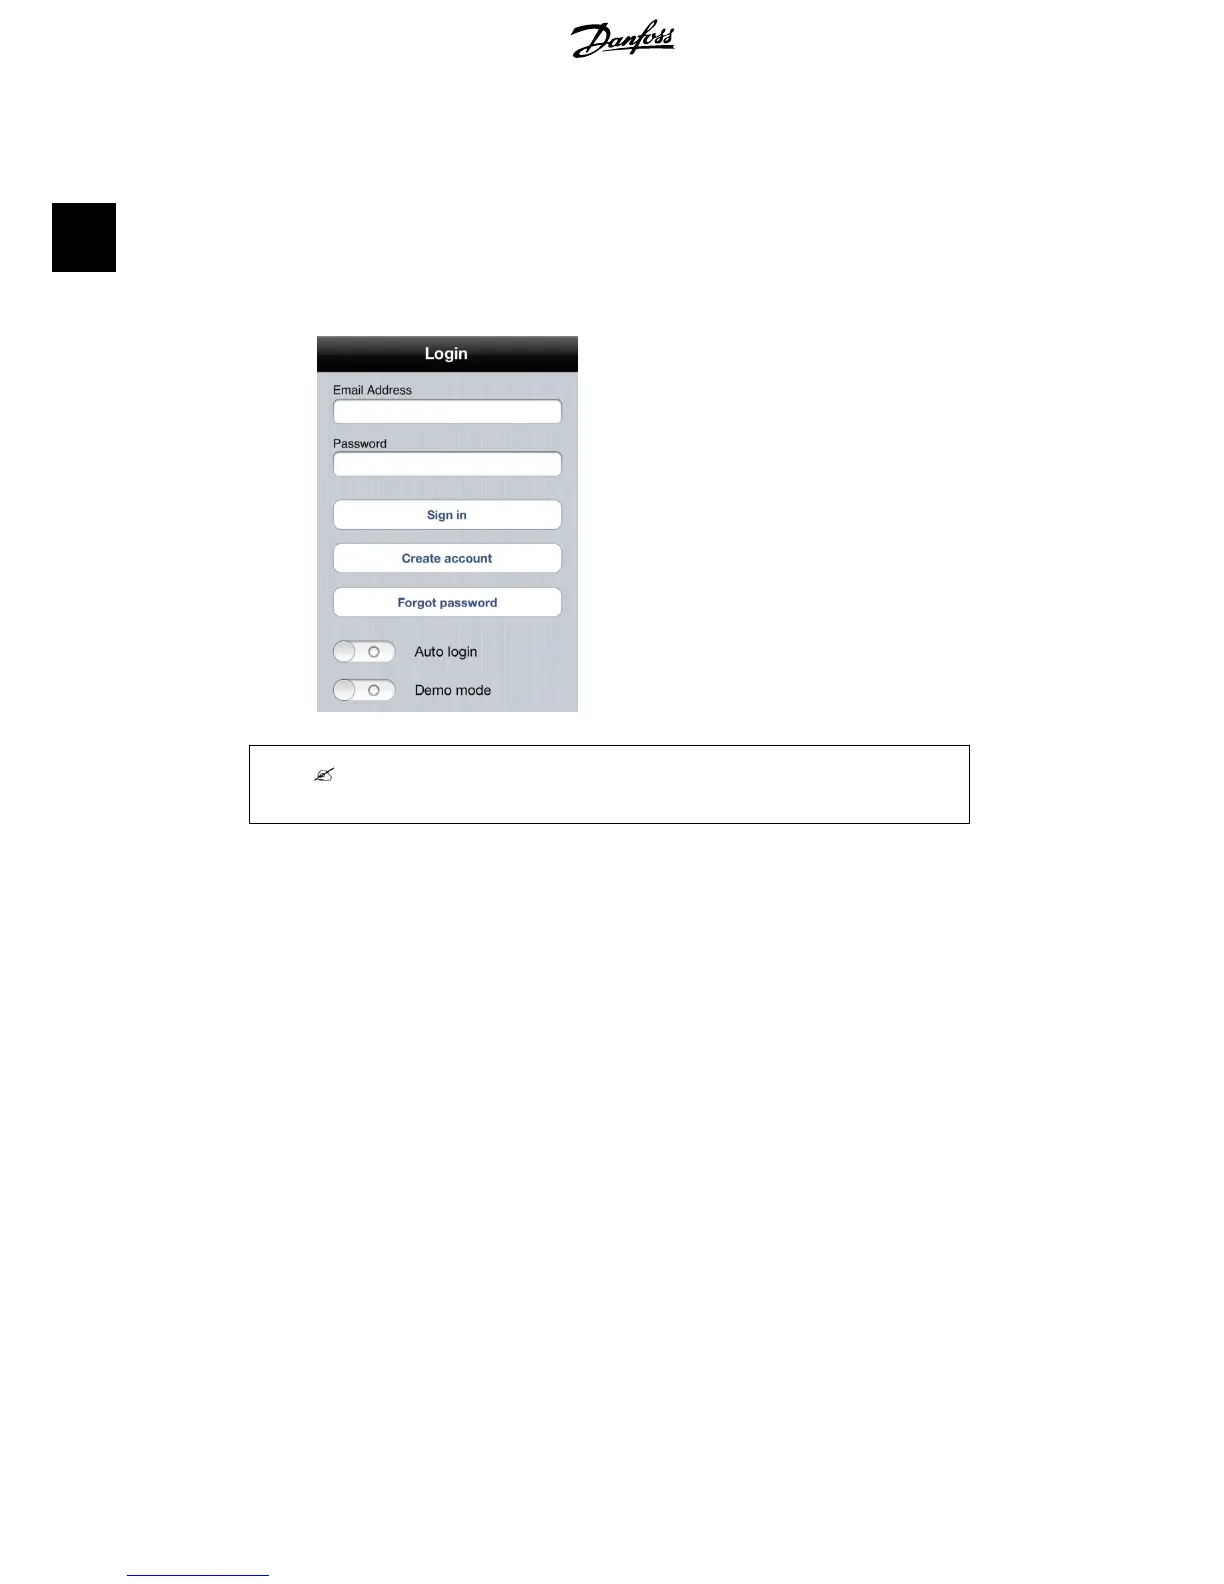
3. Either sign in with an existing account or create a new one:
3.1 Enter an e-mail address and a password.
3.2 Click on 'Create Account'.
3.3 A verification e-mail will come.
3.4 Click on the link in the verification e-mail.
4. Return to the Danfoss SolarApp and click on 'Sign In'. Sign in using the newly created
account.
Illustration 2.1: Login Screen - iPhone Example
Note:
Enable auto login to be automatically logged in every time the Danfoss SolarApp is started.
5. A redirection to the 'Discovery page' follows after signing in. For further details, see
the section
Configuration, First use of the
Danfoss
SolarApp
.
2.2.3. Browser Plugin Installation
1. Navigate to www.clx.danfoss.com to download the browser plugin, following the in-
structions.
2. Once the browser plugin has been installed and an account has been created, enter
the address of the PV plant: serialnumber.clx.danfoss.com in the address line of the
browser. The serial number is in a format, where the first 8 digits are the HW version
of the CLX Series and each CLX box has a different HW version:
- CLX Standard: 139F0196
- CLX Standard GM: 139F0194
- CLX Home GM: 139F0193
The remaining digits are visible on the label at the back of the CLX box, see the illus-
tration below:
2. Installation
6 L00410618-03_02
2