Do you have a question about the Danfoss RESD Series and is the answer not in the manual?
Differentiates HC2 and HC4 models for fan coil control applications.
Lists core functionalities like temperature setting, fan control, defrost, and clock.
Details technical specifications including sensing element, accuracy, power, and dimensions.
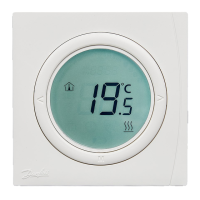
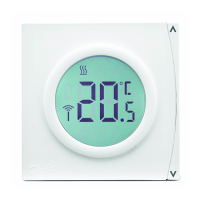
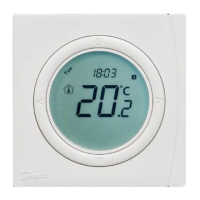
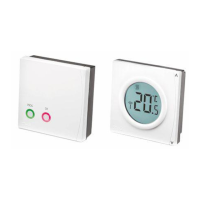
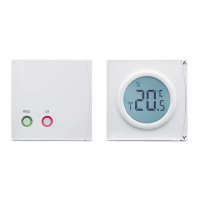
Explains the information shown on the thermostat's LCD screen.
Instructions for powering the device and adjusting the target temperature.
How to choose between cooling, heating, and ventilation modes.
Guide to selecting fan speed: Low, Medium, High, and Auto.
Procedures for setting the current time and date accurately.
Steps to set, modify, and cancel timer schedules for operation.
Detailed guide for setting up four daily events with start times and temperatures over seven days.
How to enable and disable the keypad lock feature for security.
Explains the thermostat's behavior and status after a power interruption.
Details the function that activates heating to prevent freezing.
Information on error indicators (E1, E2) and temperature alerts (HI, LO).
Step 1: Instructions on how to open the thermostat's retaining clip.
Step 2: Guide for correctly connecting the electrical wires to the thermostat terminals.
Step 3: How to mount the thermostat firmly to the wall using screws.
Step 4: Process for attaching the thermostat surface and completing the installation.
Important safety and maintenance notes for proper installation and device protection.
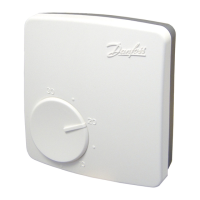
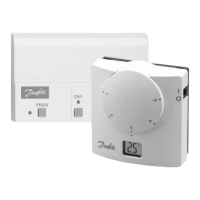
The Danfoss RESD Series Electronic Thermostat is a microprocessor-controlled device designed for temperature regulation in light industry, commercial, and residential settings. Its modern design features a hidden button interface and a large LCD that displays the current operating status, including cooling, heating, ventilation modes, fan speed, ambient temperature, and set temperature. The device is suitable for controlling Fan Coil heating/cooling equipment.
The thermostat controls motorized valves and a 3-speed fan. The HC2 model manages one motorized valve and a 3-speed fan, closing both when the temperature reaches the set-point. The HC4 model is designed for 4-pipe fan coil units, controlling two motorized valves and a 3-speed fan, also closing both when the set-point is met.
The thermostat offers several user-friendly features:
Installation requires a standard electrical box. Wiring must be performed according to the provided wiring diagram. It is crucial to keep water, mud, and other impurities out of the thermostat to prevent damage. The installation process involves opening a clip, wiring the device, fixing it with two bolts, and then locking the surface cover.
| Brand | Danfoss |
|---|---|
| Model | RESD Series |
| Category | Thermostat |
| Language | English |