1
052719 • Version 1.0 • 13.08.2019
1.
Remove the front of the unit.
Remove the PPI lter and replace with new as
per partslist.
The new PPI lter must be right up against both
ends of the cabinet.
Make sure that the hole is furthest away from the
front as shown.
2.
Release humidity sensor from drip tray
and retract it back in to the compressor
compartment.
In the compressor compartment pull the sensor
through the rear hole in the bottom plate.
3.
Find the compressor compartment cover with
the pre-mounted bracket for the humidity
sensor.
Dismount the old cover.
Mount the new cover and move the sensor to
the front.
Note: The bracket is
mounted o center
to t the hole in the
PPI lter
Note: For CDP/CDF 40 and 50 the lters
must be cut according to this illustra-
tion.
1237mm
0mm
130mm
200mm
1447mm
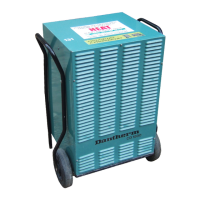
Replacing RH/T sensor (en)
Applies for the following products with serial no. lower than:
• CDP/CDF 40: 1809131526904
• CDP/CDF 50: 1809241528179
• CDP/CDF 70: 1810031531072