1
4
5
6
D
using your mini pie maker
B
using your mini pie maker
A
C
1
2
3
D
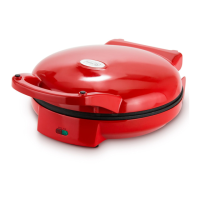
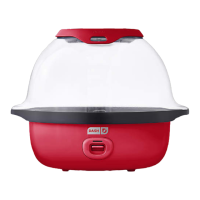
Place the appliance on a stable and dry surface and lift the Cover to
open the Mini Pie Maker. Spray both Cooking Surfaces with a small
amount of cooking spray (photo A).
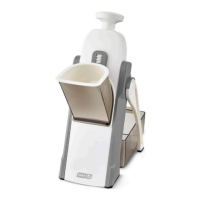
Use your Crust Cutter to shape your dough (photo B). Use any pie crust
recipe or a refrigerated pre-made pie crust. If using a refrigerated crust,
follow the package instructions for preparation, and allow it to soften at
room temperature as directed.
The side of the Crust Cutter labeled Pie Base is for cutting the base of
your pie. The side indicating Pie Top is for cutting the top circle of your
pie. The top circle will be smaller than the base (photo C).
Place the Pie Base side of the Crust Cutter on one section of your
rolled-out dough (photo D). Press down to cut the dough.
using your mini pie maker
B
using your mini pie maker
A
C
∙ 12 ∙ ∙ 13 ∙
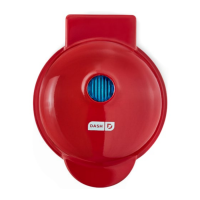
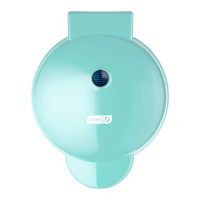
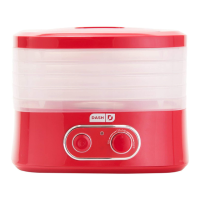
Plug the cord into a power outlet. The Indicator Light will illuminate
blue, signaling that the Mini Pie Maker is heating up.
Do not leave your Mini Pie Maker unattended when plugged in.
Once the Cooking Surfaces reach the optimal cooking temperature,
the Indicator Light will automatically shut off.
NOTE: Always preheat the Mini Pie Maker before adding crusts or
the surface will not heat evenly.