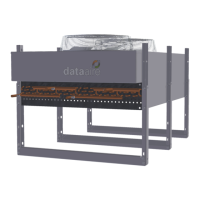
13 • Air Cooled Condenser User Manual
2.6 Leak Testing
NOTE: With any connection there is risk of leakage. Leakage could result in damage.
Leakage can be a result from improper installation and/or practices.
No installation is complete until the entire system has been thoroughly checked for leaks. This
includes checking the refrigerant tubing, flare ttings, pressure controls, Schrader ttings and com-
pressor Rotalock service valves.
With recent changes in the handling and recovery of refrigerant, it is not permissible to release
refrigerant into the atmosphere. Many leak-test methods recommended in the past are no longer
possible. Current standard practices must be used.
Pressurize the system circuit(s) to 150 PSIG (1034 kPa) using dry nitrogen with a trace of refriger-
ant. Check the entire system for leaks with a suitable leak nder (per local code) including but not
limited to all braze joints, caps, ttings and flare nuts on both eld and factory furnished compo-
nents. After completion of leak testing, release test pressure and pull a vacuum on the system.
NOTE: Tightening of tting and valves is the responsibility of the installing contractor.
2.7 Evacuation
Evacuate the refrigerant lines, condenser coil evaporator coil to 300 microns or lower (micron gauge
and 2-stage vacuum pump are required). Valve o and turn OFF the vacuum pump and wait at least
20 minutes to make sure the micron gauge reading does not go back above 500 microns. If it does,
restart the vacuum pump and evacuate until the system reaches 300 microns. If the system still
does not hold the vacuum below 500 microns the system needs to be rechecked for leaks.
NOTE: Do not apply power to the compressor (i.e., run the compressor) when under
a vacuum.