Installing the Capture Card
You are likely to need a at blade and /or a cross head screwdriver for the installation of the
VisionSC-DP2 card; it would be useful to have these to hand before you begin.
• Power down the PC (including peripherals), switch o at the mains and disconnect all the cables
connected to the computer, noting the positions for accurate re-connection
• Remove the PC cover
• Locate a vacant PCI Express slot (x4 or higher) on the motherboard and remove the blanking plate
(retain all screws)
If you are in doubt consult your motherboard documentation to correctly identify a PCI Express slot. If
the card is forced into a 32 or 64 bit PCI or PCI-X slot it will be irreparably damaged when the system is
powered up and the warranty will be void.
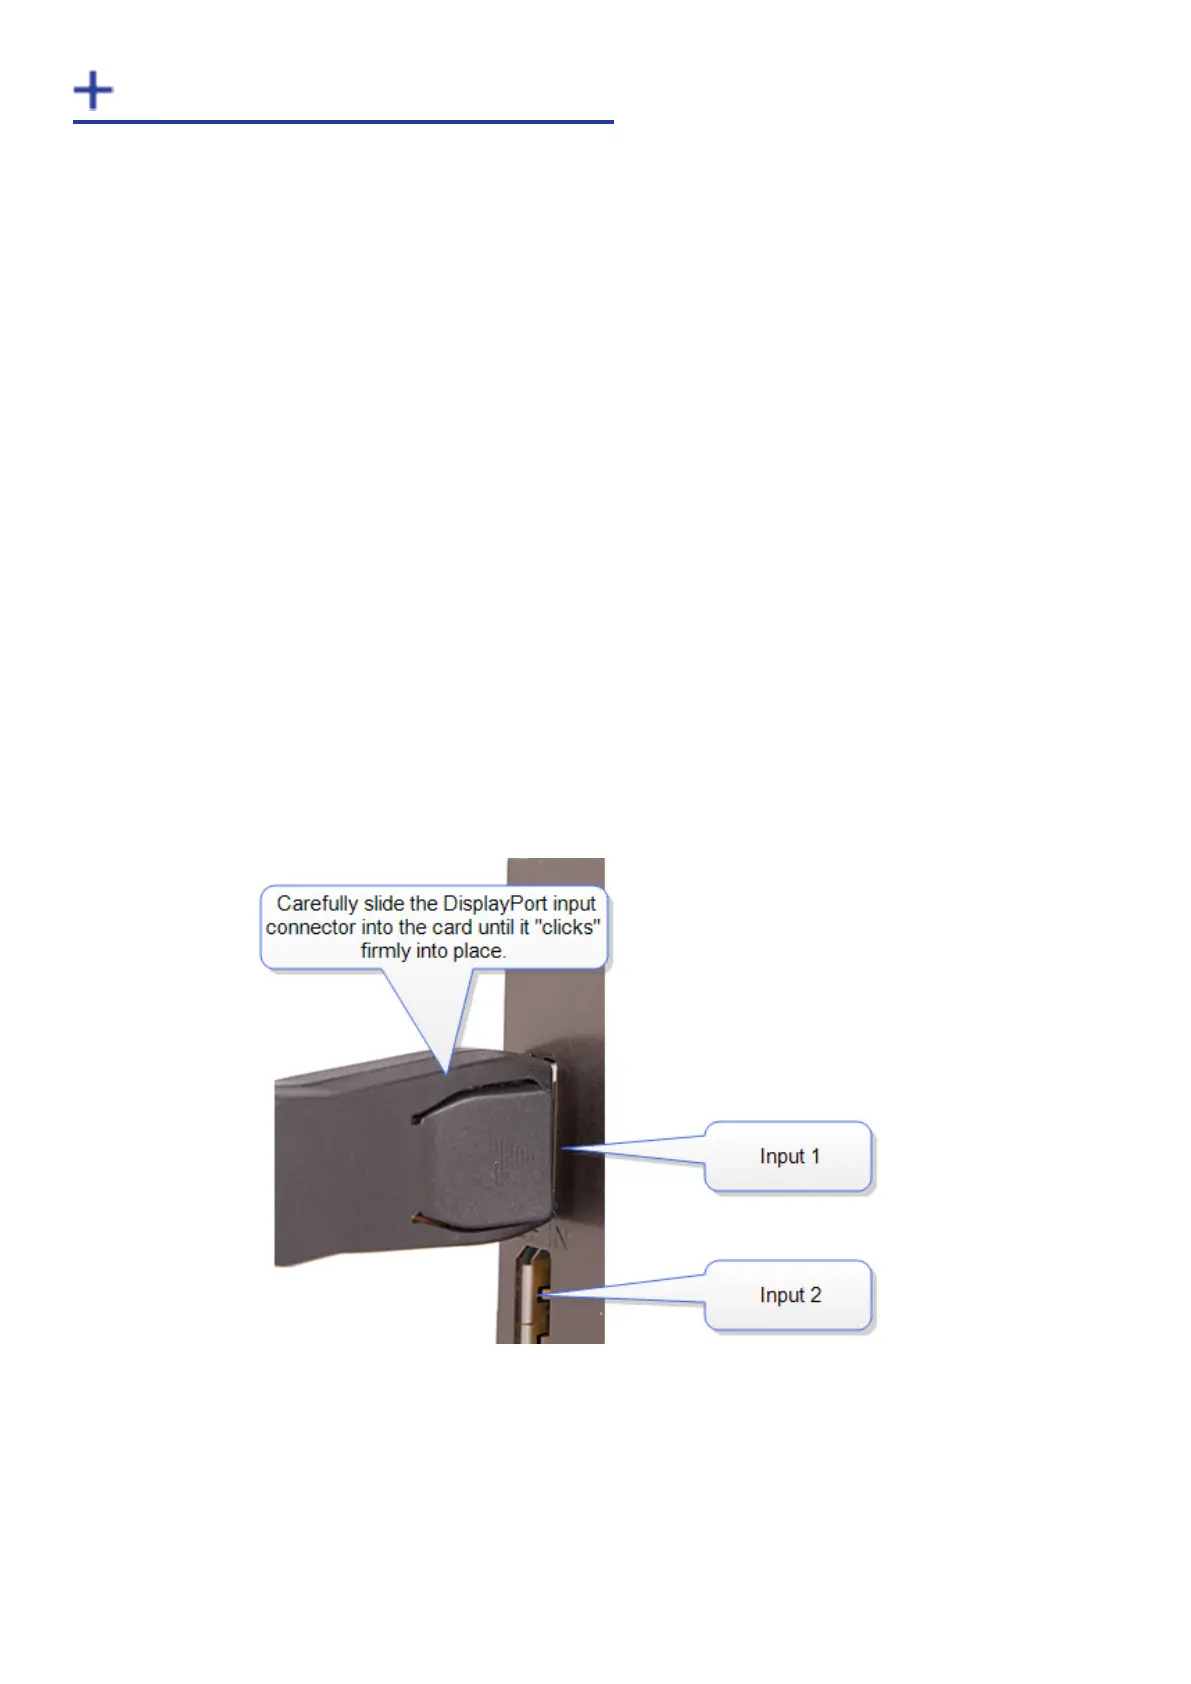
Reconnect all cables to the PC then connect a DisplayPort cables (not supplied) distributing the video
source signal to a DisplayPort connectors on the VisionSC-DP2 capture card
• Power up the PC and commence the software installation
How to Connect Input Sources
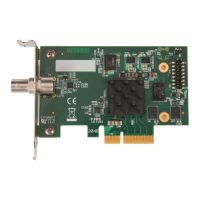
The VisionSC-DP2 card has two locking DisplayPort 1.2 connectors. See Fig. 1
9
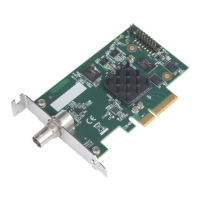
When removing the DisplayPort cables from the VisionSC-DP2, ensure the release button is pressed on
the connector to allow the cable to release freely. (Fig. 2)
Fig. 1