6 7
Evaporative coolers, RO lters and extra draw-off capacity
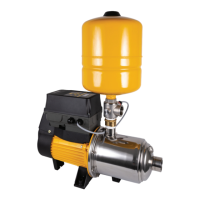
Where a Torrium2 equipped pump is required to supply water to an evaporative cooler,
reverse osmosis (R.O.) lter or similar low ow device, the Torrium2 will detect the
limited demand. This will result in the Torrium2 adapting to the slow demand. The
pump start pressure will be allowed to drop to a lower cut in pressure each time low
ows are detected. To provide the maximum draw-off from the additional pressure tank,
the tank’s pre-charge should be set at 45% of the pump shut-off pressure.
If normal ow is required from your system, Torrium2 will initiate instant start.
Fit the pressure tank downstream of the controller.
DO NOT USE THREAD SEALING COMPOUNDS, HEMP OR PIPE DOPE!
Where to use Check Valves and Foot Valves
The Torrium2 controller tted to BT Boosters has an inbuilt non-return (check) valve tted.
In ooded suction installations there is no need to have a suction non-return valve.
In some suction lift installations there may be good reason to modify the inbuilt
check valve to ensure that the discharge pressure is also applied to the suction line
and footvalve. This could be where the suction line was very long or where there
was concern regarding a leaking footvalve. This may not always be applicable and
it is acceptable to retain the inbuilt check valve in the Torrium2 on suction lifts with
good suction plumbing.
Should the inbuilt check valve be required to be modied though, an additional
accumulator should be tted to the discharge pipework, to ensure the pump is not
cycled on shut down. The size of this accumulator will depend on the size, length
and type of pipe used on the suction.
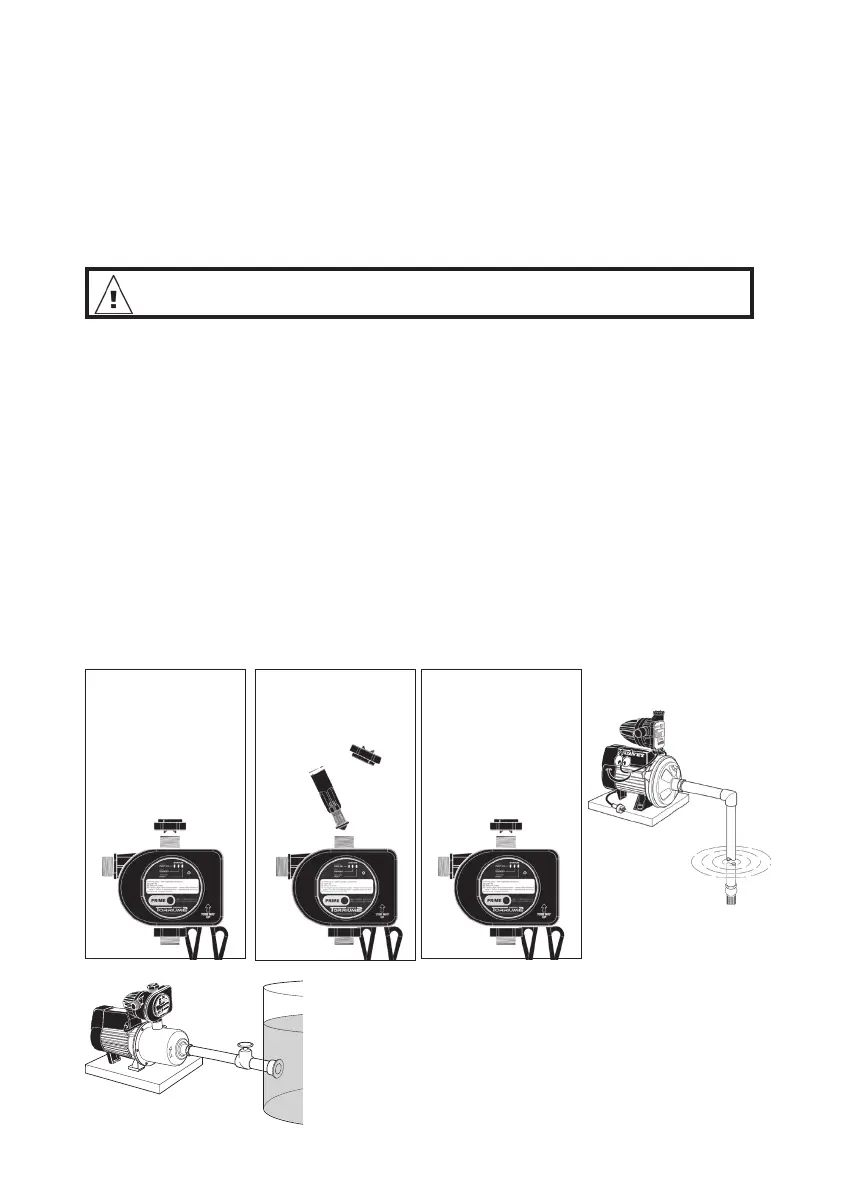
To modify the check valve for suction lift conditions, follow these simple steps: ➞
Torrium2 Check Valve Removal
Installations with ooded suction require
a gate or isolating valve so water supply
can be turned off for pump removal and
servicing.
1. Remove priming
cap and turn over
cap. Lugs on cap
will engage check
valve to unscrew
4. Tighten check
valve using
inverted priming
cap and replace
priming cap
2. Roll off o-rings
3. Re-install check
valve

 Loading...