2
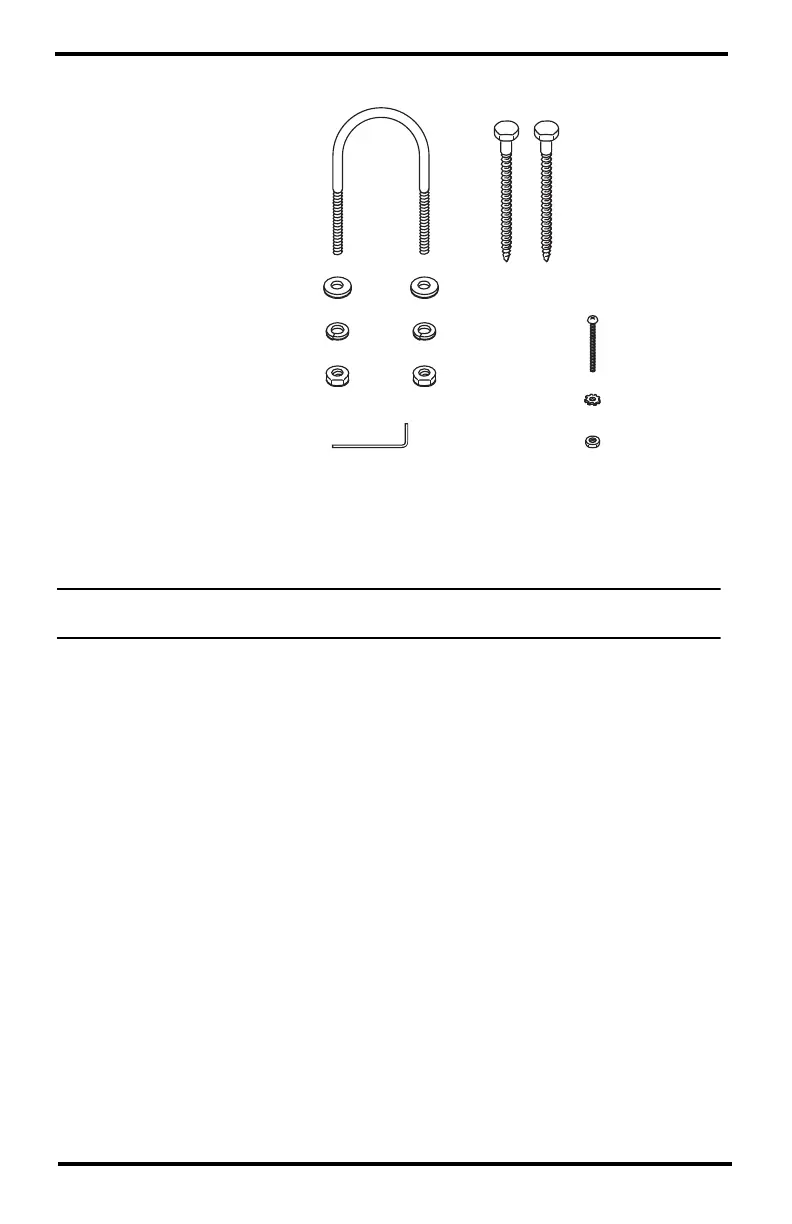
Hardware Kit
Tools for Setup
• Cable Clips or Weather-Resistant Cable Ties
Note: Make sure the clips or ties you use to secure the anemometer cable have screw holes or other
means for mounting the cable. Do not use metal staples to secure the cables.
• Small Screwdrivers
• Adjustable Wrench
• Hand-Held Compass or Local Area Map
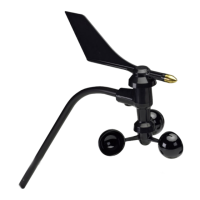
Assemble the Anemometer
Attach the Wind Vane
The wind direction has been calibrated in the factory so that the wind direction
will be correct when the arm is installed pointing north and the vane is installed
correctly.
1. Slide the wind vane onto the wind vane shaft. The shaft’s cross section is D-
shaped to ensure that the anemometer is installed correctly.
2. Tighten the set screw in the wind vane with the Allen wrench.
1/4" Flat Washers
1/4" Lock Washers
1/4" Hex Nuts
U-Bolt
.05" Allen
Wrench
1/4" x 3" Lag Screws
#4 x 1-1/8"
Machine Screw
#4 Tooth
Lock Washer
#4-40 Hex Nut