11
Applying Power
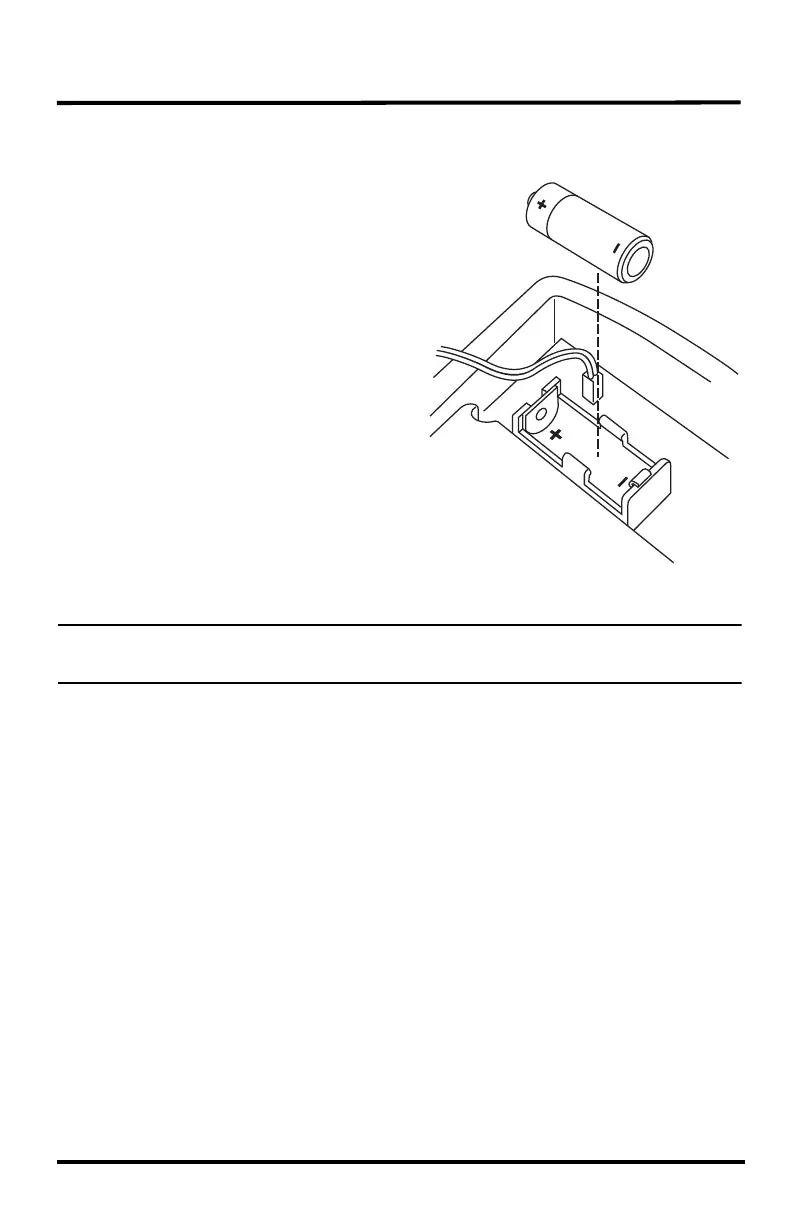
Applying Battery Power
1. To view the wireless repeater board,
open the shelter enclosing the wireless
repeater.
2. Insert the 3-volt lithium battery into
the battery socket at the top of the
board. Be sure to match the “+” sign
on the battery with “+” sign displayed
in the battery socket.
Once the battery is installed, it begins
powering the board.
You may hear a high pitched sound as
the repeater charges up.
Once charged, the repeater performs
the Power-On Self Test (POST) using
the two LEDs located at the bottom of
the board. The "STAT" LED blinks
red, yellow and then green, followed
by the "TX" LED blinking green once,
indicating that the repeater is powered
up and has passed POST.
Note: On battery power alone, it can take up to two or three minutes for the board to charge before the
repeater begins POST and the LED lights blink their pattern. With sufficient solar power, the repeater
powers up and is ready to communicate immediately.
Once the POST light sequence displays, the repeater is ready to communicate. If the
repeater does not display the POST light pattern within three minutes, see “Maintenance
and Troubleshooting” on page 34 for more information.
3-Volt Lithium
Battery