6
4. Slide the tooth-lock washer and hex nut onto the machine screw. Tighten the hex
nut while holding the screw with a Phillips-head screwdriver to prevent it from
turning.
5. Press the sensor cable firmly and completely into the zig-zagging channel in the
base, starting from the arm and progressing downward to the bottom of the base.
This provides strain relief for the cable.
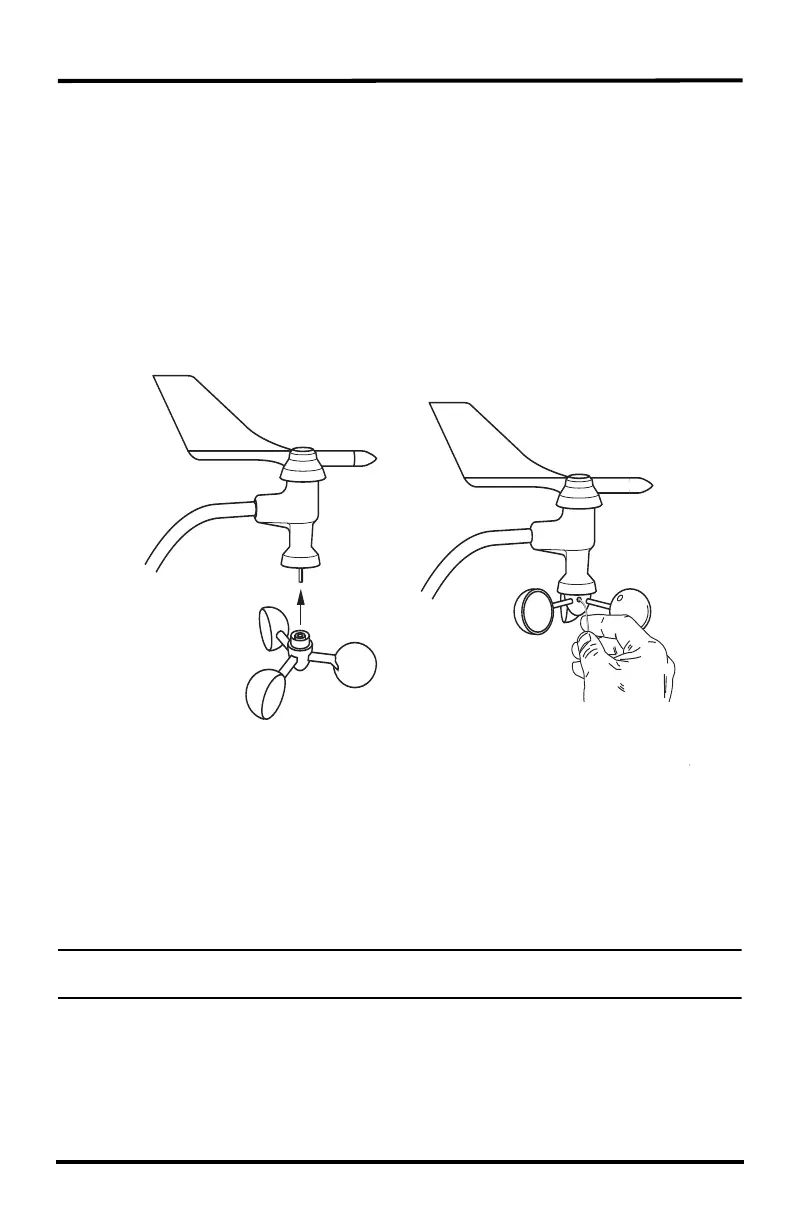
Attach the Wind Cups
1. Push the wind cups up onto the anemometer’s stainless steel shaft, sliding them
up the shaft as far as possible.
2. Use the Allen wrench provided to firmly tighten the set screw on the side of the
wind cups.
The wind cups should drop slightly when you let go.
3. Spin the wind cups. If they spin freely, the anemometer is ready and can be set
aside while you prepare the rest of the sensor suite for installation.
Note: If the wind cups don’t spin freely, take them off and repeat the wind cup installation
process.
Attaching the Wind Cups
Tighten
set screw
with Allen
wrench
Push cups
onto stainless
steel shaft