24
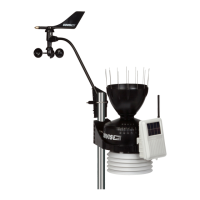
Install the Sensor Suite
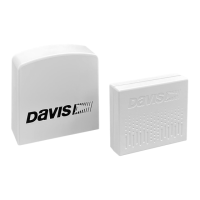
The anemometer and the main part of the sensor suite can be installed either
together as a single unit on a pole, or apart from each other. The main part of
the sensor suite includes the rain collector, the temperature and humidity
sensors, the radiation shield, and the sensor transmitter. Use the U-bolts to
install the sensor suite and anemometer together or separately on a pole. Use
the lag screws to install them separately on a flat, vertical surface.
• The anemometer comes with a 40' (12 m) cable for flexibility in positioning
the system to monitor wind conditions. For example, the anemometer could
be mounted at the highest point of a roof, and the sensor suite could be
mounted on a fence closer to ground level.
• If you would like to install your anemometer even farther away from the
sensor suite or without using a cable, use a Davis Solar-Powered Sensor
Transmitter, #6332.
General Sensor Suite Installation Guidelines
• Install the sensor suite as level as possible to ensure accurate rain
measurements. Use the built-in bubble level (under the rain collector cone,
near the tipping spoon mechanism) or carpenter’s level to make sure the
sensor suite is level.
• In the Northern Hemisphere, the solar panel should face south for maximum
sun exposure, and the anemometer arm should point north for proper wind
direction calibration.
• In the Southern Hemisphere, the solar panel should face north for maximum
sun exposure. Either install the sensor suite and anemometer separately,
each facing north, or mount them as a single unit with solar panel facing
north and the wind vane re-oriented to the South. You will then need to
calibrate your console. ( See “Orient the Wind Vane” on page 25.)
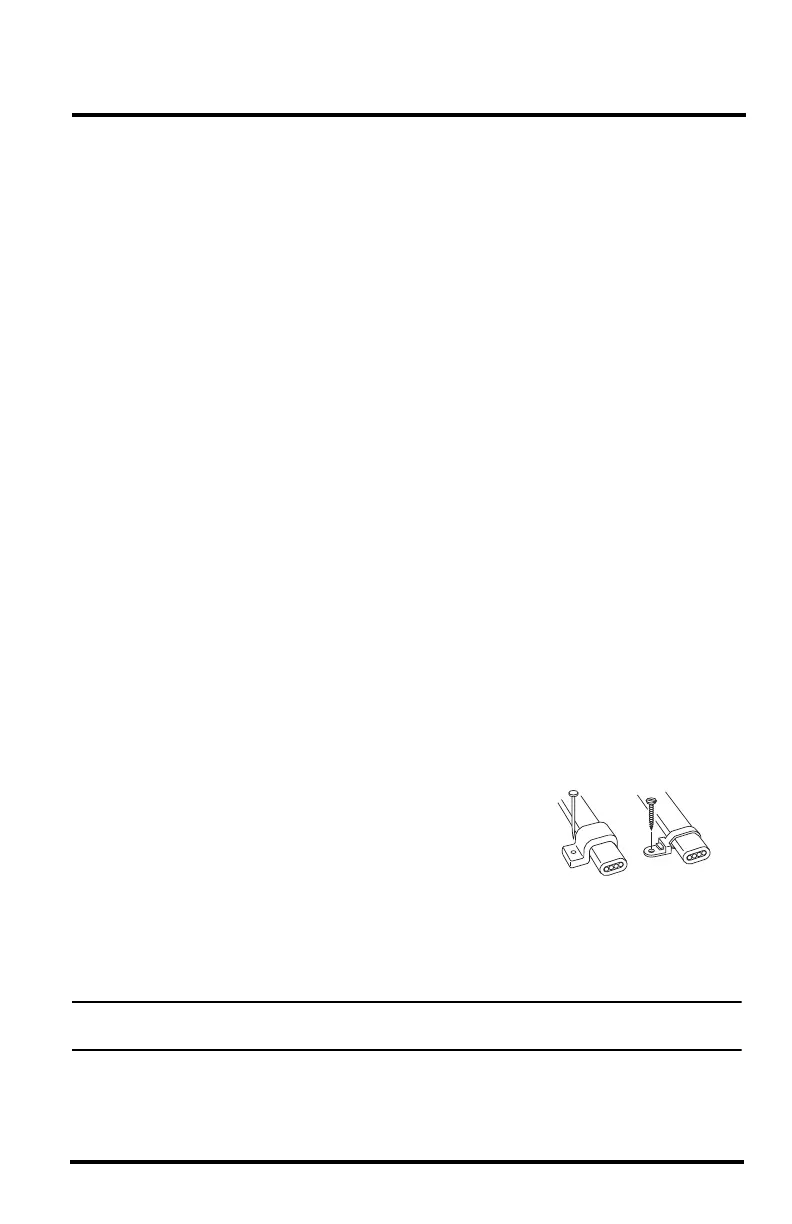
Optional: Guidelines for Securing Cables
• To prevent fraying or cutting of cables, secure
them so they will not whip about in the wind.
• Secure cable to a metal pole using cable ties or
by wrapping tape around both the cables and the
pole.
• Place clips or ties every 3' – 5' (1 – 1.6 m).
• Mounting clips, cable ties or additional hardware not included with your
station can be easily obtained at a hardware or electronics store.
Note: Do not use metal staples or a staple gun to secure cables. Metal staples — especially
when installed with a staple gun — have a tendency to cut the cables.
Cable Clip
Cable Tie