MIRcat OPERATION
•
D11-00028-02-A Page 17 of 54
2. Setting Up
1
If the desired beam height is greater than the 4.0
in. beam height specified for your laser, attach 3
pedestals to the base of the MIRcat laser head
with the additional beam height. For example, if
the desired beam height is 4.5 inches and the
laser beam height is 4.0 inches, use New Focus
3” pedestals, model# 9910 and optical holding
forks #9909 for a final beam height of 4.5
inches.
2
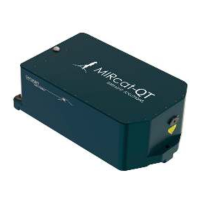
Mount MIRcat laser head on an optical bench
using three (3) screws and/or 3 holding forks
listed above (or similar device). Beam height is
fixed at 4.0 inches if not using any pedestals. See
Section VII-Specifications for more details on
beam height for MIRcat laser heads.
3
Connect USB cable to MIRcat laser head and
Computer:
• Connect the USB cable to a computer USB
port
• Connect USB connector to the MIRcat laser
head
CAUTION: Use caution when
connecting the USB cable if the unit is
plugged in and running. Never unplug
the USB cable during laser operation.
 Loading...