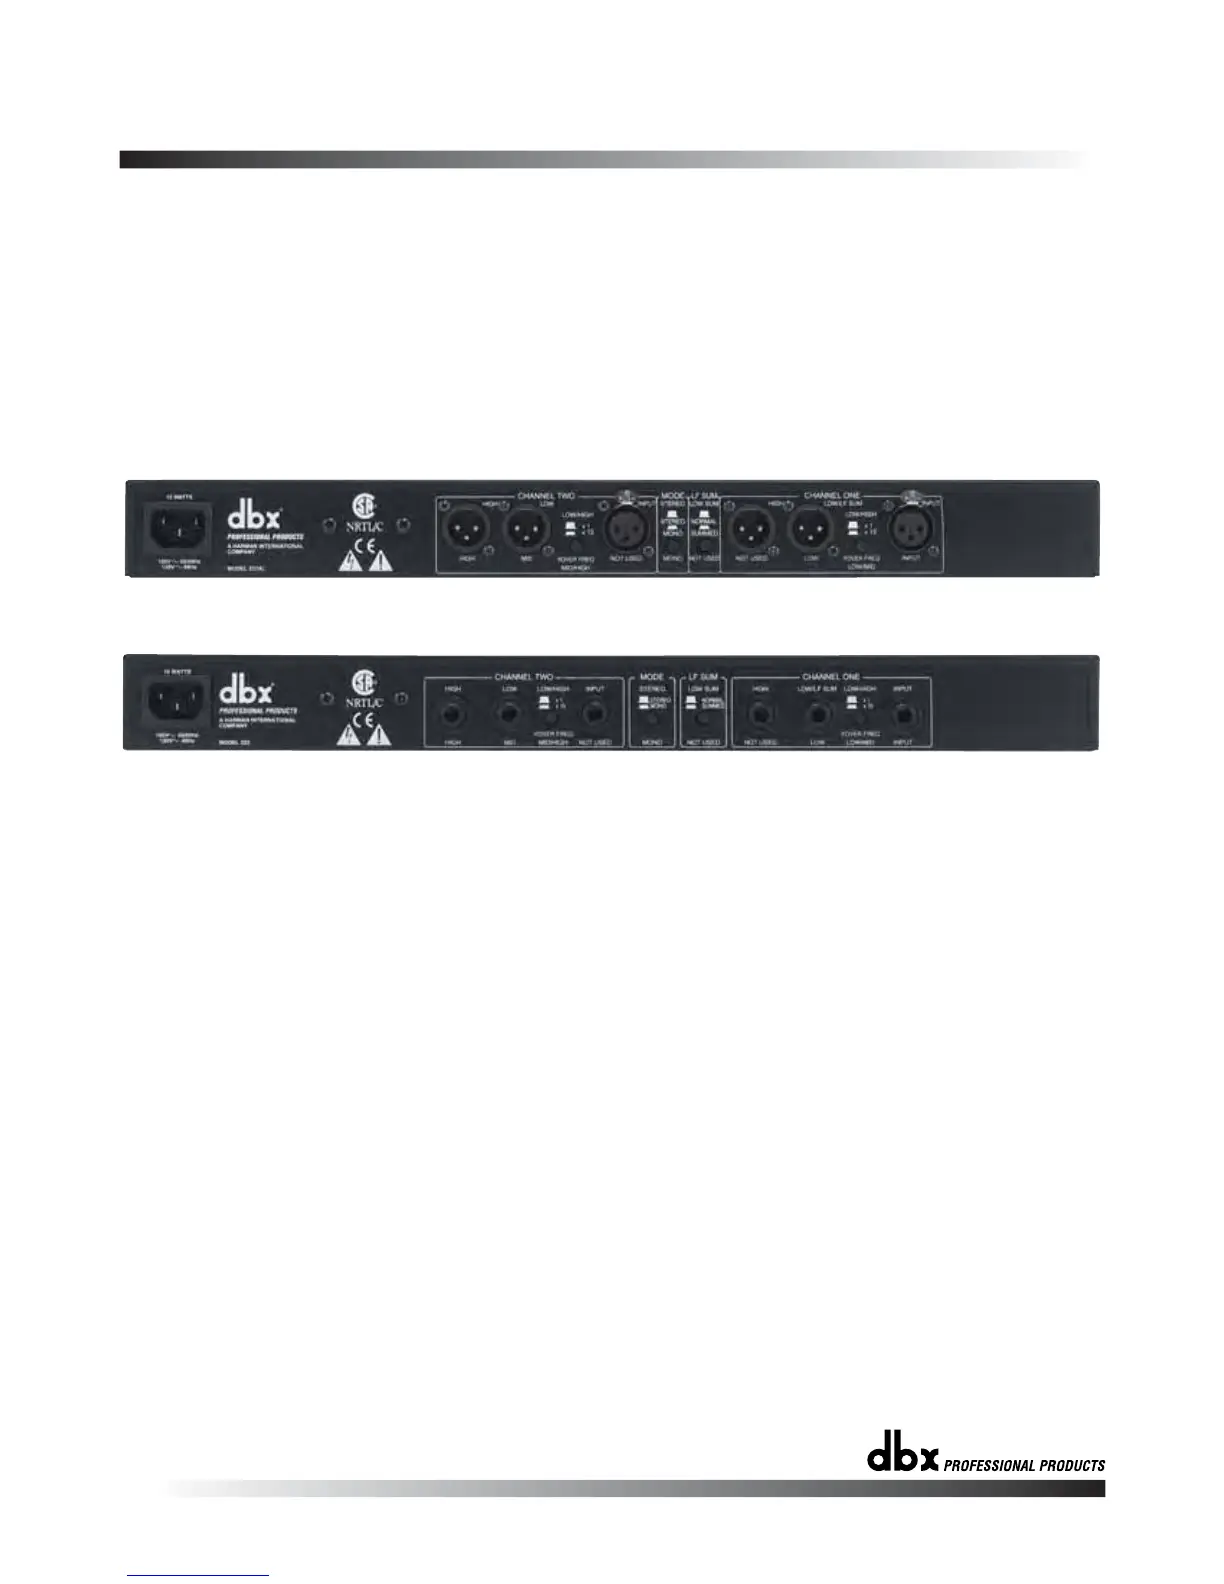
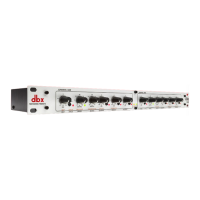
223XL REAR PANEL
223 REAR PANEL
234/234XL-223/223XL
AUDIO CONNECTIONS
ELECTRICAL CONNECTIONS
On the back panel of the 234/234XL, there are markings to help you con-
nect the source devices and amplifiers to your crossover. To operate the
234/234XL in stereo 3-way operation, follow the top row of markings hori-
zontally along the length of the 234/234XL. For stereo 2-way operation of
the 234/234XL, use the second row of markings directly above the con-
nectors. For mono 4-way operation of the 234/234XL, use the markings
directly below the connectors. The connectors not used in the selected
mode are marked “not used”. This designation applies only to that mode
of operation.
The 223/223XL is marked in a similar way: for stereo 2-way operation use
the markings above the connectors. To operate the 223/223XL in mono 3-
way mode use the markings below the connectors.The connectors which
are not used in the selected mode are marked “not used”. This designa-
tion applies only to that mode of operation.
• Before connecting anything to the crossover, make sure it is not con-
nected to any power source.
• Be sure that the source device (equalizer, compressor, mixing console,
etc.) for the 234/234XL-223/223XL is turned off. Connect the output(s) of
the source device to the inputs of the crossover, following the rear panel
markings carefully.
• Make sure that the amplifiers which will be used to drive your speaker
system are turned off. Using the back panel markings as a guide, use
high quality cables to connect the amplifiers to the appropriate outputs
of the 234/234XL-223/223XL.
Ensure that your 234/234XL-223/223XL crossover conforms to the AC
power specifications in your area, by checking the marked voltage spec
on the rear of the unit. Never plug the incorrect voltage into your
7