Start delay Timer (secs)
2
Preheat Timer (secs)
3
Crank attempt Timer (secs)
4
Crank rest Timer (secs)
5
Safety delay Timer (secs)
6
Overspeed overshoot Timer (secs)
7
Warming up Timer (secs)
8
Transfer delay Timer (secs)
9
Return delay Timer (secs)
10
Cooling run Timer (secs)
11
E.T.S.(Energise to stop) solenoid hold Timer (secs)
12
Mains (utility) supply
Mains Low Voltage Trip
V
Mains High Voltage Trip
V
Mains Low Frequency Trip
Mains High Frequency Trip
Generator output
Generator Under Voltage L1-N Trip
V
Generator Under Voltage L1-N Pre Alarm
V
Generator Over Voltage Pre Alarm
V
Generator Over Voltage Trip
V
Generator Under Frequency Trip
Generator Under Frequency Pre Alarm
Generator Over Frequency Pre Alarm
Generator Over Frequency Trip
Delayed Overcurrent % Trip
Charge Alternator Failure Warning
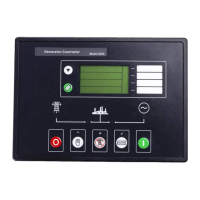
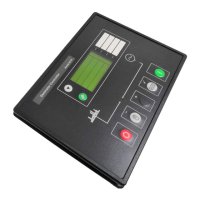
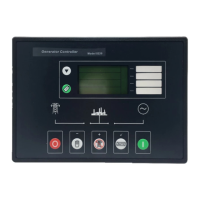
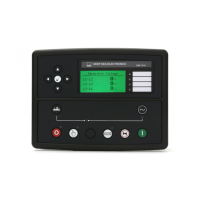
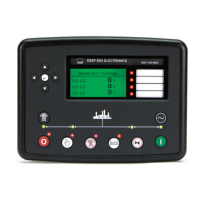
DEEP SEA ELECTRONICS
Model 5220 Installation and Configuration Instructions
Accessing the front panel config’ editor
Press the configure/log and Stop/Reset buttons simultaneously.
The LCD configure indicator
# will flash to indicate that the module is in ‘configuration mode’. Release the
Stop/Reset button and the configure/log button.
If a PIN number has been set, press + / - to set the first digit, then press 9 to adjust the next
digit.
Repeat this until all four digits have been entered.
The first configurable parameter is now displayed. Pressing the + or - buttons will cycle through the
parameters.
NOTE:- To exit the front panel configuration editor at any time, press the Stop/Reset
button. Ensure you have saved any changes you have made by pressing the 9 button first.
Editing an analogue value
Access the front panel config editor as detailed above. Press the +/- buttons to view the parameter you
wish to change (see parameter table overleaf). Press the
9
button to enter adjust mode. The value to be
adjusted will flash. Press the +/- buttons to adjust the parameter to the desired value. Press the
9
button
to ‘save’ the value. The value will stop flashing to confirm that it has been saved. To select another value to
edit, press the + button. Continuing to press the +/- buttons will cycle through the available parameters.
Editing the time
The date/time should initially be set using the 5200 series configuration software. However there may be
certain circumstances where a minor change to the module’s time is required. One such instance is
correction for daylight saving. Access the front panel config editor as detailed above. Press the + button
until the calendar is shown :
To edit the time, press the
9
button. The minutes, ‘30’ in this
example, will begin flashing. Press the + or - buttons to adjust
the minutes. Press the
button to select hours, day, month
and year. The selected parameter will flash.
Press the
9
button to save the change. The time stops flashing
to confirm that it has been successfully stored.
Example : This display is showing a time of 4:30 on 21
st
October 2002.
NOTE:- Full configuration of the 5220 module is possible using the 5200 series configuration
software for PC in conjunction with the P810 interface.
Deep Sea Electronics Plc.
Highfield House, Hunmanby Industrial Estate,
North Yorkshire. YO14 0PH. ENGLAND.
Tel:+44 (0)1723 890099
Fax: +44 (0)1723 893303.
Email: sales@deepseaplc.com
Web: www.deepseaplc.com
LO CALL (from UK BT landlines) : Telephone
0845 260 8900.
Deep Sea Electronics Inc.
3230 Williams Avenue, Rockford,
IL 61101-2668, USA
Phone: +1 (815) 316-8706
Fax: +1 (815) 316-8708
Email: dsesales@deepseausa.com
Web: www.deepseausa.com
TOLL FREE (USA only) Tel: 1 866 636 9703
053-020 ISSUE 4
http://bestgenerator.spb.ru/?page_id=6765