Need Help? Visit DefenderCameras.com/support
4
FIRST, SOME LEARNING
What You’ll Need
• High speed internet connection and wireless router
• Drill and or Phillips #2 screwdriver (Drilling template included)
• 3/32” drill bit for pilot holes
• 7/32” drill bit for wall anchors
• 7/8” long drill bit (Choose the right drill bit based on the surface material)
• A compatible Android or iOS phone or tablet
• Ethernet cable (If you’d like a wired camera setup)
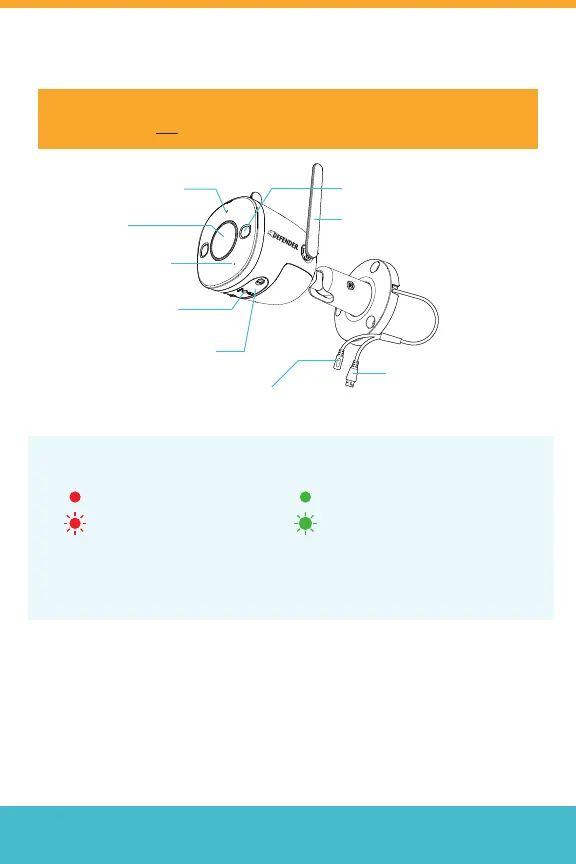
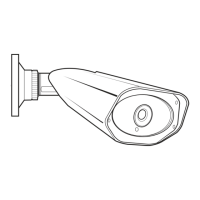
LED Indicator Spot Light
Wi-Fi Antenna
Lens
Built-in Mic
Reset Button
Micro SD Card Slot
(Remove cover to access)
Ethernet Cable
Connector
(Optional for hard wire
connection)
Power Adapter
Connector
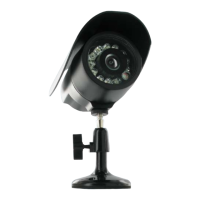
Note: If you see a solid/ashing red indicator on the front of the camera, please reset
the camera by pressing and holding the reset button until you hear a beep. If you see
a ashing green light, the camera is ready to connect.
Solid: Initializing Solid: Camera is connected
Flashing: Camera not connected Flashing: Camera ready to connect
LED Indicator Light Meaning
Important: Guard Pro Wi-Fi Camera will only work on 2.4 GHz Wi-Fi
network and is not compatible with 5 GHz networks.