EasyManua.ls Logo

Delabie TEMPOMATIC 3 - User Manual

Delabie TEMPOMATIC 3
28 pages
Go to English
Print Icon
To Next Page IconTo Next Page
Loading...
NT 49 0
Indice A
TEMPOMATIC 3
TEMPOMATIC 4
Robinetterie électronique
FR
Electronic Mixers/Taps
EN
Elektronische Waschtischarmatur
DE
Armatura elektroniczna
PL
FR
EN
DE
PL
NL
ES
PT
Purgez soigneusement les canalisations avant la pose
et la mise en service du produit.
Vor Montage und Inbetriebnahme des Produkts die
Anschlussleitungen regelkonform spülen.
Spoel zorgvuldig de leidingen alvorens tot installatie
of ingebruikname van de kraan over te gaan.
Purgar cuidadosamente las tuberías antes
de la instalación y de la utilización del producto
Purgar cuidadosamente as canalizações antes
da colocação e utilização do produto
Dokładnie wypłukać instalację przed montażem
i uruchomieniem produktu.
Thoroughly flush the pipes to remove any impurities
before installing and commissioning the product.
Elektronische wastafelkraan
NL
Grifería electrónica
ES
Torneira electrónica
PT
RU
Сенсорная арматура
RU
Перед установкой и подключением устройства тщательно
промыть канализационные трубы напором воды.

Other manuals for Delabie TEMPOMATIC 3

Question and Answer IconNeed help?

Do you have a question about the Delabie TEMPOMATIC 3 and is the answer not in the manual?

Summary

Initial Installation Preparation

Essential Pipe Flushing Procedure

Thoroughly flush pipes to remove impurities before installation and commissioning.

Product Operation and Features

Automatic Operation and Safety Features

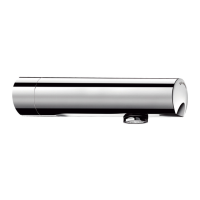
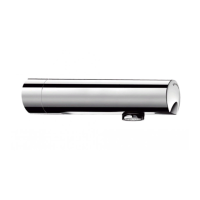
Valve operates automatically with safety delay and anti-legionella flush.

Technical Specifications

Includes non-return valves and operating ambient temperature.

Installation Guide

Sensor Alignment and Water Temperature Limits

Offset sensor zone; maximum water temperature 70°C.

Deck-Mounted Installation

Steps for drilling, mounting, and sealing deck-mounted units.

Filter and Water Supply Connections

Install filters, connect stopcocks, balance pressure, recommended 1-5 bar.

Wall-Mounted Installation

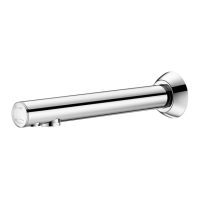
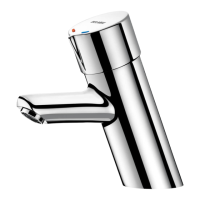
Steps for fixing base, aligning spout, and tightening screws.

Mains Connection and Electrical Supply

Position mains connection; 100-240V power, requires 30mA breaker.

Anti-Scalding Safety Feature

Temperature Limiter Adjustment

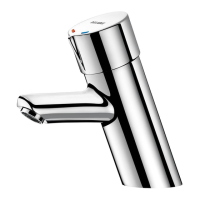
Disengage limiter using Allen key and screwdriver for hot water control.

Healthcare Temperature Limitation (UK;IE)

UK/IE healthcare requires limiter disengaged and a thermostatic mixing valve.

Temperature and Flow Rate Adjustment

Flow Rate Adjustment Guide

Adjust flow rate (3, 4, or 5 lpm) using Allen key on flow straightener.

Installation and Maintenance Reminders

Professional Installation and Pipe Sizing

Mandatory professional installation; correct pipe sizing is crucial.

Installation Protection and Regular Checks

Protect installation with filters/absorbers; check fittings annually.

Maintenance and Cleaning

Chrome Surface Cleaning

Clean with soapy water; avoid abrasive or chemical cleaners.

Frost Protection Procedure

Drain pipes and operate mixer to remove remaining water for frost protection.

Maintenance Procedures

Regular Mixer Component Checks

Periodically check temperature selector and mixing key seats for wear.

Solenoid Valve Replacement (TEMPOMATIC 4)

Detailed steps for replacing the solenoid valve on TEMPOMATIC 4 units.

Solenoid Valve Replacement (TEMPOMATIC 3)

Detailed steps for replacing the solenoid valve on TEMPOMATIC 3 units.

6 V Lithium Battery (CR-P2) Replacement

Procedure for accessing and replacing the 6V Lithium battery.

Safety and Usage Guidelines

Safe Usage for Children and Vulnerable Users

Instructions for supervised use by children and persons with reduced capabilities.

Delabie TEMPOMATIC 3 Specifications

General IconGeneral
BrandDelabie
ModelTEMPOMATIC 3
CategoryPlumbing Product
LanguageEnglish

Related product manuals