Do you have a question about the Delabie TEMPOMATIC 4 and is the answer not in the manual?
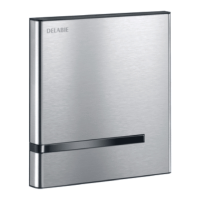
Detects user presence and manages automatic rinsing, preventing accidental activation.
Adjusts flush volume during busy periods and defines rinsing timings T1 and T2.
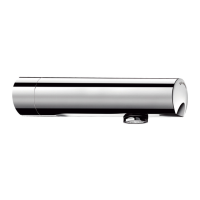
Steps for installing the valve with exposed water supply connections.
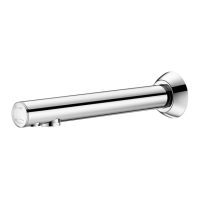
Steps for installing the valve with recessed wall-mounted connections.
Procedure for replacing the battery without shutting off the water supply.
Steps to replace the solenoid valve, including shutting off water supply.
Recommended cleaning methods and frost protection measures for the valve.
| Water Control | Electronic |
|---|---|
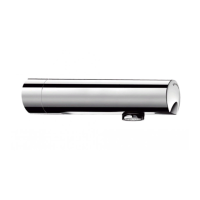
| Activation Method | Infrared sensor |
| Protection rating | IP65 |
| Material | Chrome-plated brass |
| Water flow | 3 lpm |
| Power supply | Battery or mains |
| Temperature control | Thermostatic |
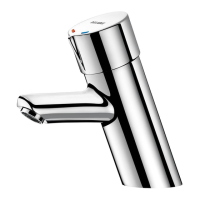
| Installation | Deck mounted |