Installing Drives in the External Bays 9-5
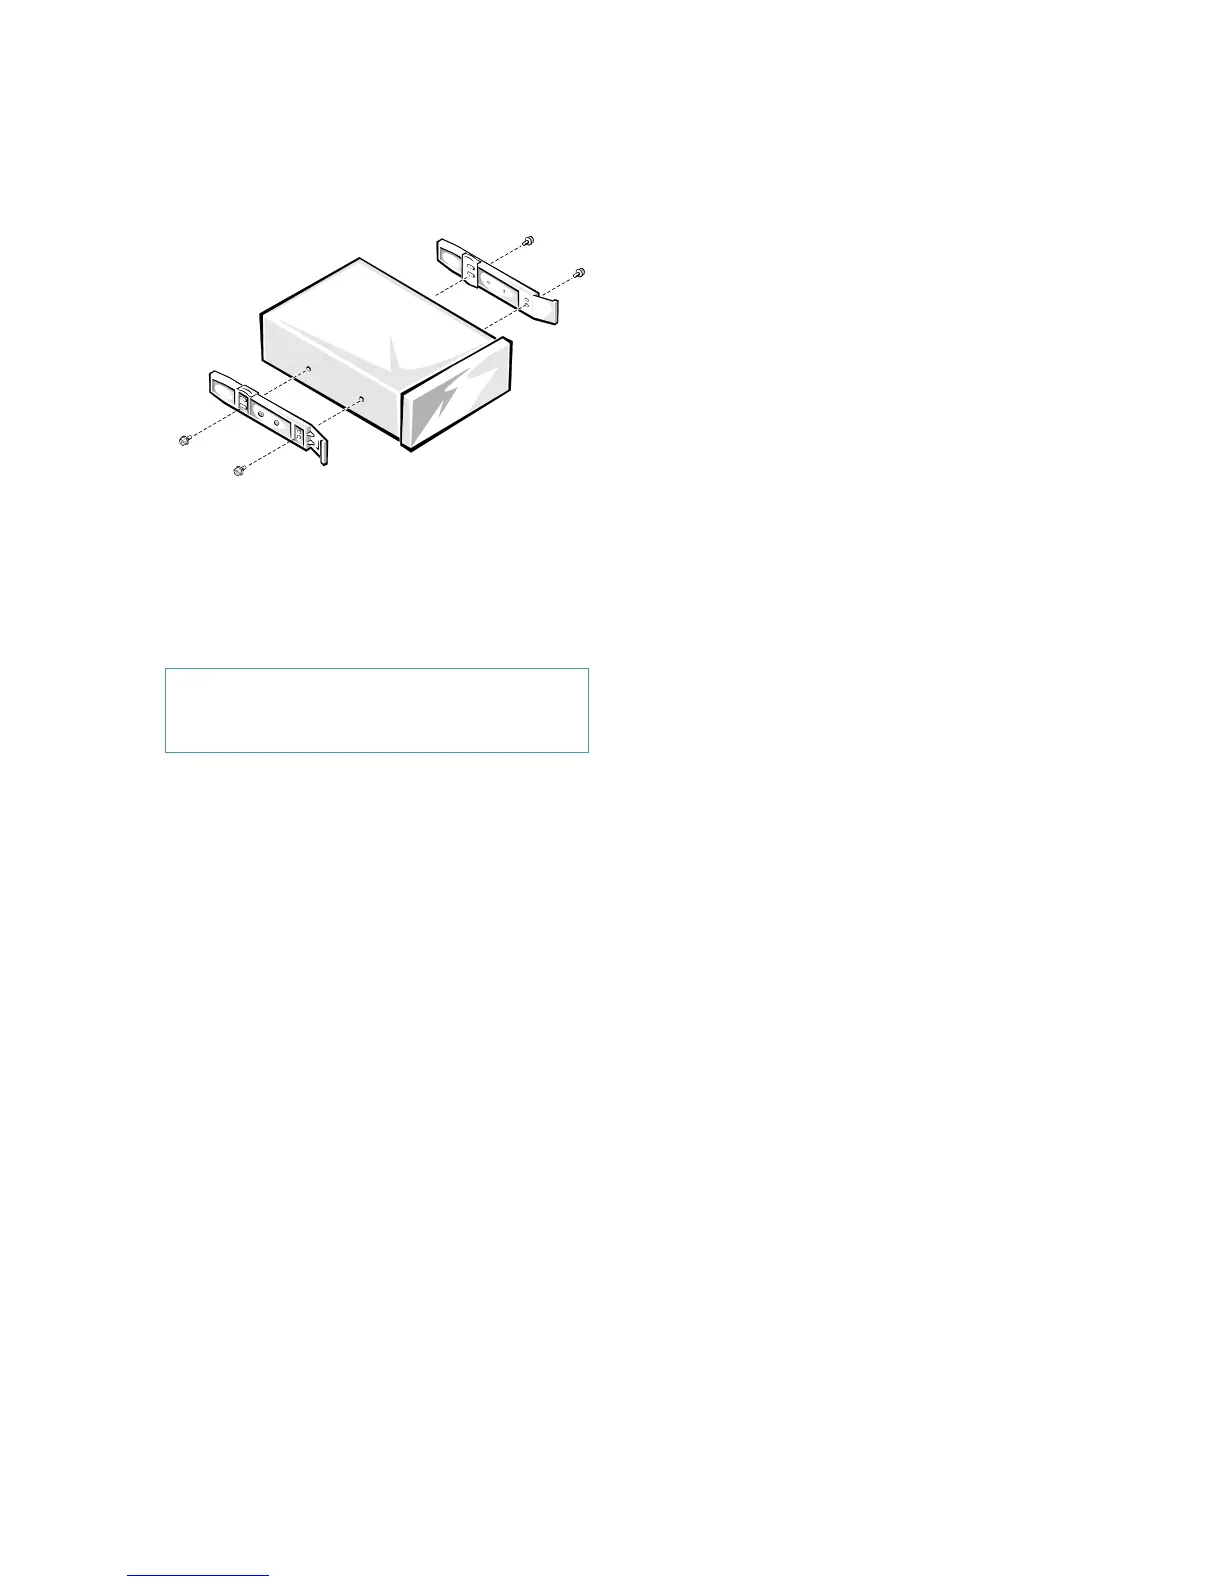
Figure 9-6. Attaching Drive Rails
2. Remove the computer covers and front bezel.
See “Removing the Computer Covers” and “Remov-
ing the Front Bezel” in Chapter 7.
3. Slide the new drive into its bay until it snaps
securely into place.
If necessary, you can adjust drive alignment by
repositioning one or both rails.
4. Connect a DC power cable and one of the connec-
tors on the Ultra/Narrow SCSI cable to the back
of the drive (see Figure 9-7).
If other installed drives are in the way, temporarily
move them out of the way. Press in on the plastic
drive rails at the front of the bay to disengage a
drive, and then slide the drive slightly toward the
front of the chassis.
Refer to “DC Power Cables” (found earlier in this
chapter) to determine the correct DC power cable
connector to use for the drive. Plug the DC power
cable connector into the 4-pin power input connector
on the back of the drive.
Select the connector on the Ultra/Narrow SCSI cable
that most easily reaches the new SCSI device, and
press the interface cable connector firmly into the
drive’s interface connector.
If you moved other drives at the beginning of this
step, snap them back into place.
CAUTION: See “Protecting Against Electro-
static Discharge” in the safety instructions at
the front of this guide.