Do you have a question about the Dell E2420HS and is the answer not in the manual?
Instructions for connecting the monitor to the computer, including safety warnings.
Guide to using the monitor's self-test feature to diagnose issues.
This document serves as a Simplified Service Manual for the Dell E2420HS LCD Monitor, providing essential information for its setup, maintenance, and troubleshooting. It is designed to guide users and service personnel through various procedures, ensuring optimal performance and longevity of the device.
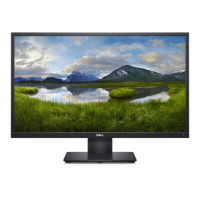
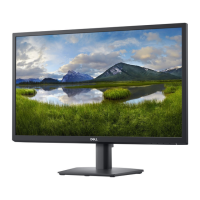
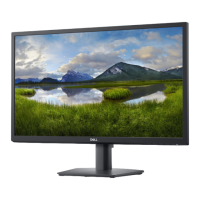
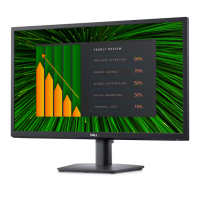
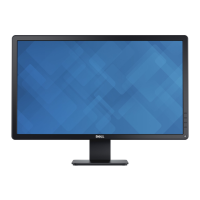
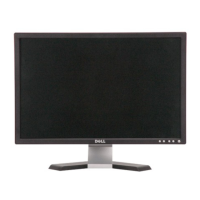
The Dell E2420HS is an LCD monitor designed for general computing use. Its primary function is to display visual output from a connected computer or other video sources. The monitor is equipped with standard video input options, allowing for versatile connectivity with various systems. It features an integrated power supply and a control panel for user interaction, enabling adjustments to display settings and access to built-in diagnostic tools. The monitor is designed to be energy-efficient, incorporating features that help reduce power consumption during operation and in standby mode. Its construction includes a back cover, a stand assembly, and an internal chassis that houses the display panel, power board, and I/F board, all interconnected by various cables.
The Dell E2420HS monitor offers several user-friendly features to enhance its usability. Connecting the monitor to a computer involves a straightforward process: users are advised to turn off their computer and disconnect the power cable before connecting the DP, HDMI, or VGA cable from the monitor to the computer. To optimize cable management, it is recommended to route cables through the designated slot before connecting them to the monitor. Dell emphasizes that its monitors are designed to work best with Dell-supplied inbox cables, and video quality and performance are not guaranteed when using non-Dell cables.
The monitor's control panel, located on the bottom of the panel, includes OSD (On-Screen Display) buttons for navigation and adjustments. These buttons allow users to access and modify various display settings, such as brightness, contrast, color modes, and input source selection. The OSD also provides access to diagnostic tools.
For power management, the monitor includes a power button and is designed to enter standby mode automatically after a period of inactivity if no signal is detected. This feature helps conserve energy. The monitor also supports different video formats and aspect ratios, which can be adjusted through the OSD settings to ensure the picture fills the entire screen correctly, especially when dealing with various media sources like DVDs.
The Dell E2420HS Simplified Service Manual outlines several features and procedures for maintaining the monitor and troubleshooting common issues.
Self-Test Feature: The monitor includes a built-in self-test feature to help users determine if a screen abnormality is an inherent problem with the monitor itself or related to the computer and video card. To run the self-test, users must turn off both the computer and monitor, disconnect all video cables from the monitor, and then turn on the monitor. If the monitor is functioning correctly, it will display a "No DP Cable" or "No HDMI Cable" message and enter standby mode, with the power LED remaining white. This indicates that the monitor's display panel and internal components are working.
Built-in Diagnostics: Beyond the self-test, the monitor offers a more comprehensive built-in diagnostic tool. This tool helps identify screen abnormalities such as dead pixels, color inconsistencies, or other display issues. To activate the diagnostics, users need to ensure the screen is clean, then press and hold button 1 for about 4 seconds until a pop-up menu appears. From this menu, button 3 or 4 can be used to select the diagnostic tool, confirmed by button 2. The diagnostic program displays various test patterns (gray, red, green, blue, black, white, and text screens), allowing users to carefully inspect the screen for abnormalities. Button 4 is used to cycle through these test patterns and to end the program.
Troubleshooting Common Problems: The manual provides a detailed table of common symptoms and their possible solutions. These include:
Disassembly and Assembly Procedures: The manual includes exploded view diagrams and flowcharts for disassembly and assembly, indicating the order and direction of removing components. This is crucial for service personnel performing repairs or component replacements. The diagrams show the location of various parts like the back cover, stand assembly, VESA cover, keypad board, power board, I/F board, and the main chassis. The arrows in the diagrams indicate the direction of disassembly, starting from the back cover.
Tools and Equipment: The manual lists the necessary tools for servicing the monitor, which include a Philips-head screwdriver and a Hex-head screwdriver, ensuring that technicians have the correct equipment for safe and effective maintenance.
Overall, the Dell E2420HS Simplified Service Manual provides a comprehensive guide for understanding, operating, and maintaining the monitor, empowering users and service personnel to address common issues and ensure the device's reliable performance.
| Screen Size | 23.8 inches |
|---|---|
| Resolution | 1920 x 1080 (Full HD) |
| Panel Type | IPS |
| Refresh Rate | 60 Hz |
| Aspect Ratio | 16:9 |
| Brightness | 250 cd/m² |
| Contrast Ratio | 1000:1 |
| Color Support | 16.7 million colors |
| VESA Mount | 100 x 100 mm |
| Power Consumption | 18W (typical) |
| Response Time | 5 ms (gray to gray) |
| Ports | VGA |
| Viewing Angle | 178° |
| Weight (with stand) | 3.96 kg (8.73 lb) |