COLOR TEMPERATURE—
Allows you to adjust the color
temperature. The screen appears cooler at higher color
temperatures and warmer at lower color temperatures.
SATURATION—
Allows you to adjust the video source from black
and white to fully saturated color. Press to increase the
amount of color in the image and to decrease the amount
of color in the image.
SHARPNESS—
Press to increase the sharpness and to
decrease the sharpness.
TINT—
Press to increase the amount of green in the image
and to decrease the amount of green in the image.
WHITE INTENSITY—
Press and use and to display white
intensity.
NOTE: If you adjust the settings for
Brightness
,
Contrast
,
Color
Temperature
, and
White Intensity
the projector automatically
switches to Custom mode.
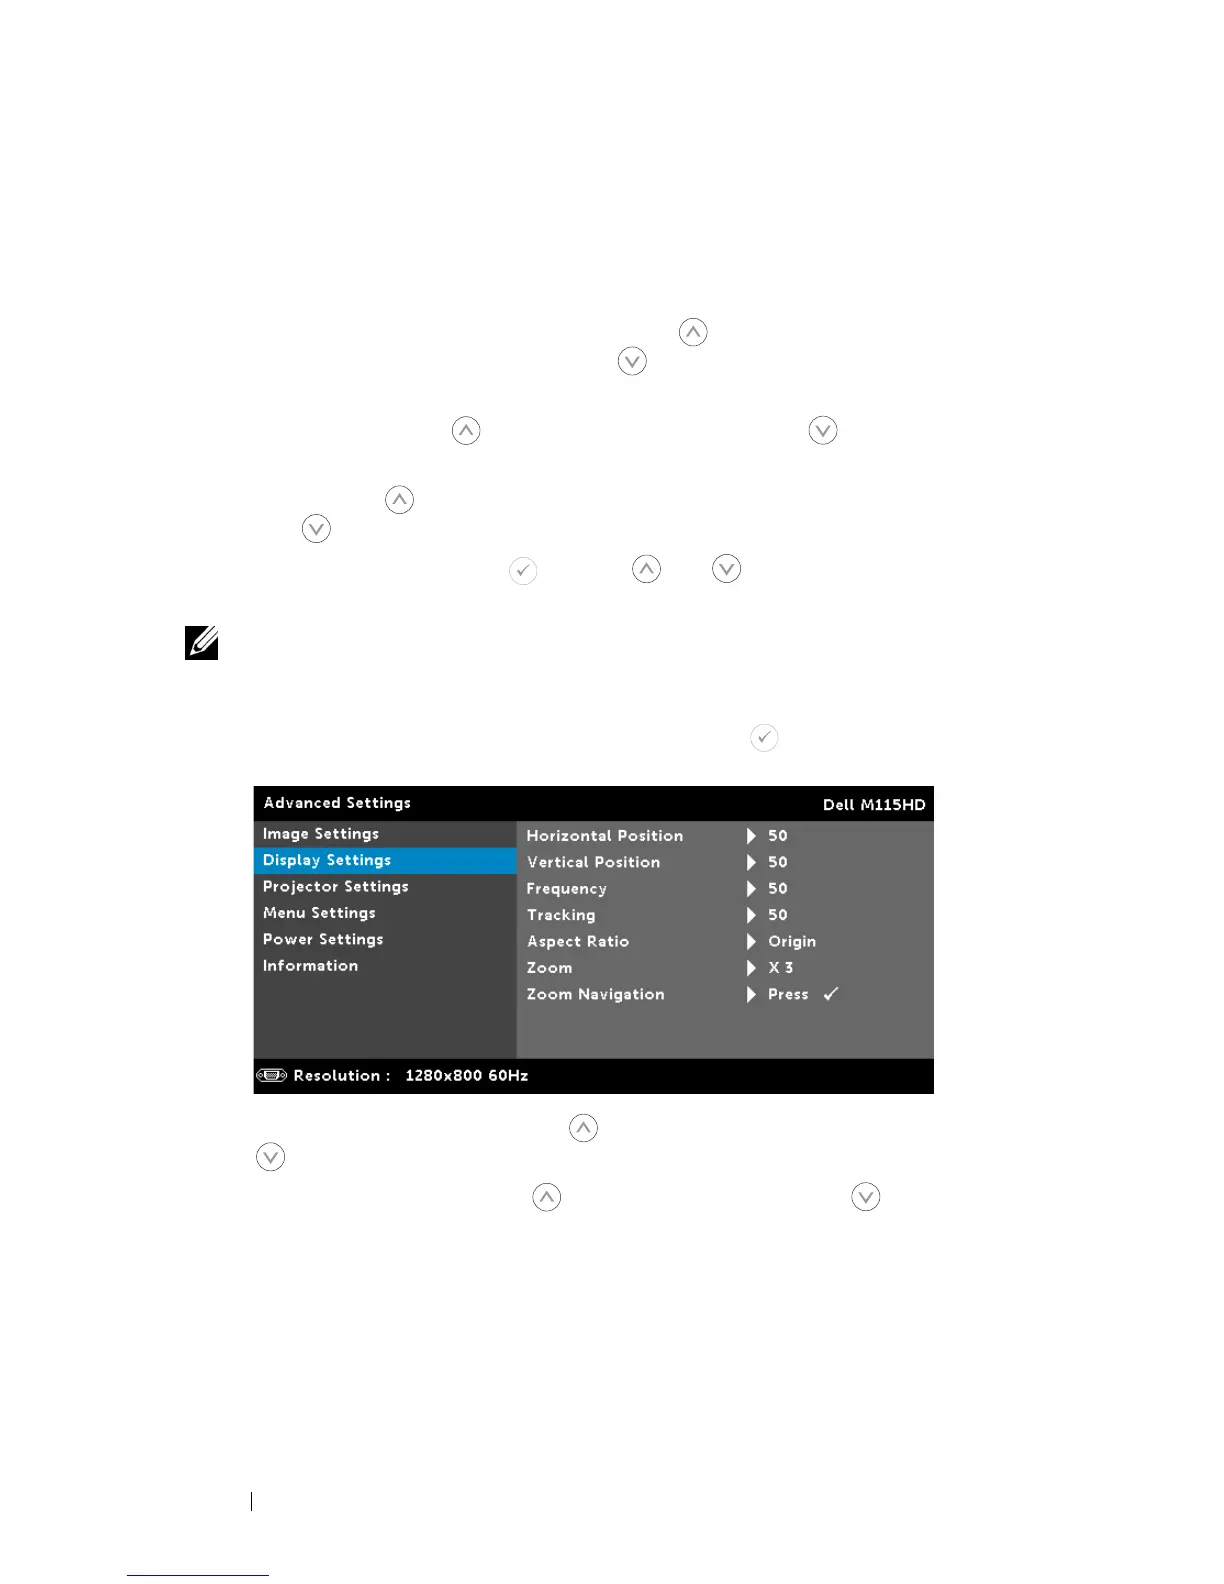
DISPLAY SETTINGS (IN PC MODE)—Select and press to activate display
settings. The display settings menu provides the following options:
H
ORIZONTAL POSITION—
Press to move the image right and
to move the image left.
VERTICAL POSITION—
Press to move the image up and to
move the image down.
FREQUENCY—
Allows you to change the display data clock
frequency to match the frequency of your computer’s graphics
card. If you see a vertical flickering wave, use the Frequency
control to minimize the bars. This is a coarse adjustment.
Using Your Projector 30
 Loading...