a) VESA stand
b) back cover
c) VESA mount bracket
d) touchscreen board
e) system-board shield
f) input/output board shield
g) WLAN card
h) optical drive
i) hard drive
j) intrusion switch
k) power button board
l) converter board
m) processor fan
n) power supply unit
o) heat-sink assembly
p) power-supply fan
q) system board
r) display panel
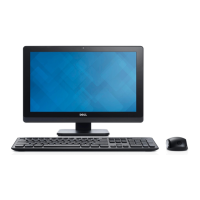
3. Disconnect the camera cable from the connector on the camera module. Remove the screws that secure the
camera to the display panel. Remove the camera module from the display panel.
Installing the Camera
1. Align the camera module to its slot on the display panel.
2. Tighten the screws to secure the camera module to the display panel.
3. Connect the camera cable to the connector.
4. Install:
a) display panel
b) system board
c) power-supply fan
d) heat-sink assembly
41

 Loading...