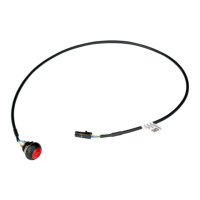
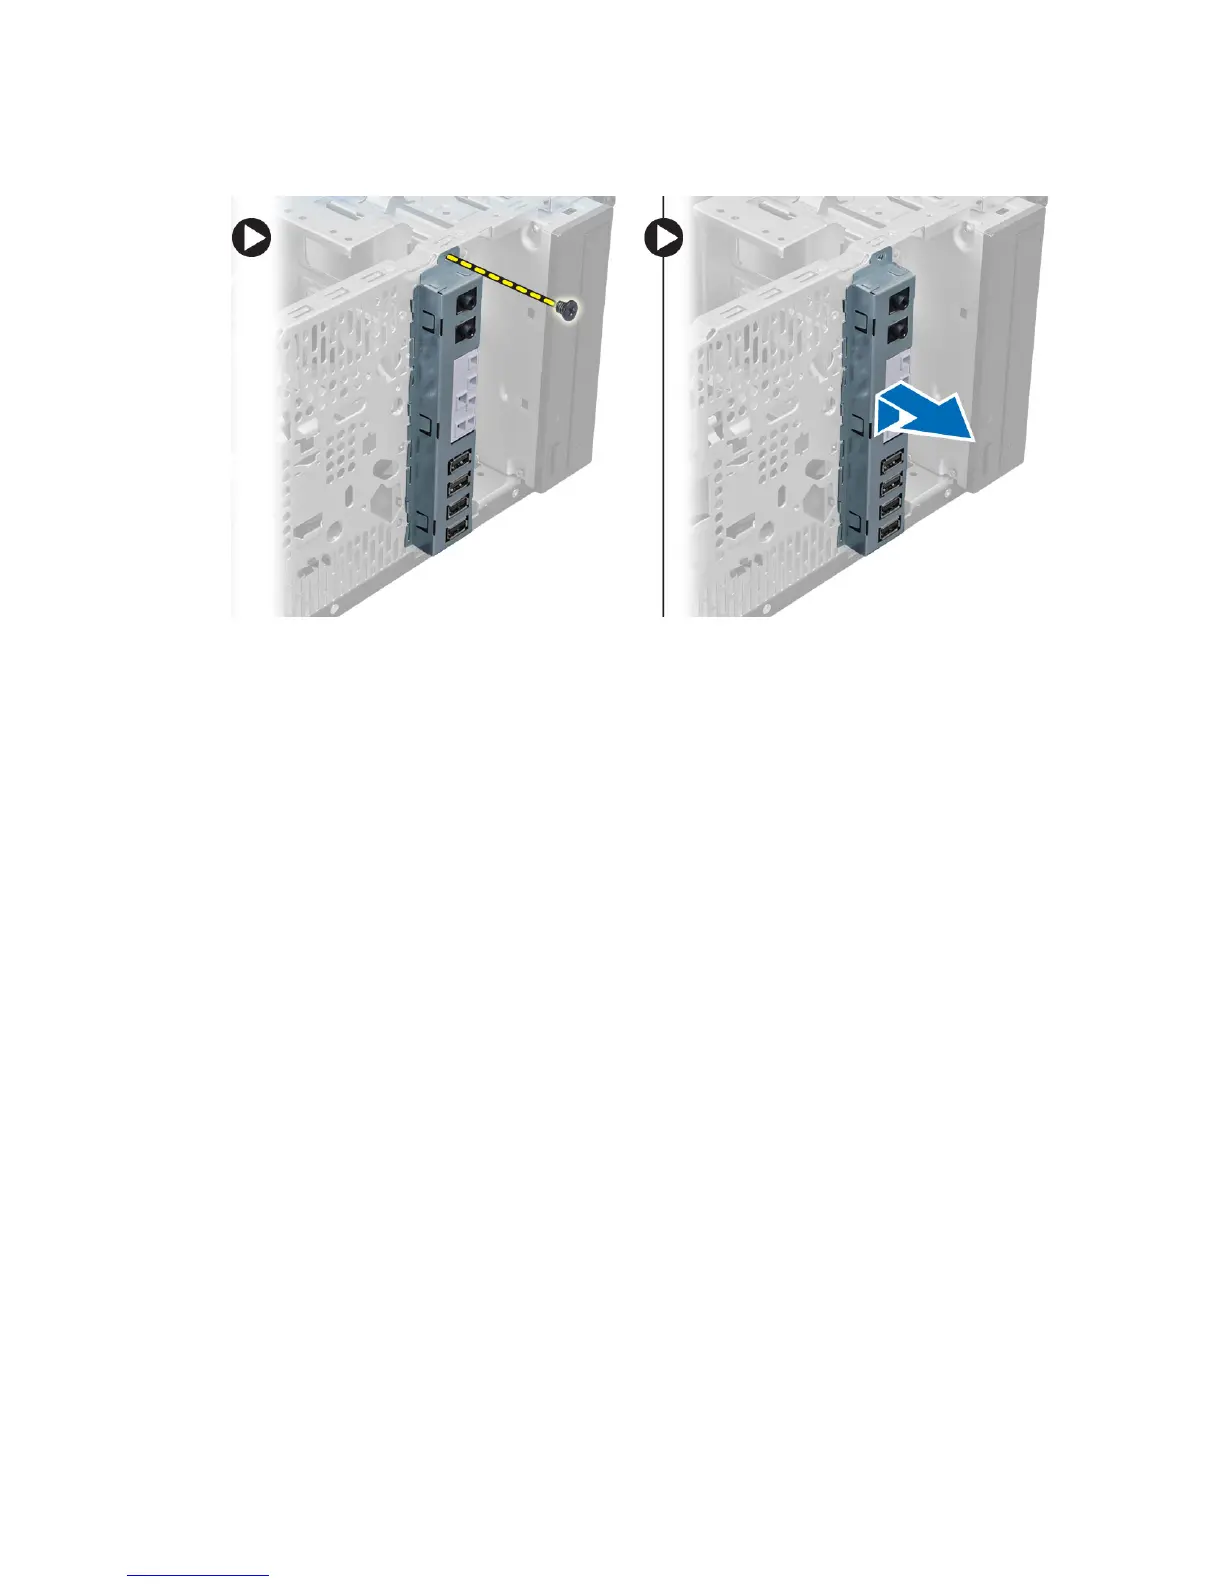
6. Slide the I/O panel towards the left of the computer to release it and pull the I/O panel along with its cable out of the
computer.
Installing the Input/Output (I/O) Panel
1. Insert the I/O panel into the slot on the chassis front.
2. Slide the I/O panel towards the right of the computer to secure to the chassis.
3. Tighten the screw to secure the I/O panel to the chassis.
4. Thread the I/O panel, data cable and USB data cable into the chassis clip.
5. Connect the I/O panel, data cable and USB data cable to the system board.
6. Install :
a) front bezel
b) cover
7. Follow the procedures in
After Working Inside Your Computer
.
Removing the System Board
1. Follow the procedures in
Before Working Inside Your Computer
.
2. Remove the:
a) cover
b) memory
c) expansion card(s)
d) heat-sink assembly
e) processor
3. Disconnect all the cables connected to the system board.
29