Hard-Drive/SSD Bay Node
C-0 C
C-1 C
D-0 D
D-1 D
Removing a hard drive/SSD
NOTE: The 2.5 inch hard-drive/SSD configuration supports four warm-swap hard-drives/SSDs. Each
hard-drive/SSD is assigned to a specific node, and the node to which it is assigned must be turned
off before servicing the hard-drive/SSD.
NOTE: The 1.8 inch SSDs are hot-swap. Not all operating systems support hot-swap drive
installation. See the documentation supplied with your operating system.
1. To remove a 2.5 inch hard-drive/SSD, turn off the node to which the hard-drive is assigned, using the
iDRAC.
2. Take the hard drive/SSD offline and wait until the hard-drive/SSD indicators on the drive carrier are
off.
The drive is ready for removal.
NOTE: See your operating system documentation for more information on taking the drive
offline.
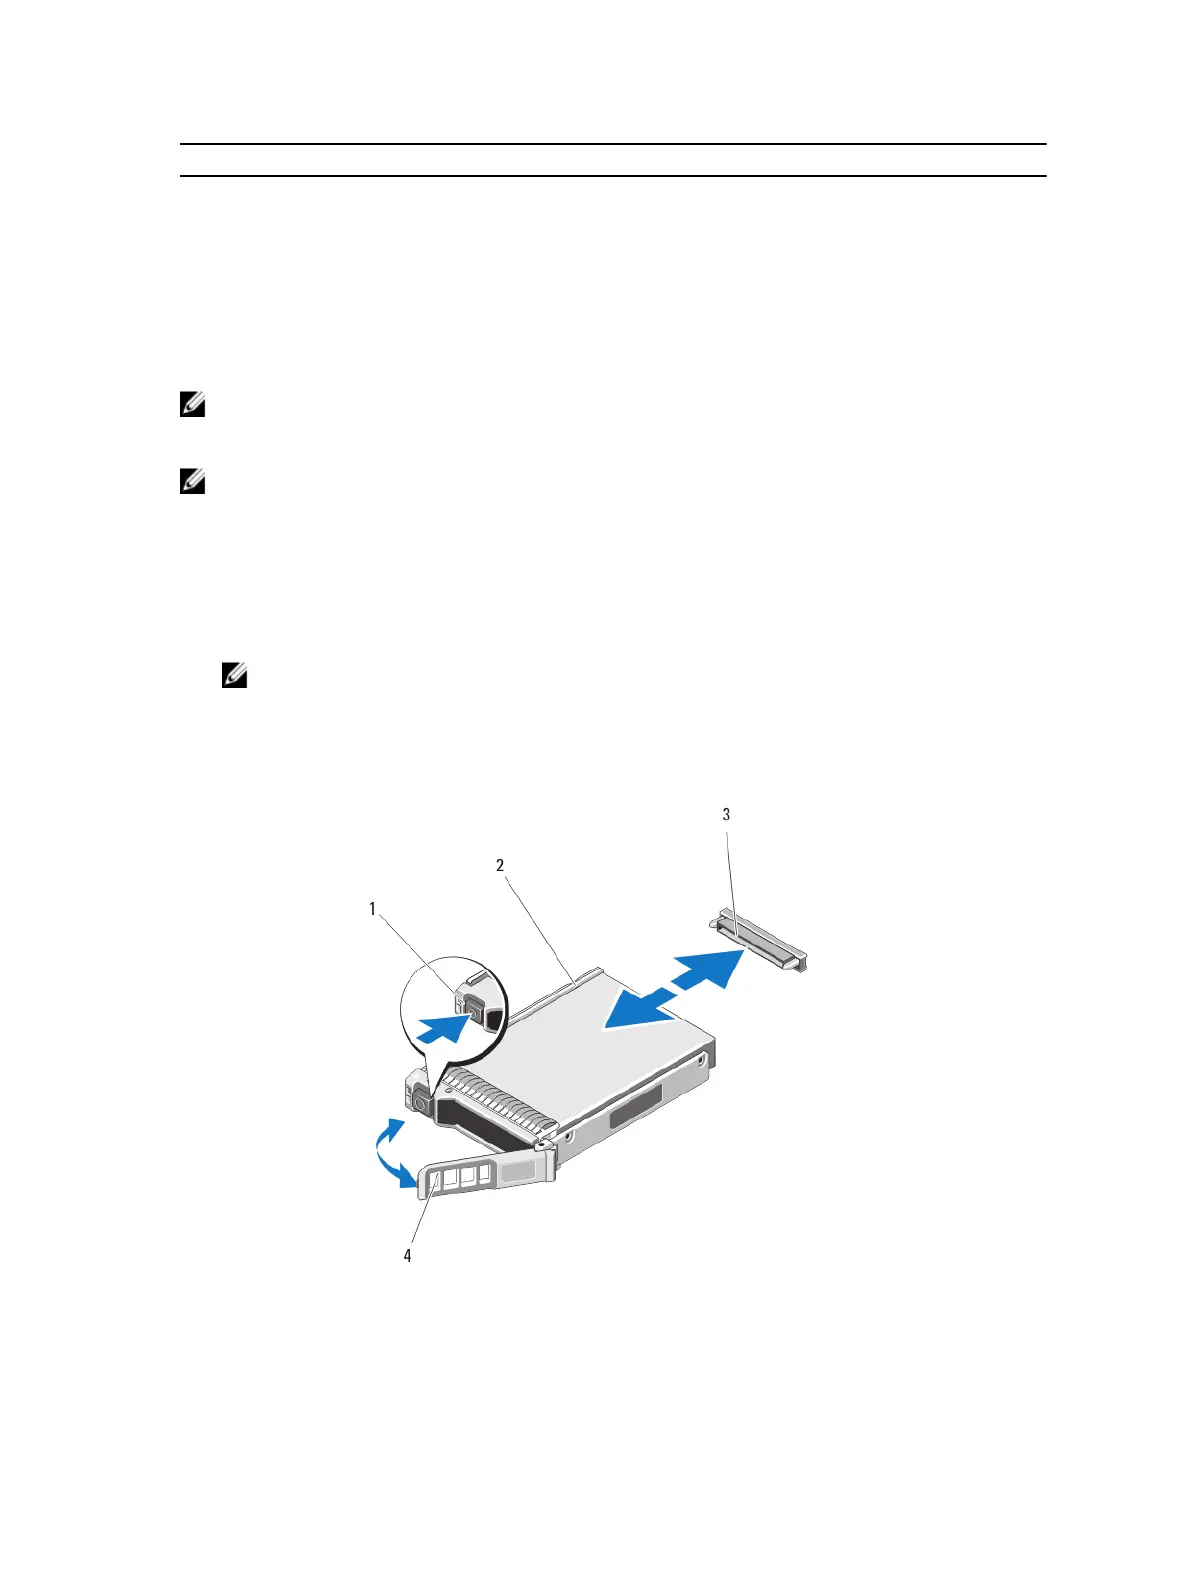
3. Open the hard-drive/SSD carrier handle to release the drive.
4. Slide the hard drive/SSD out until it is free of the drive bay.
If you are permanently removing the hard drive/SSD, install a drive blank.
Figure 21. Removing and installing a 2.5 inch hard drive/SSD
1. release button 2. hard drive/SSD
45