106 Installing System Components
3
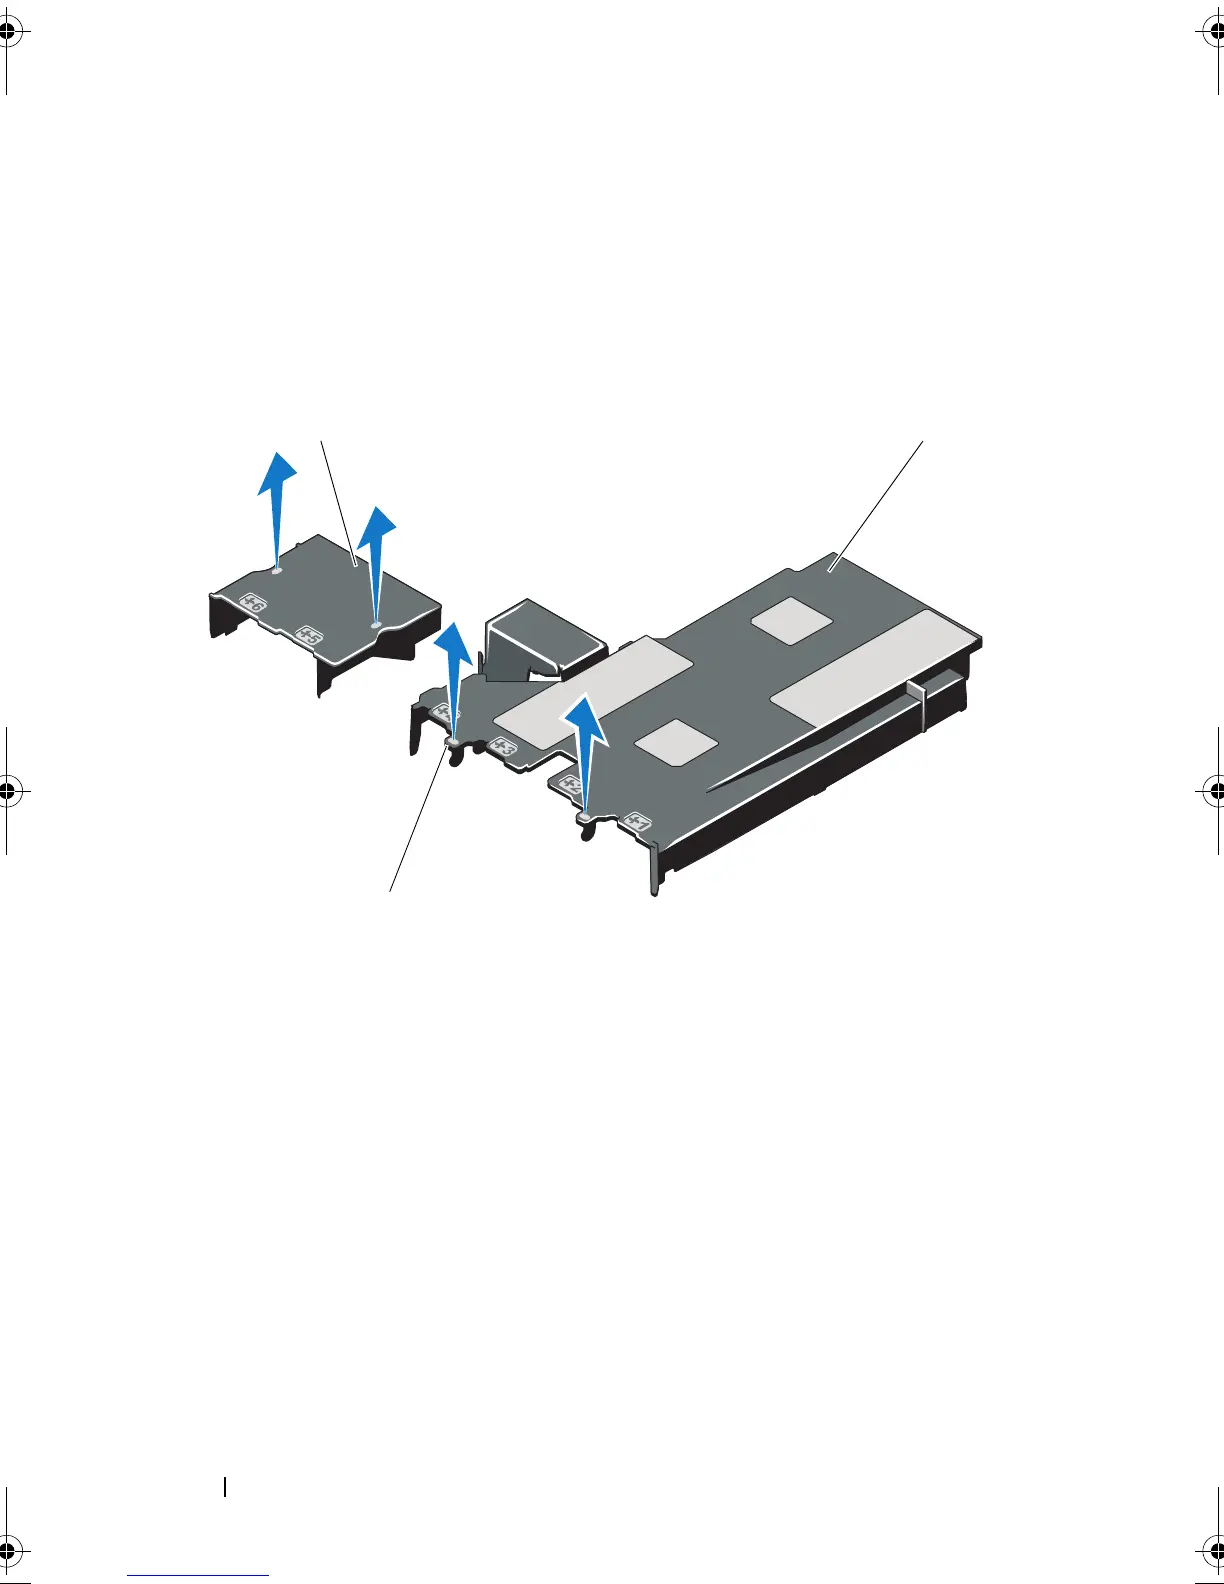
Grasping the tabs, gently lift the shroud straight up and away from the
system board. See Figure 3-15.
4
Remove the system board shroud.
Figure 3-15. Installing and Removing the System Board Shroud
Installing the System Board Shroud
1
Align the shroud using center of the numbered fan bays as a guide and
locate the tab projection on the left side of the fan module numbered 3.
See Figure 3-15.
2
Push the system board shroud down until all edges are seated in the slots,
securing the shroud to the system board.
3
Close the system. See "Opening and Closing the System" on page 82.
1 power distribution board shroud 2 system board shroud
3 tabs (2)
1
3
2
book.book Page 106 Tuesday, March 31, 2009 5:26 PM

 Loading...