88 Installing System Components
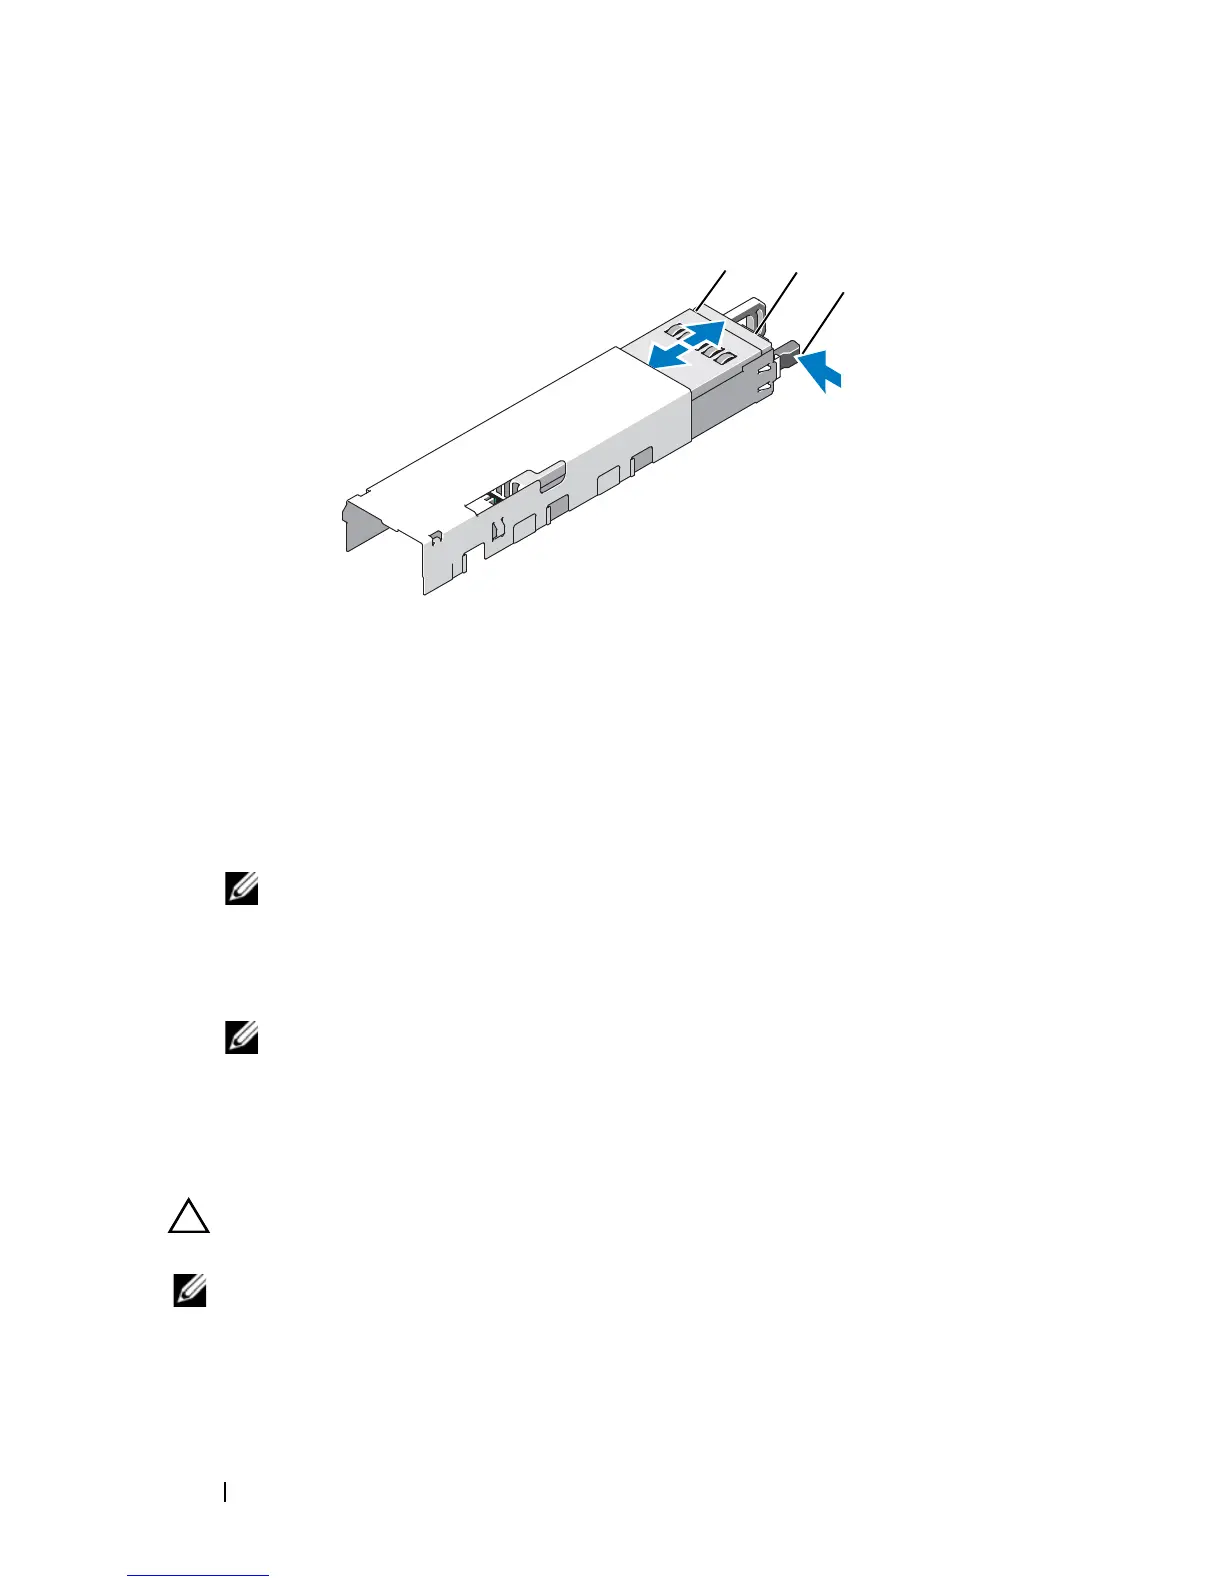
Figure 3-7. Removing and Replacing a Power Supply
Installing a Power Supply
1
On a system with redundant power supplies, verify that both power
supplies are the same type and have the same maximum output power.
NOTE: The maximum output power (shown in watts) is listed on the power
supply label.
2
Slide the new power supply into the chassis until the power supply is fully
seated and the release latch snaps into place. See Figure 3-7.
NOTE: If you unlatched the cable management arm in step 2 of the previous
procedure, relatch it. For information about the cable management arm, see
the system’s rack documentation.
3
Connect the power cable to the power supply and plug the cable into a
power outlet.
CAUTION: When connecting the power cable, secure the cable with the Velcro
strap.
NOTE: When installing, hot-swapping, or hot-adding a new power supply in a
system with two power supplies, allow several seconds for the system to recognize
the power supply and determine its status. The power-supply status indicator turns
green to signify that the power supply is functioning properly (see Figure 1-5).
1 power supply 2 Velcro strap
3 release latch

 Loading...


