7
CAUTION: Before performing any of the following procedures, please read and follow
the safety instructions in your Product Information Guide.
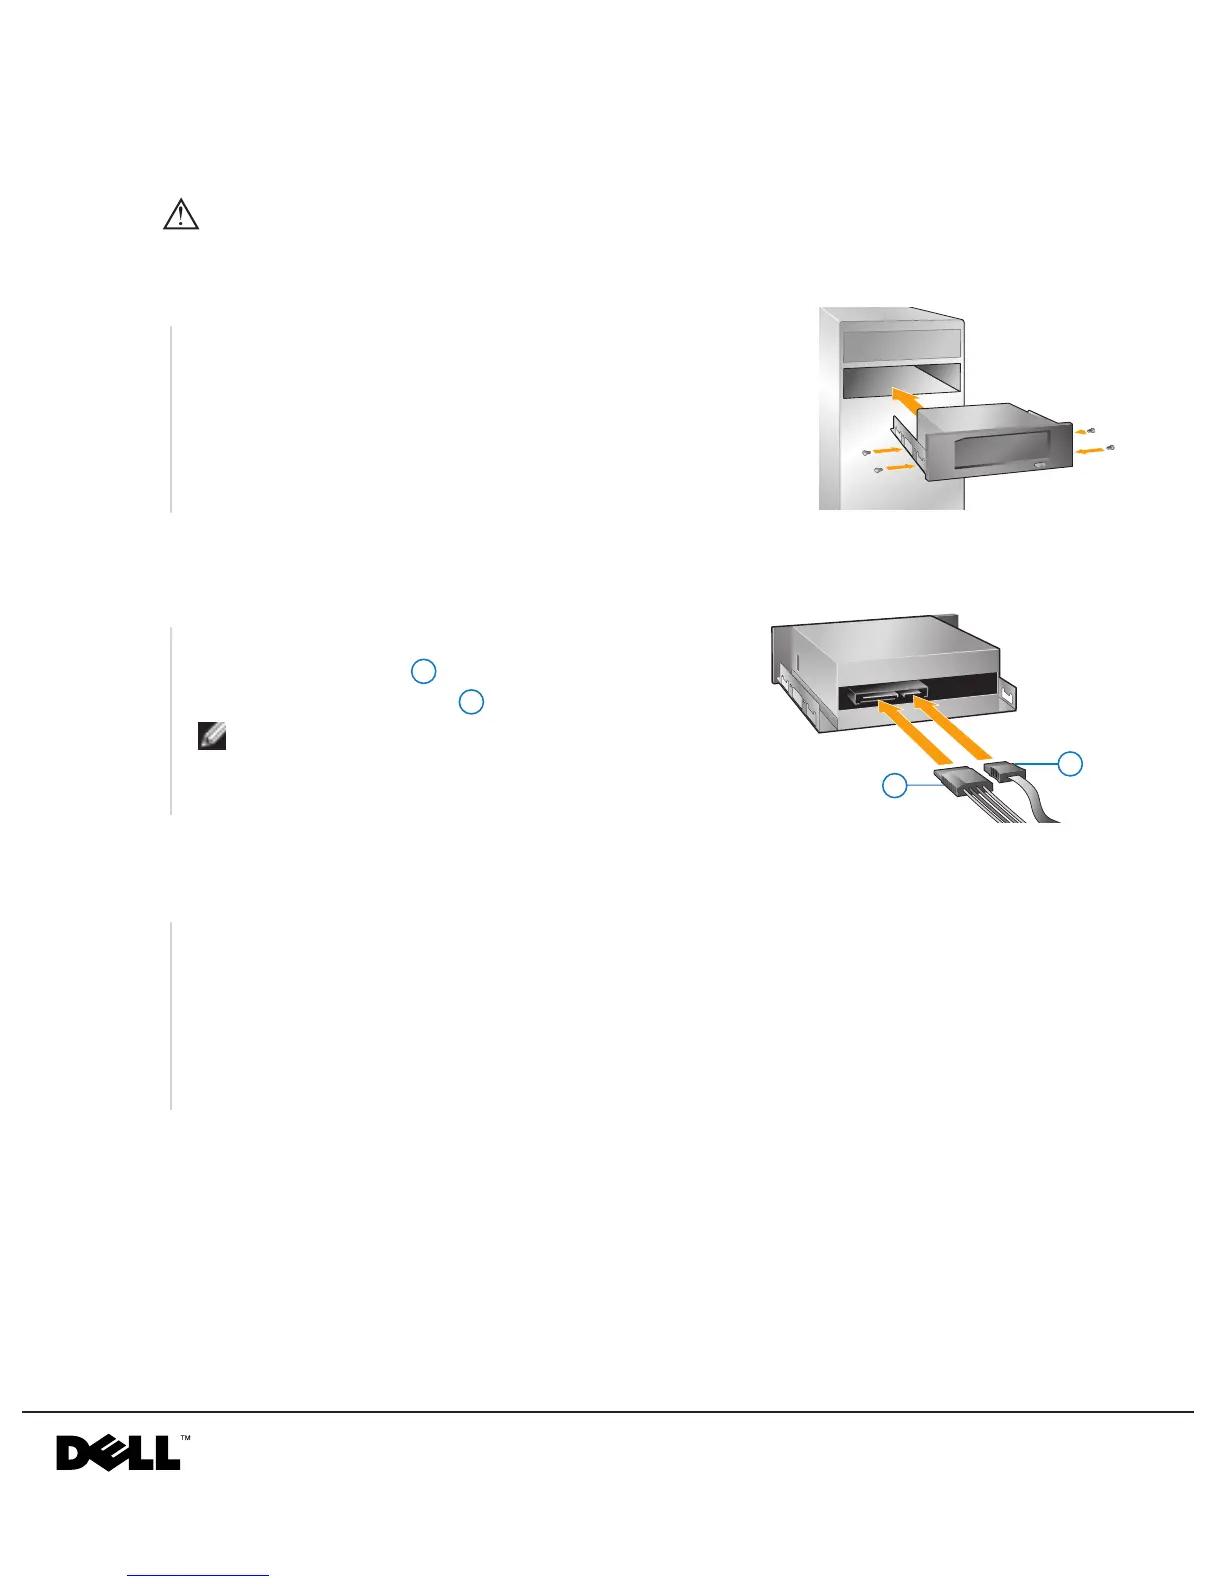
Install Your RD1000 Unit in a System
a Turn off the computer.
b Open the computer cover, using a screwdriver if necessary.
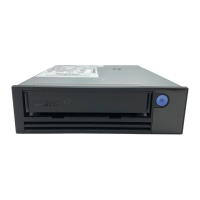
c Slide the Dell™ PowerVault™ RD1000 unit into an unused drive bay
until the bezel is flush with the front of the computer. Secure the unit
using mounting screws (as needed). Do not over-tighten the screws.
1
Connect the Unit
a Attach the power cable to the power connector.
b Connect the SATA data cable to the SATA connector.
NOTE: Ensure that all cables are correctly routed
so that they will not bind or become crimped.
2
1
2
1
2
Restart Your System
a Replace your computer cover.
b During power-up press F2 key, or other hot key, to enter the BIOS set up mode.
c Enable the SATA port connected to your RD1000 unit.
d Save changes and exit from the BIOS.
3
www.dell.com /support.dell.com

 Loading...