Setting up the monitor | 37
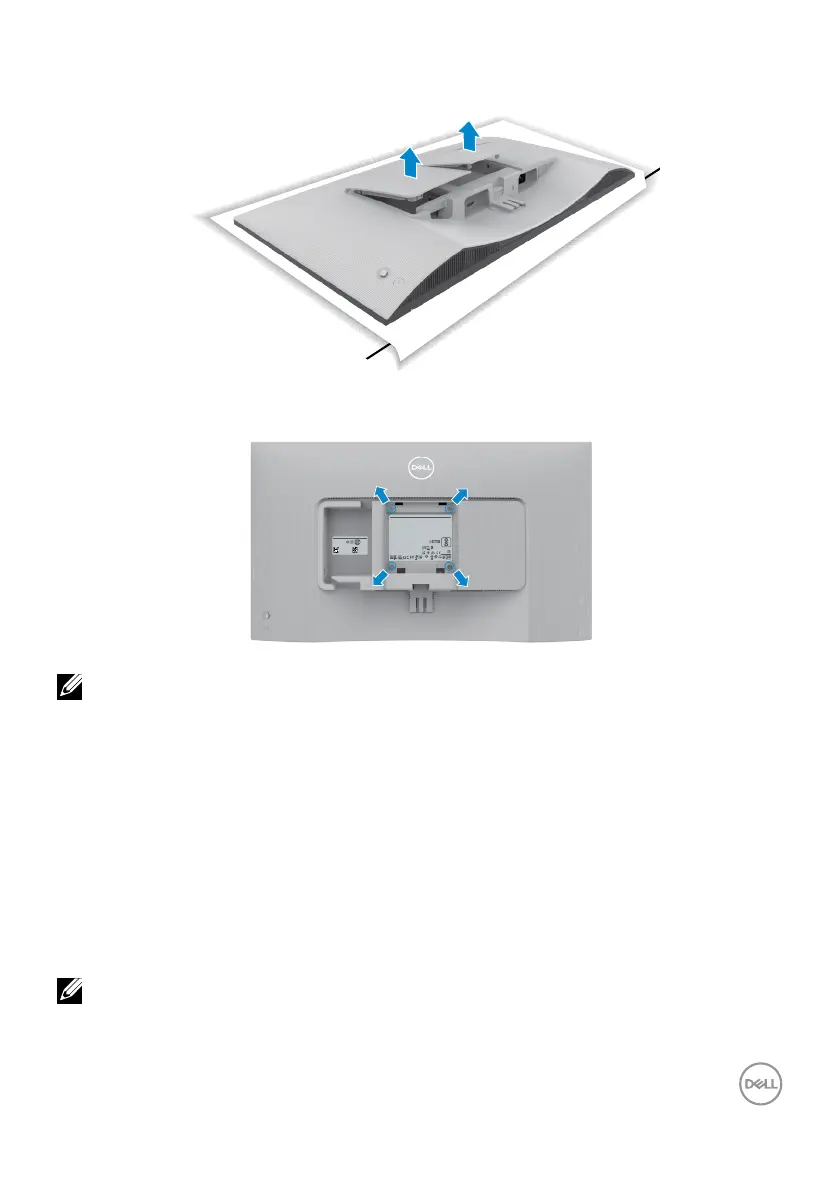
To remove the VESA cover and side I/O-cover:
Lift the VESA cover and side I/O-cover up to release from the back of the display.
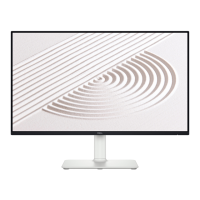
VESA wall mounting (optional)
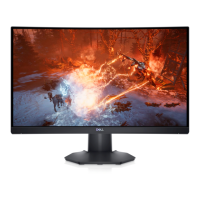
DELL S2425H
警語:使用過度恐傷害視力
신청인: DELL INC. (For Korea)
Wistron InfoComm (Zhongshan) Corporation Linhai Branch
제조자:
A/S 연락처: 080-854-0066
제조국: 중국
Address for EU Only:
Raheen Business Park
Limerick Ireland
www.dell.com/regulatory_compliance
YU101481-23001
R-R-E2K-S2425Ht
This device complies with part 15 of the FCC Rules.
Operation is subject to the following two conditions:
(1) this device may not cause harmful interference, and
(2) this device must accept any interference received,
including interference that may cause undesired operation.
230125-15
IS 13252 (Part 1)/
IEC 60950-1
R-41071650
www.bis.gov.in
For UK only: One Creechurch Place, London EC3A 5AF
デル・テクノロジーズ
온모드 소비전력: XX.X W
모델명: S2425Ht
최저소비효율기준 만족제품
Model No. / N° de Modelo / Numéro de modèle /
모델명 / モデル名 / 型號: S2425Ht
Input Rating / Entrada / Daya Tegangan / Tension d’entrée / 정격입력: 100-240V~50/60Hz 1.5A
輸入電源: 交流電壓 100-240伏特, 1.5安培, 50/60赫茲
Made in China / Fabricado en China / Fabriqué en Chine / Сделано в Китае / 제조국:중국 / 製造地:中國
Flat Panel Monitor / Monitor Plano Panel / Moniteur à écran plat /
液晶顯示器
Consumo de energía en operación: XX.XX Wh
Apparatet må tilkoples jordet stikkontakt.
Apparaten skall anslutas till jordat uttag.
Apparatets stikprop skal tilsluttes en stikkontakt med jord,
som giver forbindelse til stikproppens jord.
Laite on liitettävä suojakoskettimilla varustettuun pistorasiaan.
Wistron InfoComm (Zhongshan) Corporation Linhai Branch
CAN ICES-003(B)/NMB-003(B)
Удельная мощность рабочего режима -x,xx Вт/
см2
Потребляемая мощность изделием в режиме ожидания - x,xx Вт
Потребляемая мощность изделием в выключенном режиме - x,xx Вт
67923
ID 0217009883
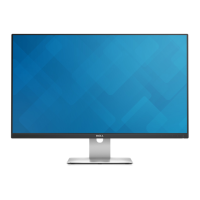
DELL S2425H
Flat Panel Monitor /
液晶显示器
型号
:
S2425H
Input Rating /
输入电源
:
100-240V ~ 50/60Hz 1.5A
Made in China /
制造地
:
中国
Manufactured date /
制造日期
/
製造日期
:
E
t
Service Tag:
XXXXXXX
Express SVC Code:
XXXXXXXXXXX
Nov 2023
S/N:
XX-XXXXXX-
XXXXX-XXX-
XXXX-XXX
NOTE: Use M4 x 10 mm screws to connect the monitor to the wall-
mounting kit.
See the documentation that is shipped with the VESA-compatible wall mounting kit.
1. Place a at cushion or a sitting mat near the edge of a table and place the
monitor on it with the display facing down.
2. Remove the stand.
3. Using a Phillips crosshead screwdriver, remove the four screws that secure the
back panel.
4. Connect the mounting bracket from the wall mounting kit to the monitor.
5. Follow the instructions that shipped with the wall-mounting kit and mount the
monitor on the wall.
NOTE: For use only with UL or CSA or GS-listed wall mount bracket with
minimum weight/load bearing capacity of 13.08 kg (S2425H)/17.2 kg
(S2725H).