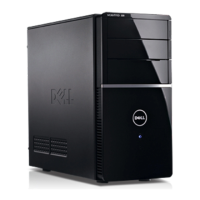
Replacing or Adding a Media Card Reader
1. Follow the procedures in Before Working on Your Computer.
2. Remove the computer cover (see Removing the Computer Cover
).
3. Remove the bezel (see Removing the Bezel
).
4. If you are adding a media card reader in a computer that has not had a device previously installed in the 3.5-inch drive
bay, you must first:
a. Remove the break-away metal plate from the empty 3.5-inch drive bay (see Removing a Drive Bay Break-Away
Metal Plate).
b. For the Vostro 220s, lift the release latch that secures both the optical drive and the 3.5-inch device in their
respective drive cages.
c. Remove the empty-bay cover from the bezel: From the inside of the bezel, press the release latch on the cover,
and lift the cover from the bezel.
1 inside of bezel 2 release latch
3 cover for empty bay
5. Remove the media card reader from its packaging.
6. For the Vostro 220s, install two screws on each side of the media card reader.
7. Gently slide the device into the bay from the front of the computer.
8. For the Vostro 420 and Vostro 220:
a. Align the screw holes in the device with the screw hole and slot in the drive cage.
b. Replace and tighten the two screws to secure the device in the drive cage.
9. For the Vostro 220s, push the release latch down to secure the optical drive and the 3.5-inch device in their respective
drive cages.
NOTE: Install the media card reader into the drive bay before you connect the USB interface cable to the back of the
device.
10. Connect the USB interface cable to the back of the device.

 Loading...