Back to Contents Page
System Board
Dell™Vostro™A840/A860ServiceManual
Removing the System Board
Replacing the System Board
Removing the System Board
The system board's BIOS chip contains the Service Tag, which is also visible on a barcode label on the bottom of the computer. The replacement kit for the
system board includes a CD that provides a utility for transferring the Service Tag to the replacement system board.
1. Follow the instructions in "BeforeYouBegin"onpage9.
2. Remove any installed media cards from the 3-in-1 media card slot.
3. Remove any installed memory modules and the WLAN card (see Memory Module and Removing the WLAN Card).
4. Remove the optical drive (see Optical Drive).
5. Remove the center control cover (see Removing the Center Control Cover).
6. Remove the display assembly (see Display).
7. Remove the keyboard (see "Removing the Keyboard).
8. Remove the palm rest (see Palm Rest).
9. Remove the 3-in-1 media card reader.
10. Disconnect the system fan, speaker, RJ-11, and DC-In cables from the system board connectors.
11. Remove the system fan (see Removing the System Fan).
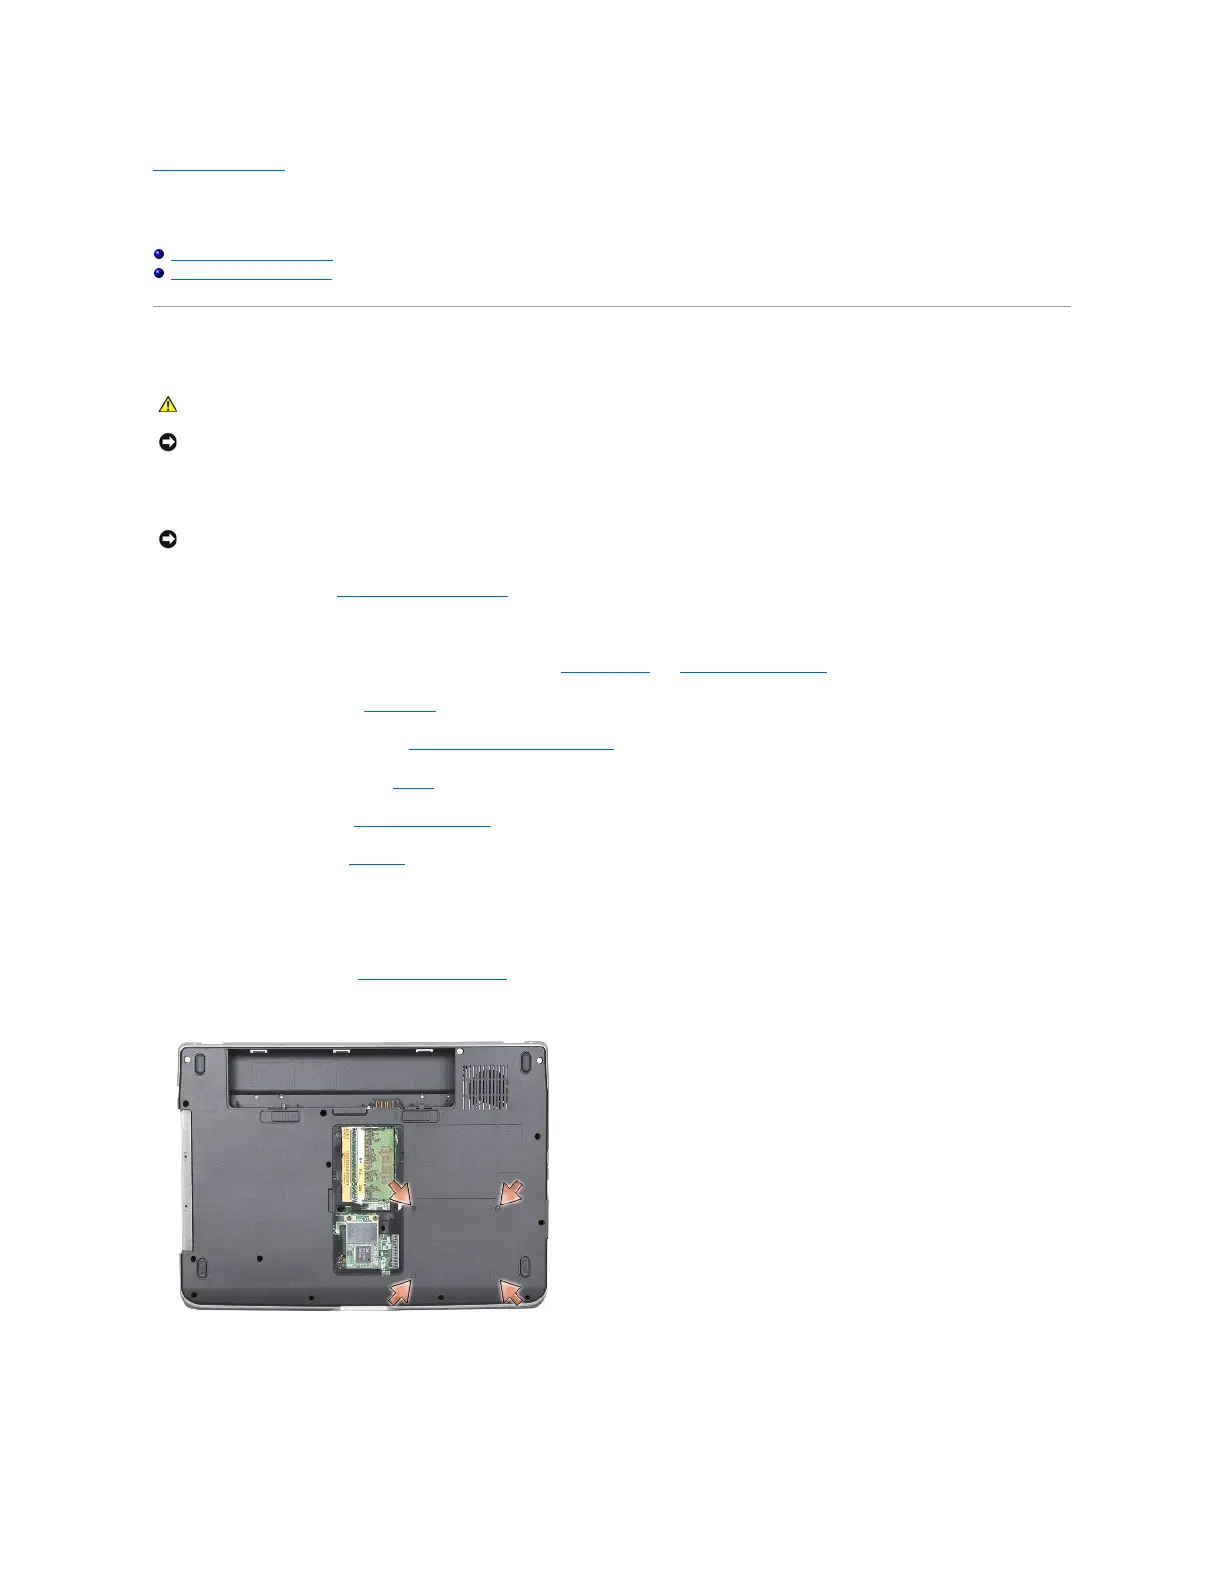
12. Remove the mylar tapes and then remove the four screws from the back of the computer securing the hard disk.
13. Remove the two remaining screws that secure the system board to the computer base.
CAUTION: Before working inside your computer, read the safety information that shipped with your computer. For additional safety best
practices information, see the Regulatory Compliance Homepage at www.dell.com/regulatory_compliance.