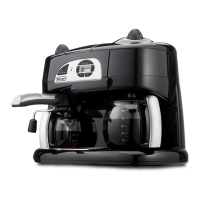
How to prepare filter coffee
Preparing the filter coffee
• Lift the lid and fFill the tank with fresh, clean water (Fig. 1) up to
the level marker corresponding to the number of cups of coffee
being prepared, making sure not to exceed the MAX mark.
• Open the filter holder door by turning it to the right (Fig. 2).
• Place the paper filter in the filter holder (Fig. 3).The use of size
“4” paper filters is recommended.
• Place the ground coffee in the filter using the measuring spoon
supplied, level evenly (Fig. 4).
As a general rule, use a level measure of coffee (about 7
grams) for each cup required (for example, 10 meas-
ures for 10 cups).
• Close the filter holder door and place the carafe, with the lid
on, on the hot plate.
• Select the desired flavour as described in the paragraph “How
to choose the flavour of the filter coffee”
Note: the coffee maker features the Flavour Saver device inside the
filter holder for filter coffee; this increases the coffee brewing time
and improves extraction, giving the coffee a full and intense flavour.
•Press the FILTER COFFEE ON/OFF switch (Fig. 5).The FILTER
COFFEE ON light above the switch will come on to indicate
that the filter coffee maker is working.
• The coffee will start to come out after a few seconds.
It is completely normal for the appliance to release a little
steam while the coffee is filtering.
To k eep the coffee hot after filtering, place the carafe on the hot
plate and leave the machine on (filter coffee light on): the coffee in
the carafe will be kept at the right temperature.
• To switch the machine off, press the FILTER COFFEE ON/OFF
switch.
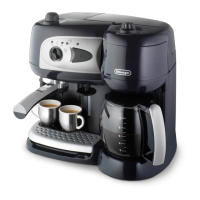
How to prepare espresso coffee
Filling the water tank
Lift the lid and remove the water tank (Fig. 6) by pulling it upwards.
Fill the tank with fresh water making sure not to exceed the MAX
mark.
Coffee Maker
4
fig. 1
fig. 2
fig. 3
fig. 4
fig. 5 fig. 6