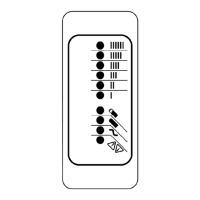
Fault Indications:
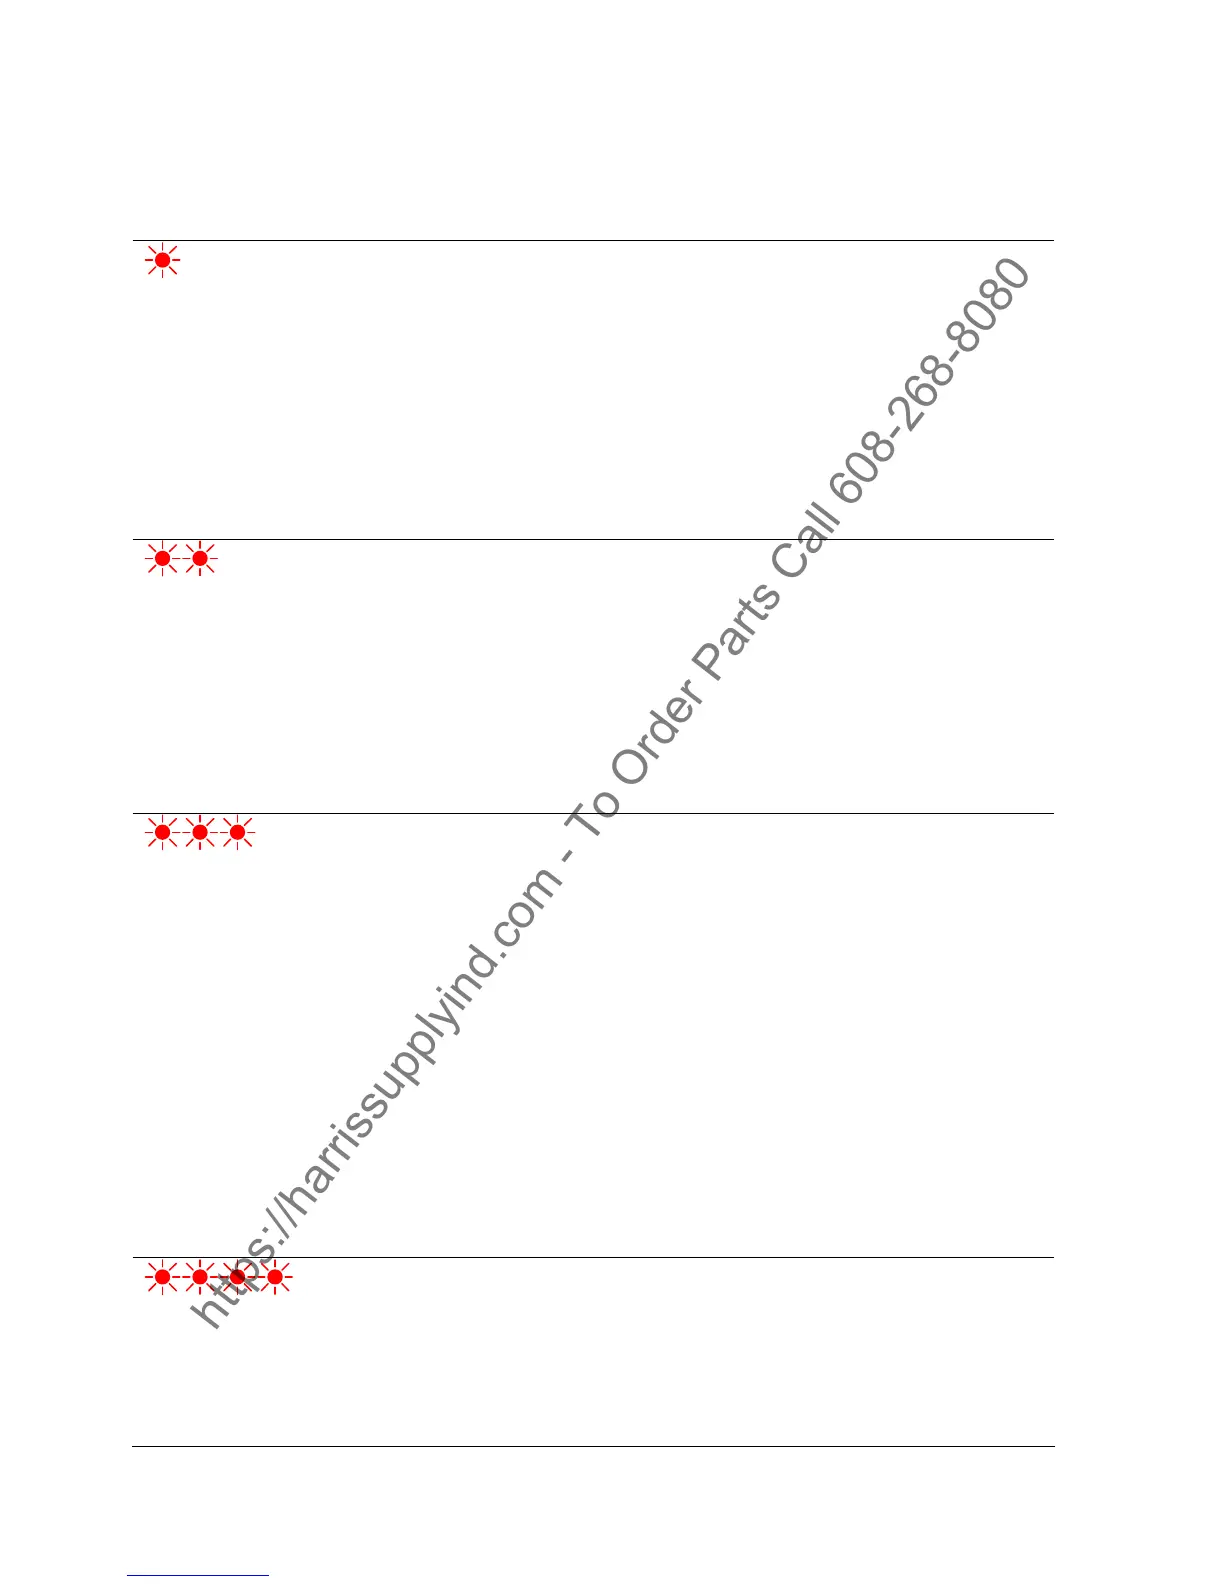
Fault LED
Flashes (Red) Explanation and Solution
High Battery Voltage Detected
• Check that the battery charger voltage is consistent with the battery pack
voltage. The first two digits of the four digit model name indicate the
battery voltage the charger supports.
• Check for wiring errors.
• High battery voltage could also occur if there is another source charging
the battery. Disconnect any other sources during charging.
• If this problem does not clear after the battery voltage is confirmed to be
less than 2.4V per cell, return the charger for service.
• This fault will automatically clear and the charger will restart charging
when this problem is removed.
Low Battery Voltage Detected
• Check the battery and connections to the battery.
• Check the nominal battery voltage. The first two digits of the four digit
model name indicate the battery voltage the charger supports. Confirm
that a nominal battery voltage is the same as the charger voltage.
• If this problem does not clear after the battery voltage is confirmed to be
higher than 1V per cell and all connections are good, return the charger
for service.
• This fault will clear automatically when the low battery voltage problem is
rectified.
Charge Timeout - Indicates the battery failed to charge within the allowed time. This
could occur if the battery is of larger capacity than the algorithm is intended for. In
unusual cases it could mean charger output is reduced due to high ambient
temperature. It can also occur if the battery is damaged, old, or in poor condition.
• Check the battery for damage such as shorted cells and insufficient
water. Try the charger on a good battery.
• If the same fault occurs on a good battery, check the connections on the
battery and connection to AC power, and AC voltage.
• Confirm that the nominal battery pack voltage is the same as the battery
charger voltage.
• If a charger displays this fault on a battery pack, and the pack is of
questionable status, reset the charger by disconnecting AC power for 30
seconds, and then reconnect the AC to start a new charge cycle. After a
few charge cycles this problem could stop occurring as the pack
“recovers.”
• This fault must be cleared manually by unplugging the AC, waiting 30
seconds and reconnecting the ac power.
Check Battery - This fault indicates the battery pack could not be trickle charged up to
the minimum level required for the normal charge cycle to be started.
• Check that none of the battery pack connections between modules are
reversed or incorrectly connected.
• Check that one or more cells in the battery are not shorted.
• Confirm that the nominal battery pack voltage is the same as the battery
charger voltage.
https://harrissupplyind.com - To Order Parts Call 608-268-8080
 Loading...