EasyManua.ls Logo

Denon AVR-2307CI User Manual

Denon AVR-2307CI
82 pages
To Next Page IconTo Next Page
To Previous Page IconTo Previous Page
Page #6 background imageLoading...
Page #6 background image
Getting Started Getting Started
3
ENGLISH
ENGLISH
Cautions on installation
Wall
Note
Note:
For heat dispersal, do not install this unit in a confined space such
as a bookcase or similar enclosure.
Before using
Pay attention to the following before using this unit:
Moving the unit.
To prevent short-circuits or damaged wires in the connection cables,
always unplug the power supply cord and disconnect the connection
cables between all other audio components when moving the unit.
Cautions on using mobile phones.
Using a mobile phone near this unit may result in noise. If so, move
the mobile phone away from this unit when it is in use.
•Before turning the power operation button on.
Check once again that all connections are correct and that there are
not problems with the connection cables. Always set the power
operation button to the standby position before connecting and
disconnecting connection cables.
Store the operating instructions in a safe place.
After reading the operating instructions, store them in a safe place
as they could come in handy in the future.
Whenever the power operation button is in the STANDBY state,
the unit is still connected to AC line voltage.
Please be sure to turn off the power operation button or unplug
the cord when you leave home for, say, a vacation.
Note that the illustrations in these instructions may differ from
the actual unit for explanation purposes.
About the remote control unit
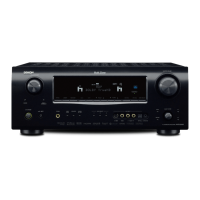
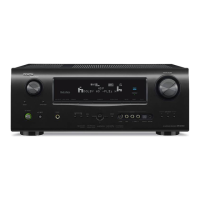
In addition to controlling the AVR-2307CI, the attached remote control
unit (RC-1043) can also be used to control the following products:
q DENON component products
w Component products other than DENON:
Set using the preset memory function ( page 65).
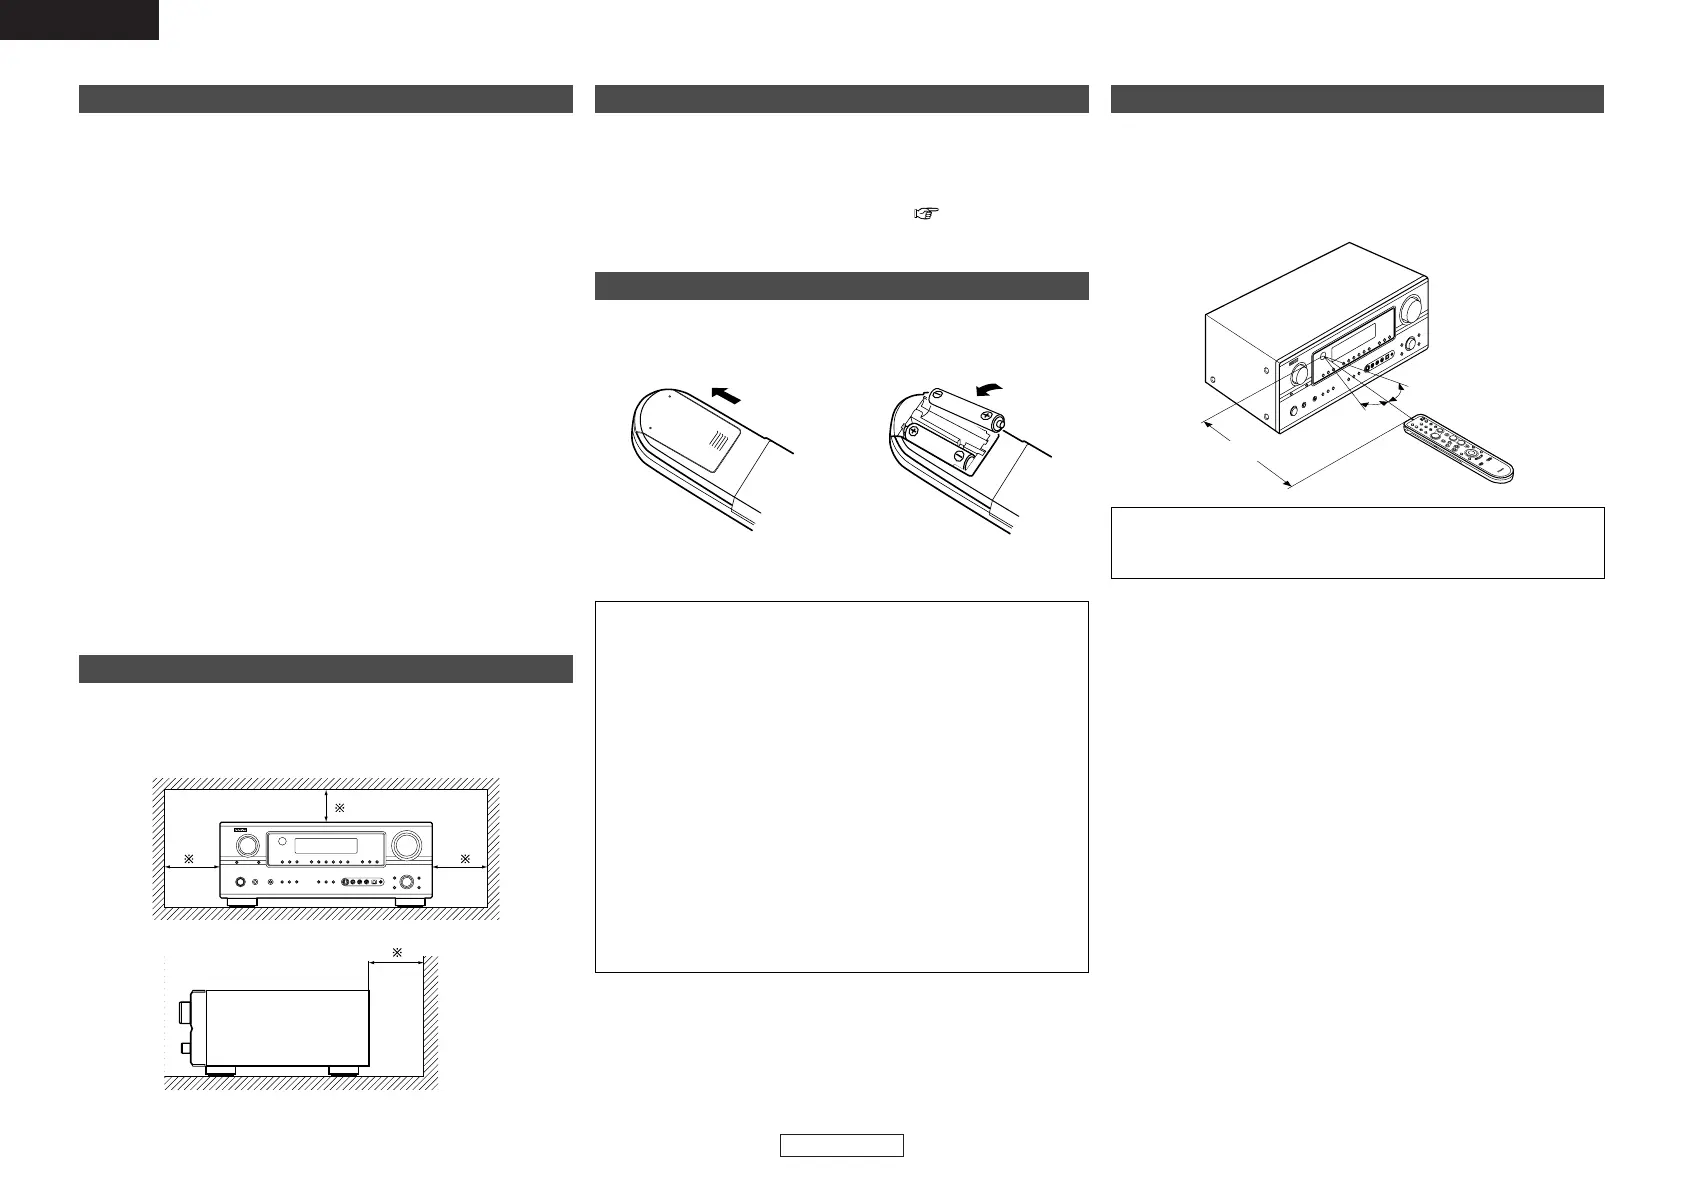
Inserting the batteries
q Remove the remote control
unit’s rear cover.
w Set two R6P/AA batteries in
the battery compartment in
the indicated direction.
e Put the rear cover back on.
Notes on batteries:
Replace the batteries with new ones if the set does not operate
even when the remote control unit is operated nearby the unit.
(The attached batteries are only for verifying operation.)
When inserting the batteries, be sure to do so in the proper
direction, following the “<” and “>” marks in the battery
compartment.
•To prevent damage or leakage of battery fluid:
Do not use a new battery together with an old one.
•Do not use two different types of batteries.
Do not short-circuit, disassemble, heat or dispose of batteries
in flames.
Remove the batteries from the remote if it will not be in use for
long periods.
If the battery fluid should leak, carefully wipe the fluid off the
inside of the battery compartment and insert new batteries.
•When replacing the batteries, have the new batteries ready and
insert them as quickly as possible.
Operating range of the remote control unit
30°
30°
Approx. 23 feet/7 m
Point the remote control unit at the remote sensor when operating
it.
The remote control unit can be used from a distance of approximately
23 feet/7 meters, at a horizontal angle of up to 30° with respect to
the sensor.
NOTE:
It may be difficult to operate the remote control unit if the remote
sensor is exposed to direct sunlight or strong artificial light.

Table of Contents

Other manuals for Denon AVR-2307CI

Questions and Answers:

Denon AVR-2307CI Specifications

General IconGeneral
BrandDenon
ModelAVR-2307CI
CategoryReceiver
LanguageEnglish

Summary

Safety Precautions

General Safety Warnings

Critical safety guidelines for operation, shock prevention, and fire safety.

Installation and Operational Safety Guidelines

Guidelines for safe installation, ventilation, power sources, lightning, and electrical cord safety.

FCC Information and Usage Notes

FCC Compliance Requirements

Product compliance with FCC Rules Part 15 and interference guidelines.

Easy Setup Procedure

Automatic Speaker Calibration

Details the auto setup process and microphone connection.

Easy Setup Procedure

Speaker Connection Guide

Detailed instructions for connecting speakers, including cable and impedance considerations.

Automatic Room Calibration

Details the Room EQ functions and microphone setup for auto calibration.

Auto Setup Execution Steps

Guides through pre-setup checks, execution, and amplifier/speaker assignments.

Auto Setup Measurement and Storage

Details starting auto setup and checking/storing the measurement results.

Troubleshooting Auto Setup Errors

Lists common error messages and provides troubleshooting steps for auto setup.

Easy Setup Procedure

Connecting Other Sources

HDMI Connectivity

Instructions for connecting devices via HDMI, including analog to HDMI conversion.

HDMI and Digital Content Protection

Details on HDMI connections, HDCP, and conversion cable usage.

Advanced Operation

Advanced Setup - Part 1

Audio Input Configuration

Details on audio input setup, including digital assignment.

Input Source Level Adjustments

Guides for setting EXT. IN subwoofer level, iPod assignment, and input function levels.

Input Function Naming and Tuner Presets

Instructions for renaming input functions and setting tuner presets via auto memory.

Tuner Preset Customization

Guides for skipping unused preset channels and naming preset stations.

Video Input Terminal Assignment

Details on HDMI and Component video input assignments.

Video Conversion and HDMI Output Settings

Guides for video conversion function and HDMI output setup.

Audio Delay and On-Screen Display Settings

Instructions for adjusting audio delay and controlling on-screen display.

2-Channel and Dolby Digital Playback Settings

Guides for 2ch Direct/Stereo modes and Dolby Digital downmix options.

Surround Mode Memory and Manual EQ

Options for remembering surround modes and manual equalizer adjustments.

Amplifier Assignment and Volume Control

Guides for assigning power amplifiers and configuring volume control settings.

System Control and Security Settings

Instructions for setting trigger outputs and locking system setup.

Speaker Configuration and Calibration

Guides for speaker setup, including auto setup and room equalization.

Video Input Configuration

Details on video setup, including component input assignment.

Digital Input Assignment

Procedure for assigning digital input terminals to various sources.

Advanced Setup - Part 2

Troubleshooting

Basic Troubleshooting Checks

Initial steps to diagnose and resolve operational problems.

Common Operational Issues and Solutions

Provides solutions for common problems like no display/sound, remote issues, and HDMI connectivity.

Related product manuals