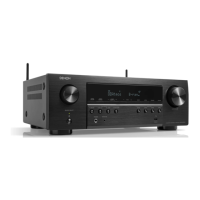
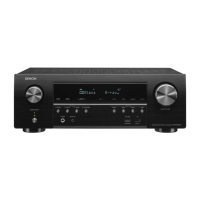
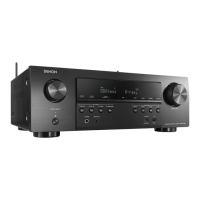
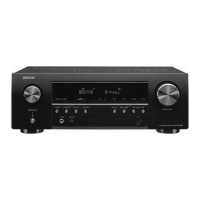
DISASSEMBLY
Flowchart
• Remove each part following the ow below.
• Reassemble the removed parts in the reverse order.
• Read "SAFETY PRECAUTIONS" before reassembling the removed parts.
• If wire bundles are removed or moved during adjustment or part replacement, reshape the wires after completing the work. Failure to shape the wires correctly may cause problems such as noise.
• See "EXPLODED VIEW"
FRONT PANEL ASSY
DISASSEMBLY
2. FRONT PANEL ASSY
and "EXPLODED VIEW"
FRONT HDMI PCB
Ref. No. of EXPLODED VIEW : P 1
FRONT PCB
Ref. No. of EXPLODED VIEW : P 3, P 2
FUNCTION PCB
Ref. No. of EXPLODED VIEW : P 4
CNT PCB
Ref. No. of EXPLODED VIEW : P 5
H/S TOP_GUIDE PCB
Ref. No. of EXPLODED VIEW : P 21
TOP_GUIDE PCB
Ref. No. of EXPLODED VIEW : P 18
TOP COVER
TRANS
DISASSEMBLY
8. TRANS
and "EXPLODED VIEW"
POWER TRANS
Ref. No. of EXPLODED VIEW : 13
RADIATOR ASSY
DISASSEMBLY
3. RADIATOR ASSY
and "EXPLODED VIEW"
AMP PCB
Ref. No. of EXPLODED VIEW : P 7
GUIDE L PCB
Ref. No. of EXPLODED VIEW : P 17
WiFi ANT
DISASSEMBLY
1. WiFi ANT
and "EXPLODED VIEW"
CABLE ASSY ANT 2.4G/5G
Ref. No. of EXPLODED VIEW : 41
INSULATION
Ref. No. of EXPLODED VIEW : 51
DIGITAL PCB
DISASSEMBLY
4. DIGITAL PCB
and "EXPLODED VIEW"
DIGITAL PCB
Ref. No. of EXPLODED VIEW : P 13
NETWORK MODULE
Ref. No. of EXPLODED VIEW : P 20
VIDEO PCB
DISASSEMBLY
5. VIDEO PCB
and "EXPLODED VIEW"
VIDEO PCB
Ref. No. of EXPLODED VIEW : P 19
MAIN PCB
DISASSEMBLY
6. MAIN PCB
and "EXPLODED VIEW"
MAIN PCB
Ref. No. of EXPLODED VIEW : P 9
INPUT PCB
Ref. No. of EXPLODED VIEW : P 10
FRONT CNT PCB
Ref. No. of EXPLODED VIEW : P 11
AUDIO_IN PCB
Ref. No. of EXPLODED VIEW : P 12
RS232C PCB
Ref. No. of EXPLODED VIEW : P 14
RS_CNT PCB
Ref. No. of EXPLODED VIEW : P 15
SMPS PCB
DISASSEMBLY
7. SMPS PCB
and "EXPLODED VIEW"
SMPS PCB
Ref. No. of EXPLODED VIEW : P 8
66
Caution in
servicing
Electrical Mechanical Repair Information Updating
 Loading...
