www.desatech.com
113900-01D10
INSTALLATION
Continued
CAUTION: Never touch the
blower wheel while in operation.
5. Turn on power to duplex outlet if previ-
ously turned off per the warning in step
1, page 9.
6. Check to make sure that the power cord is
completely clear of the blower wheel and
thattherearenootherforeignobjectsin
blower wheel. Turn blower on and check
for operation.
7. Replace bottom of rebox. Note: Make
surethebackofthereboxbottomslides
under the rear of the rebrick (lift the
rebrickupifnecessary.)
8. Reattachreboxbottomusing2screws
removed in step 1, page 9.
9. Install the log set heater according to the
installation instructions supplied with the
heater.
OPERATING THE BLOWER
Light your gas appliance with the blower off.
After about 15 minutes, turn the blower on
to deliver heated air at the top louvers. The
blower features a variable control which al-
lows you to select the speed you desire.
Note: Periodically check the louvers of the
rebox and remove any dust, dirt or other
obstructions.
INSTALLING LOG HEATER IN
FIREBOX
CAUTION: Do not pick up log
base assembly by burners. This
could damage burners. Only
handle base by grates.
CAUTION: Do not remove the
data plates attached to the heater
base assembly. The data plates
contain important warranty and
safety information.
1. Remove2screwsholdingreboxbottom
in place.
2. Liftandremovereboxbottom(seeFigure
9, page 9).
3. Route exible gas line from equipment
shutoffvalveintoreboxthroughside.
NOTICE: Most building codes do not
permit concealed gas connections.
A exible gas line is recommended
to allow accessibility from the re-
box. The exible gas supply line
connection to the equipment shut-
off valve should be accessible.
4. Attachgaslogheaterbasetoreboxbot-
tom with four screws included with base
(see Installing Heater Base Assembly in
log set owner’s manual).
5. Replacereboxbottomandsecurewith
screws.
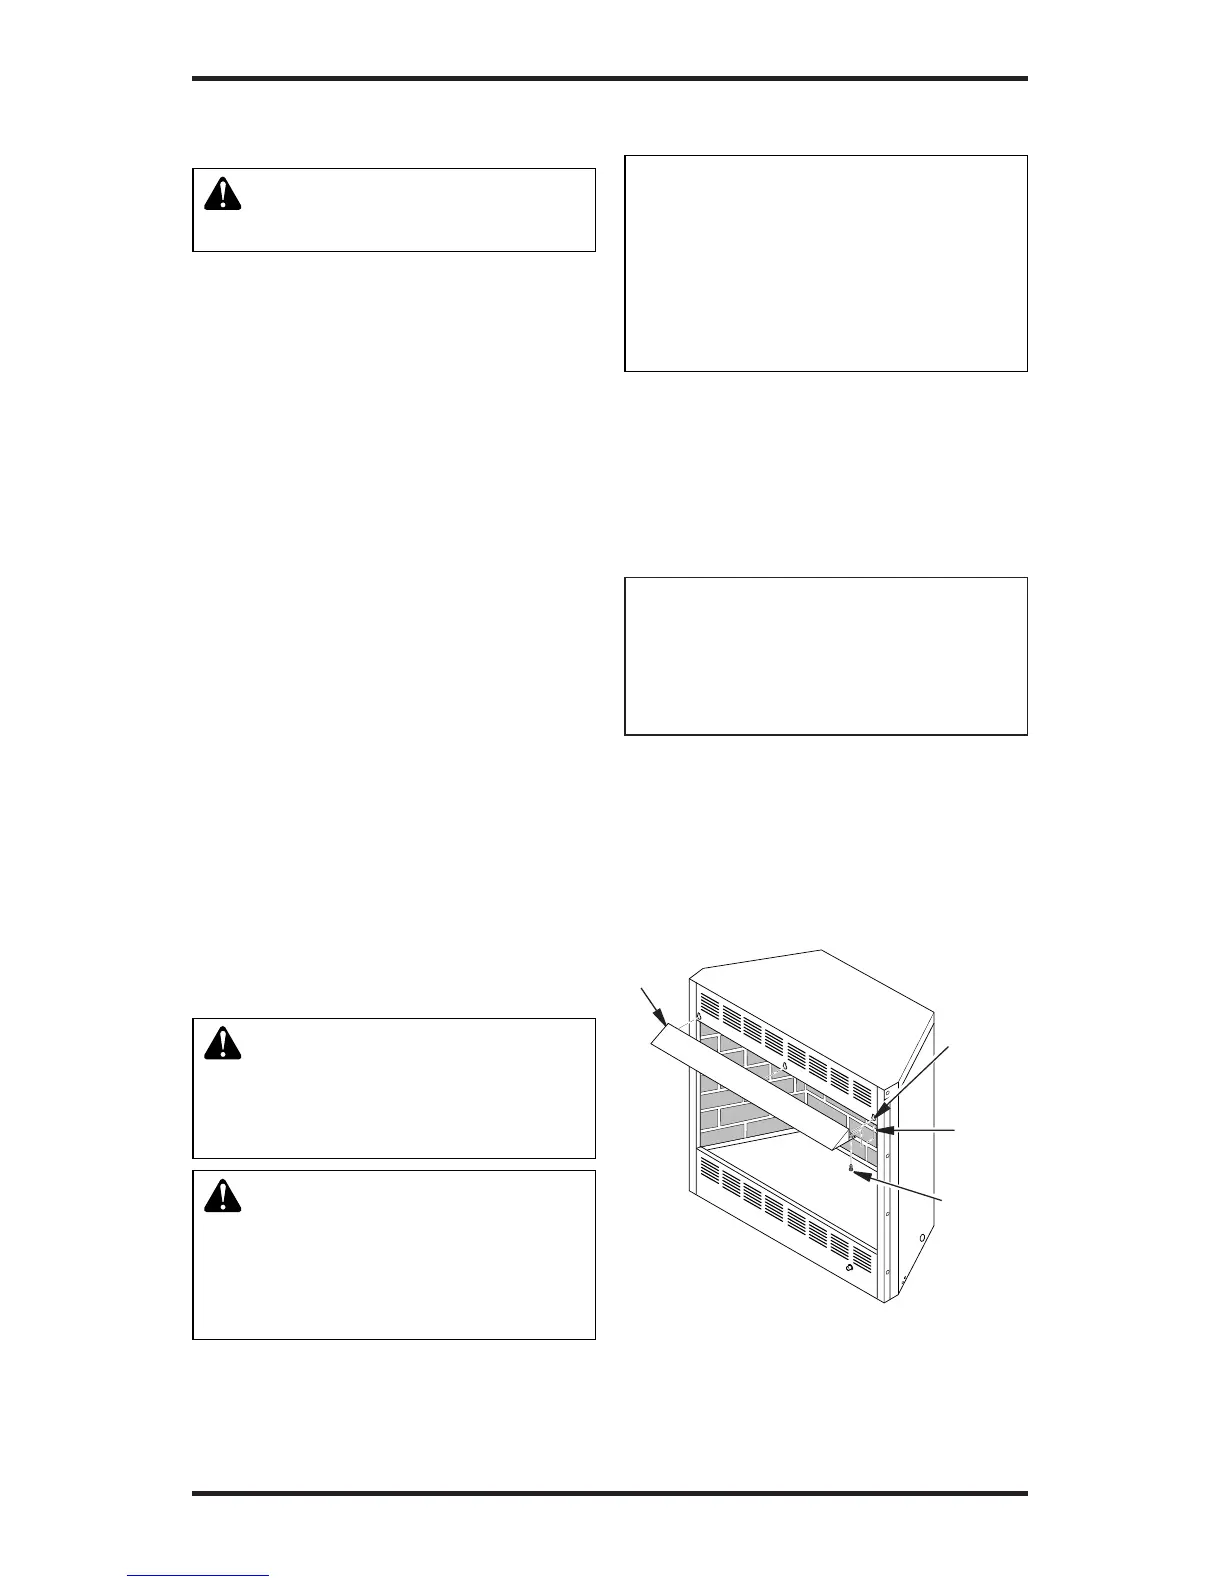
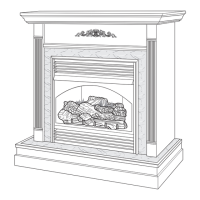
INSTALLING FIREPLACE HOOD
NOTICE: The rebox canopy (hood)
must not be modied or replaced
with a canopy (hood) that may be
provided with the unvented decora-
tive room heater.
1. Attach three zinc-colored shoulder screws
to back of hood.
2. Insert hood into hood-mounting slots on
rebox.
3. Hold hood in place. Insert two black Phil-
lips screws through bottom of hood and
tighten.
Figure 12 - Installing Fireplace Hood
Hood
Hood
Mounting
Slot
Screw
Shoulder
Screw