www.desatech.com
111986-01F18
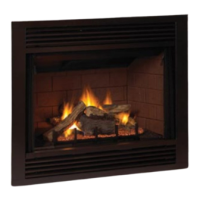
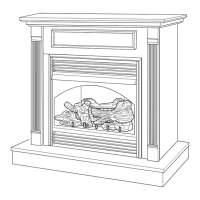
FIREPLACE
INSTALLATION
Use proper gas type for replace unit you are
installing. If your gas supply is not correct, do
not install replace. See retailer where you pur-
chased the replace for proper replace accord-
ing to your gas type or to purchase gas conver-
sion kit (see Accessories, page 36). A conversion
kit is supplied with the CHDV32NR.
ACCESSORIES
-
electrical outlet installed in the
Follow all instructions provided in blower
accessory kit.
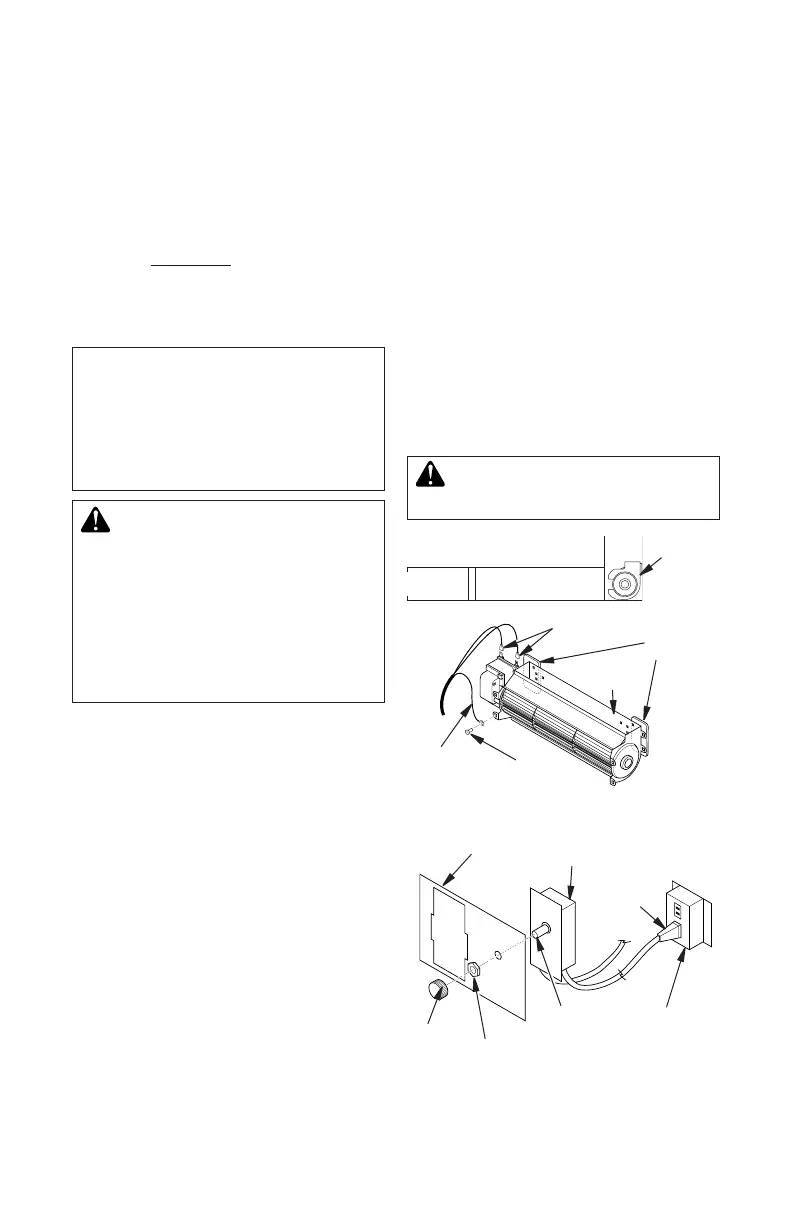
1. Attach power cord to blower motor by
rmly pushing two female terminals at end
of power cord onto two spade terminals
on blower motor (see Figure 25).
2. Attach green ground wire from power cord
to blower housing using screw provided
(see Figure 25). Tighten screws securely.
3. Place blower against lower rear wall of
rebox outer wrapper with exhaust port
directed upward. The blower will t inside
back opening and be held in position against
back wall by magnets (see Figure 25).
4. Be certain that all wire terminals are
securely attached to terminals on blower
motor and screw retaining green ground
wire is tight.
5. Mount speed control box to switch bracket
by placing plastic control shaft forward
through opening in switch bracket (see
Figure 26).
6. While supporting speed control, secure
control shaft with lock nut by pushing and
turning lock nut with pliers clockwise until
it is tight against front panel. Place control
knob provided on shaft.
7. Turn on power to duplex outlet if previously
turned off per the warning in column 1.
8. Plug in blower power cord.
a. If your rebox is installed as a free-
standing unit with an accessory man-
tel, determine whether power cord will
exit left side or right side of rebox.
Route power cord through exit hole
and plug power cord into a wall recep-
tacle near rebox.
b. If your rebox installation is recessed
and/or pre-wired, plug power cord into
duplex outlet provided. Refer to your
rebox owner’s manual for instructions
on wiring duplex outlet.
CAUTION: Never touch the
Figure 25 - Blower Model BK
Green
Ground Wire
Screw
Spade
Terminals
Magnetic
Strips
Exhaust
Port
Side View
Lower Firebox
Cavity
Blower
Location
Figure 26 - Attaching Speed Control to
Firebox
Switch
Bracket
Locknut
Control
Shaft
Control
Knob
Speed
Control
Blower
Plug-In
Duplex Outlet
(Located under-
neath rebox oor
against lower right
outside wall)


 To Next Page